EP1000 Digital Fabrication Prototyping Fundamentals
Final Project
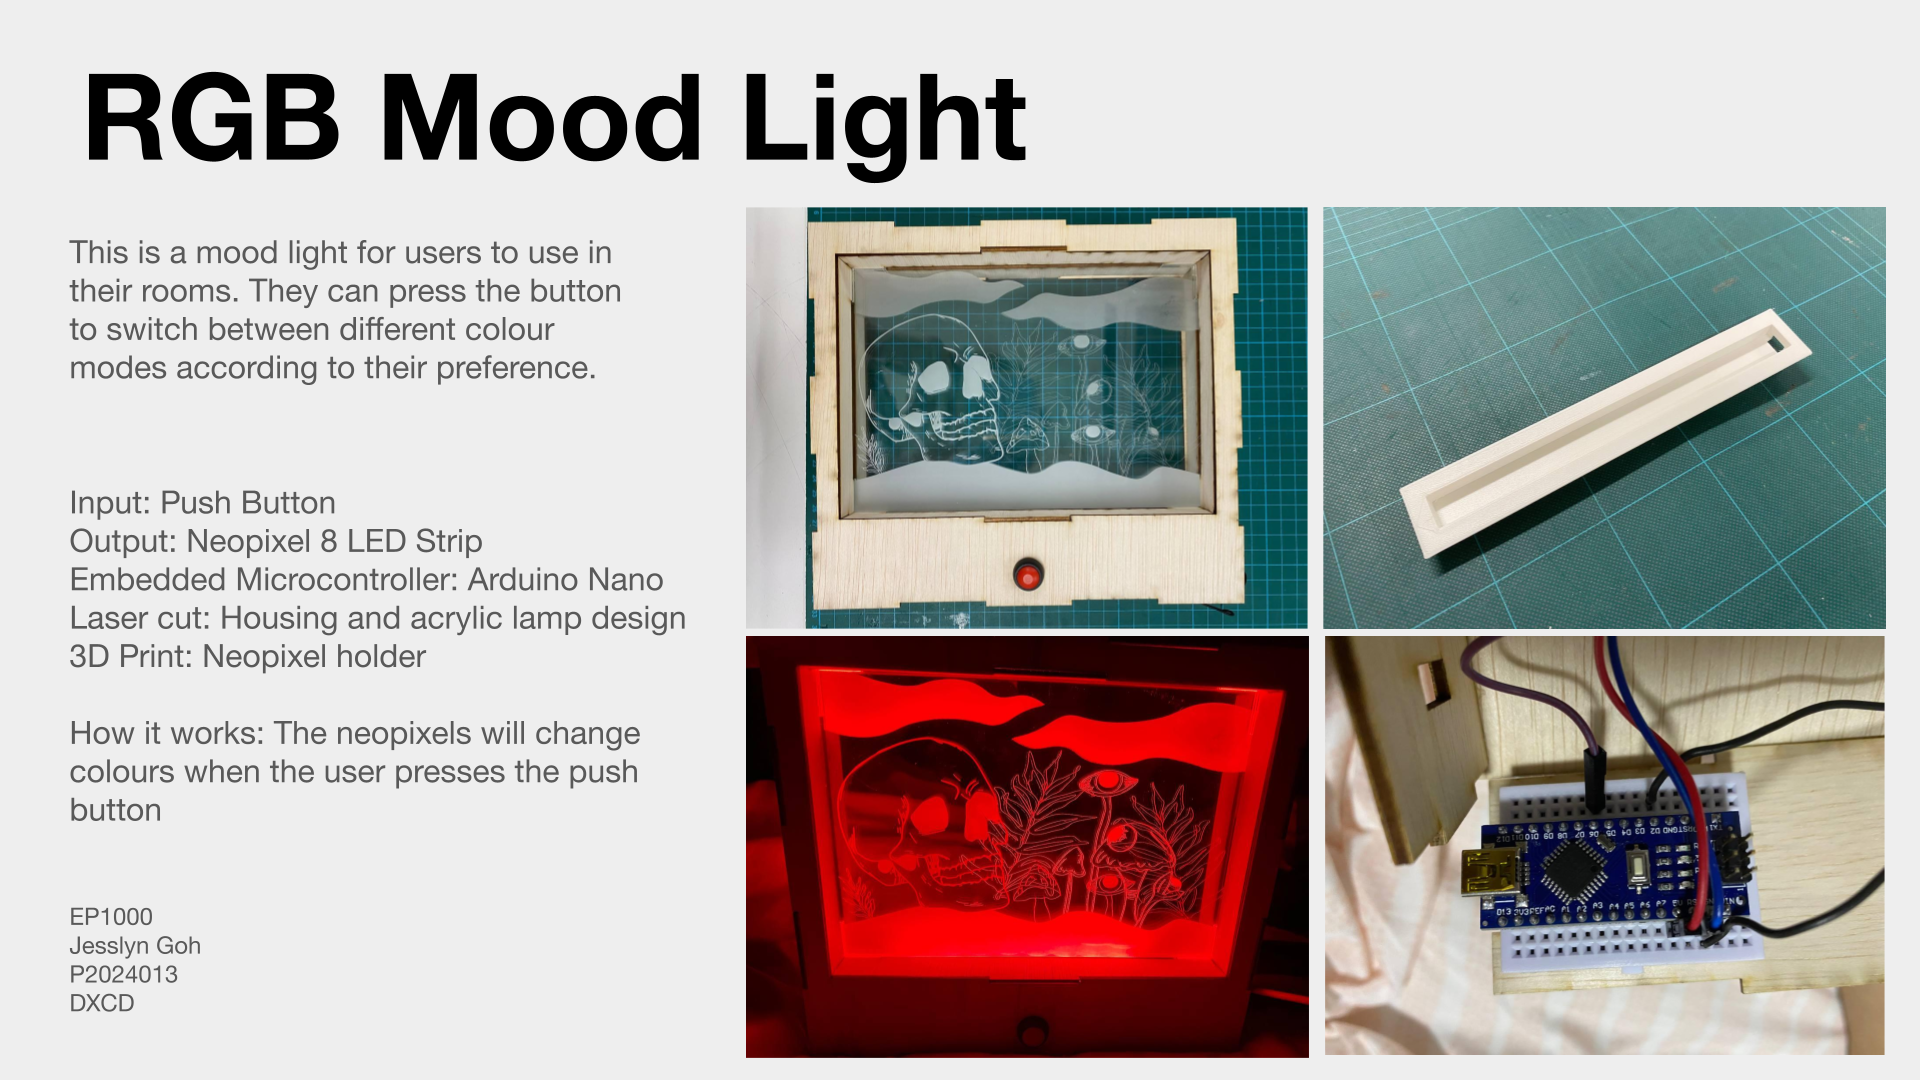
This is the documentation of my RGB mood light I will be doing for my final project. It includes various colours that the users can toggle in between for their preferred colours using the push button.
List of materials used include the Arduino Nano with mini breadboard, push button, and the Neopixel 8 LED strip. I will be designing the housing and a neopixel holder with 3D comupter aided design, and designing the light design with 2D computer aided design. I will then laser cut the hosuing and light design, while I 3D print the neopixel holder.
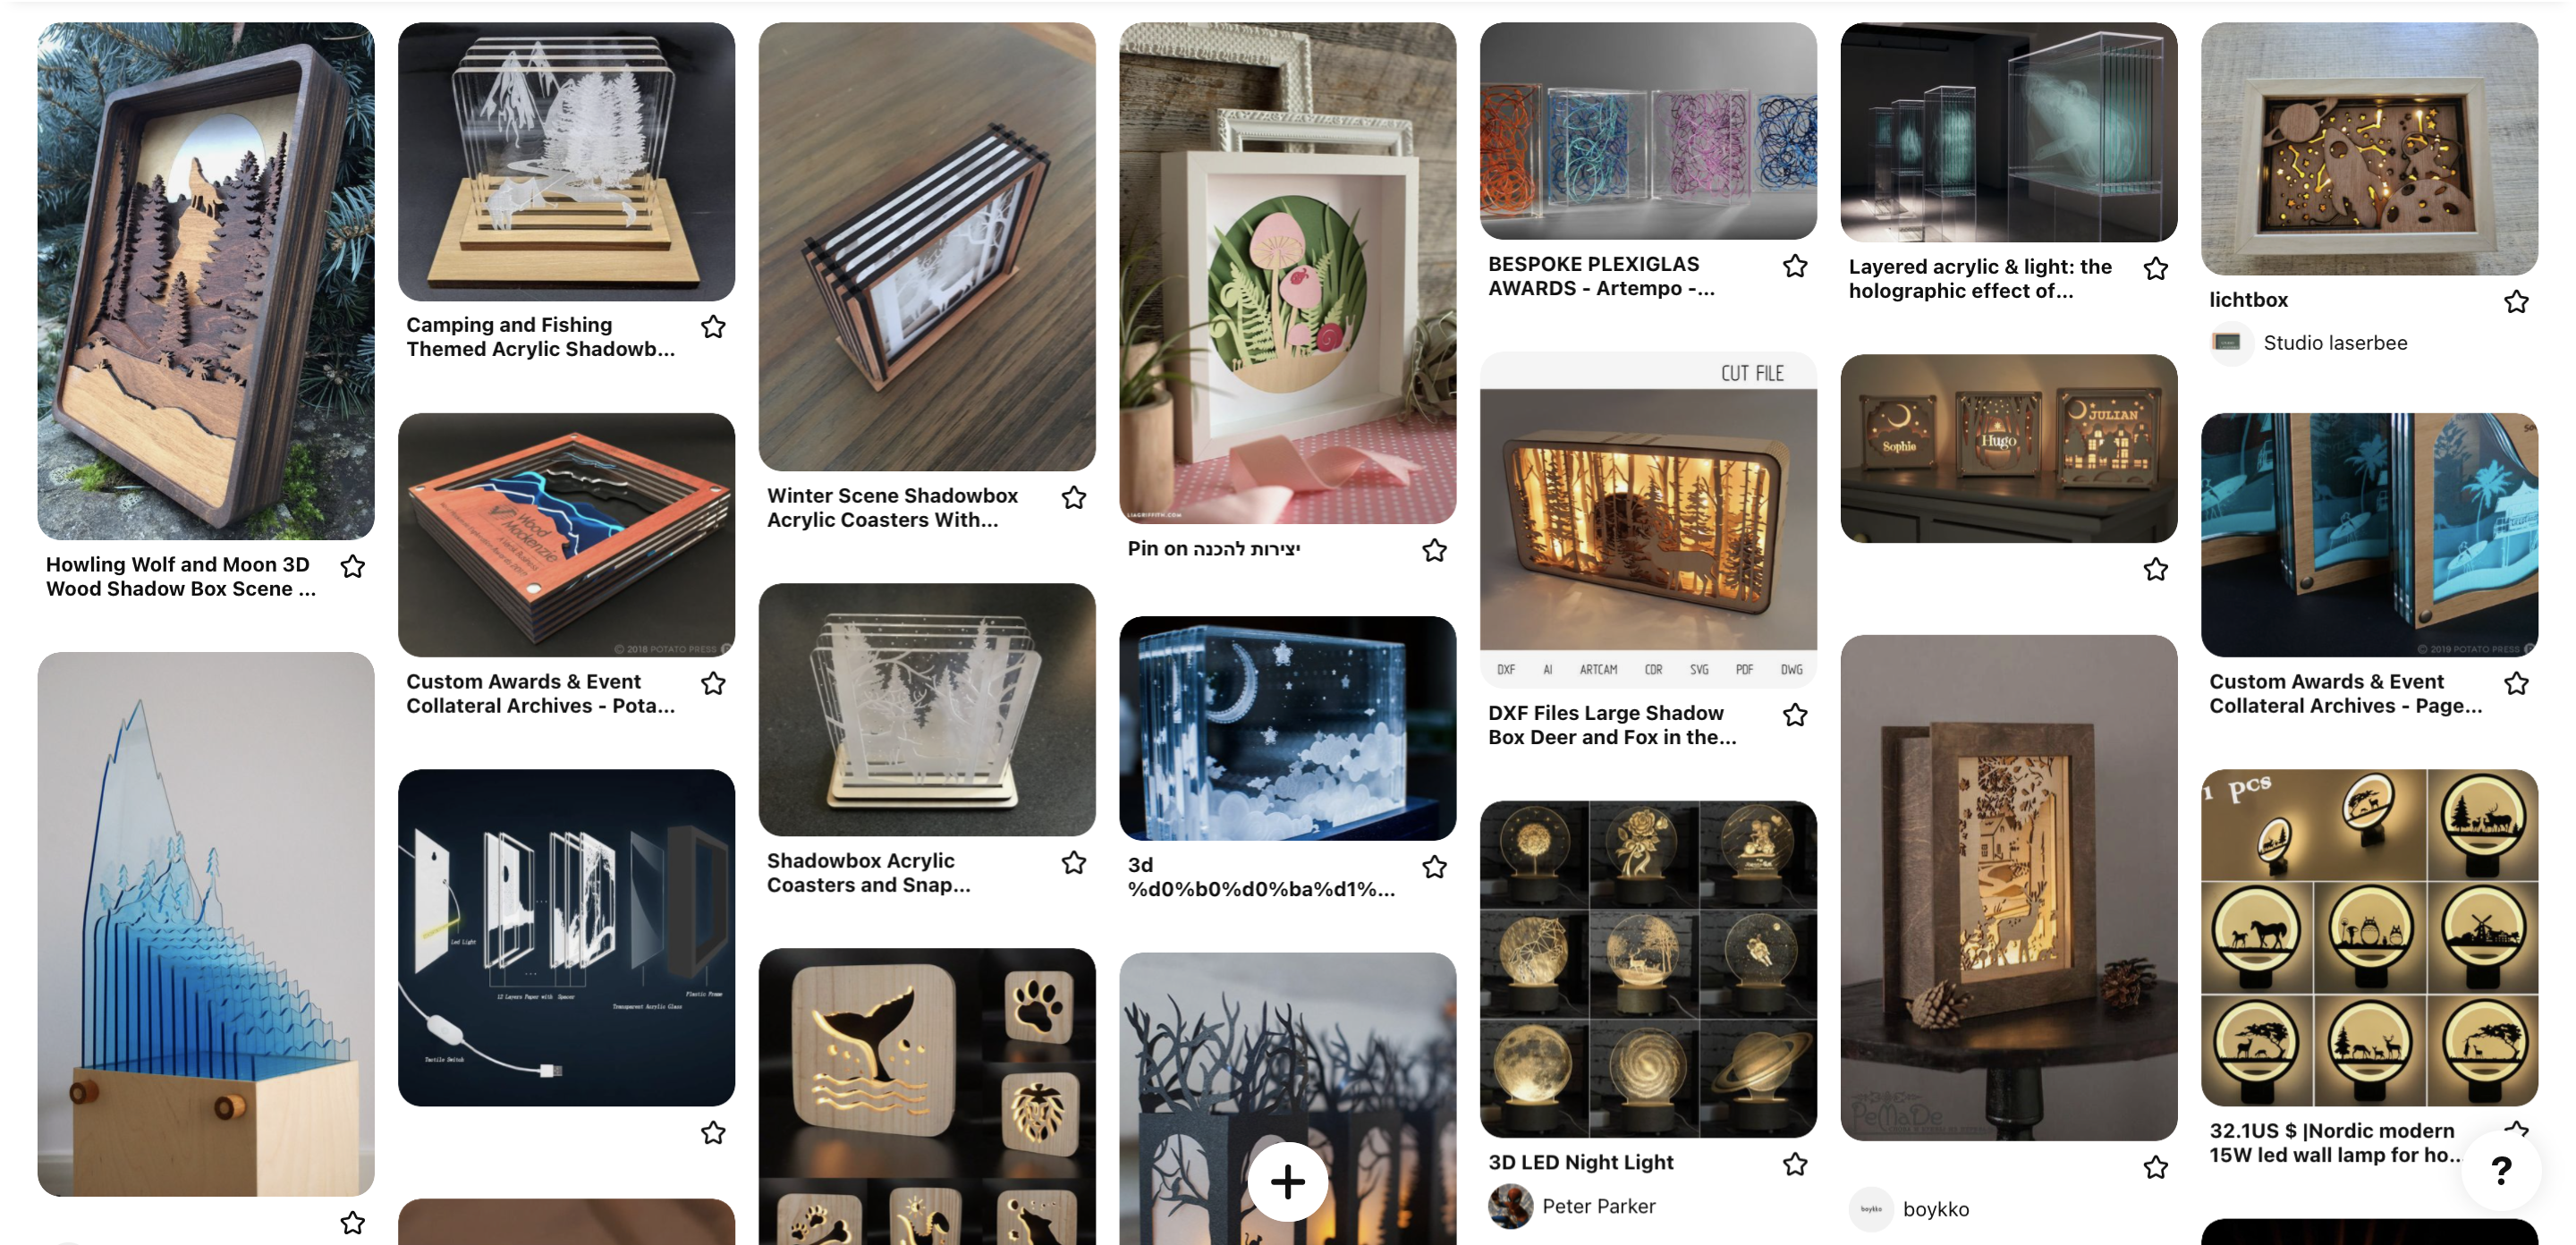
I started looking for inspiration online on Pinterest, by saving pictures of various styles and designs of lamps. Unlike the usual mood lamp with the acrylick attached onto the base, I wanted mine to be more unique, where I layer layers of acrylic to get a slight 3D effect, and have the housing wrap around the 4 sides of the acrylic, acting like a frame.
I moved to Fusion 360, and started making a box for my housing. I intersected the different sides, then cut out the center to form a hole for the acrylic layers I would be adding on later. I then filled up the inner slides as well, then drafted out 3mm acrylic sheets to be fitted into the housing.
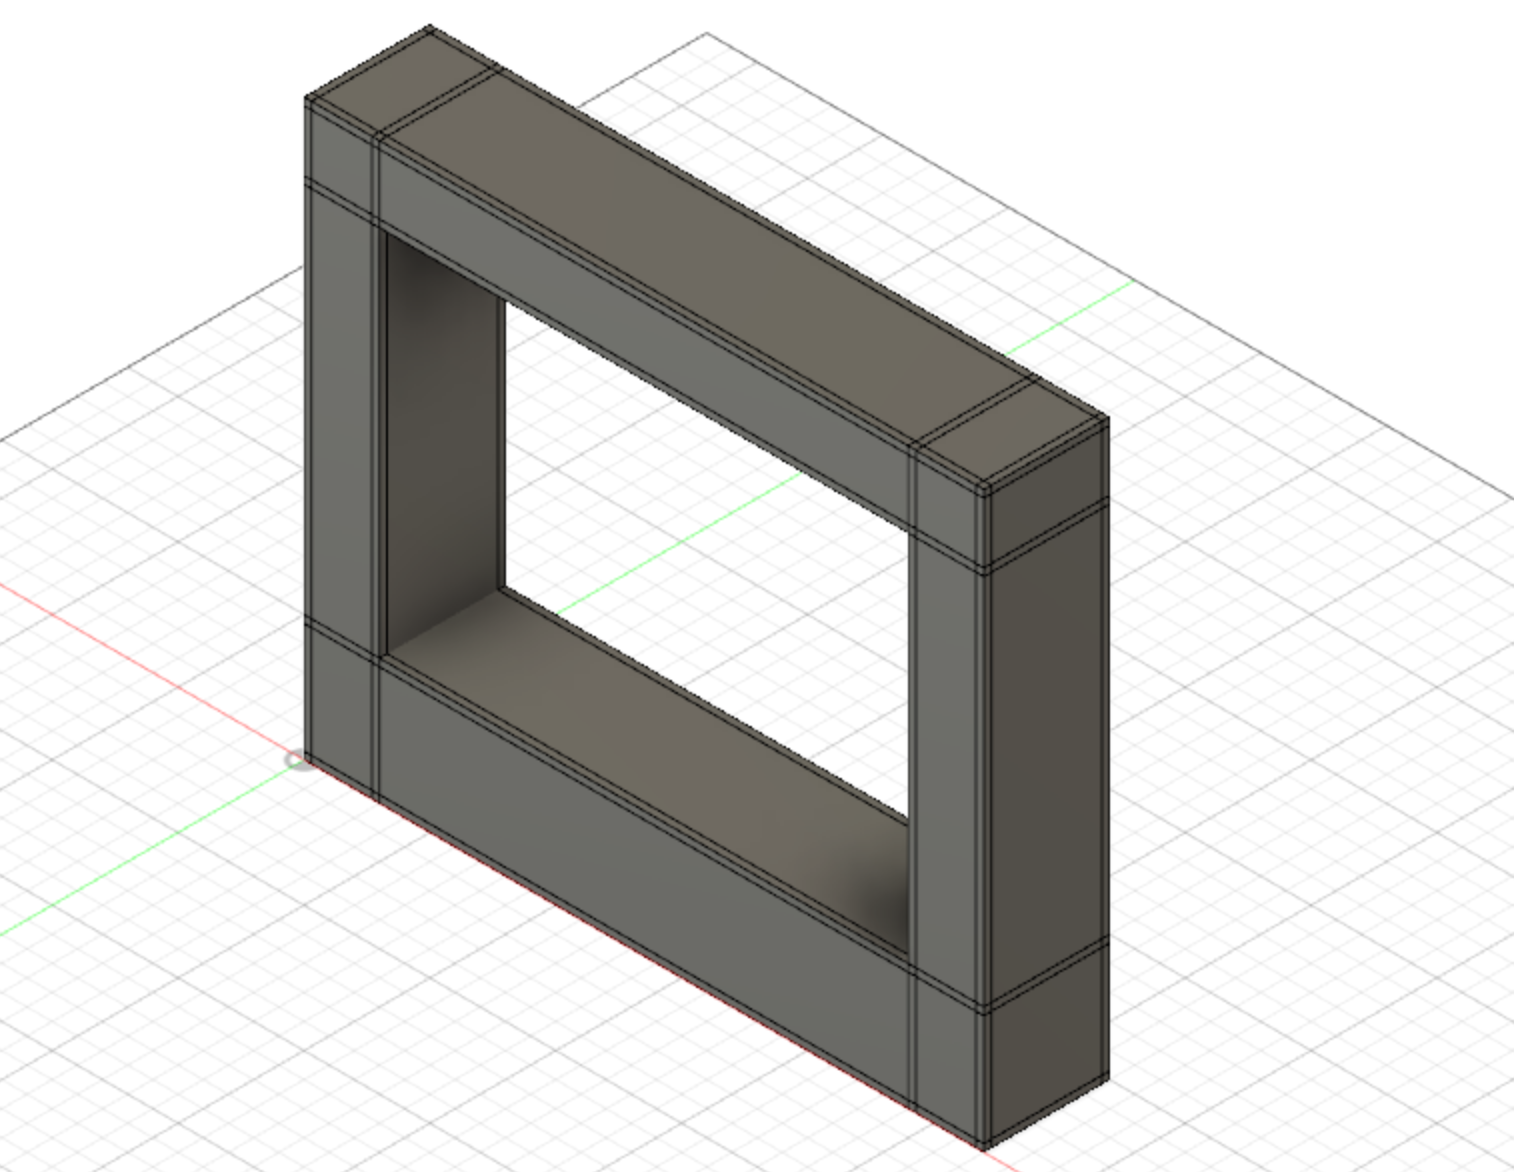
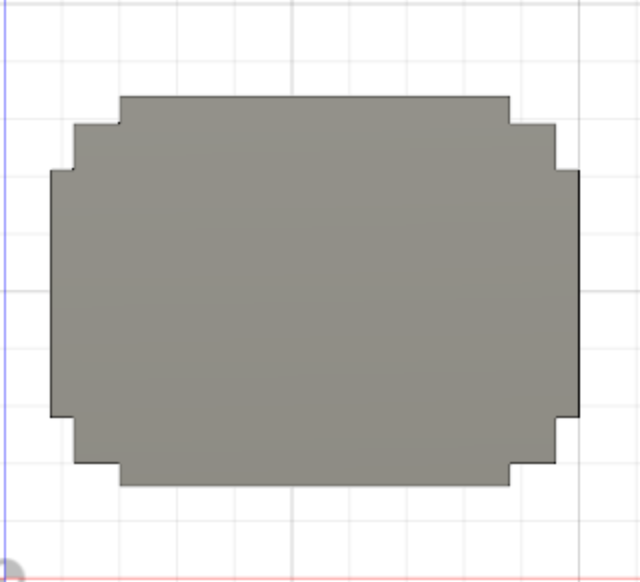
I added the ribbed edges to the corners of the housing so that the different sides would slot into each other perfectly. Next, I added holes for me to slot the edges of my acrylic sheets in, so that it would rest nicely into the box. I then added slots and ribbed edges for the inner sides as well so that it fit well. Next, I thought about how to attach my neopixel I would be using in the the housing, which led me to make an extra shelving below the inner bottom layer for me to rext my neopixel and my neopixel holder into. Lastly, I made a hole for my push button which I will be using as the input.
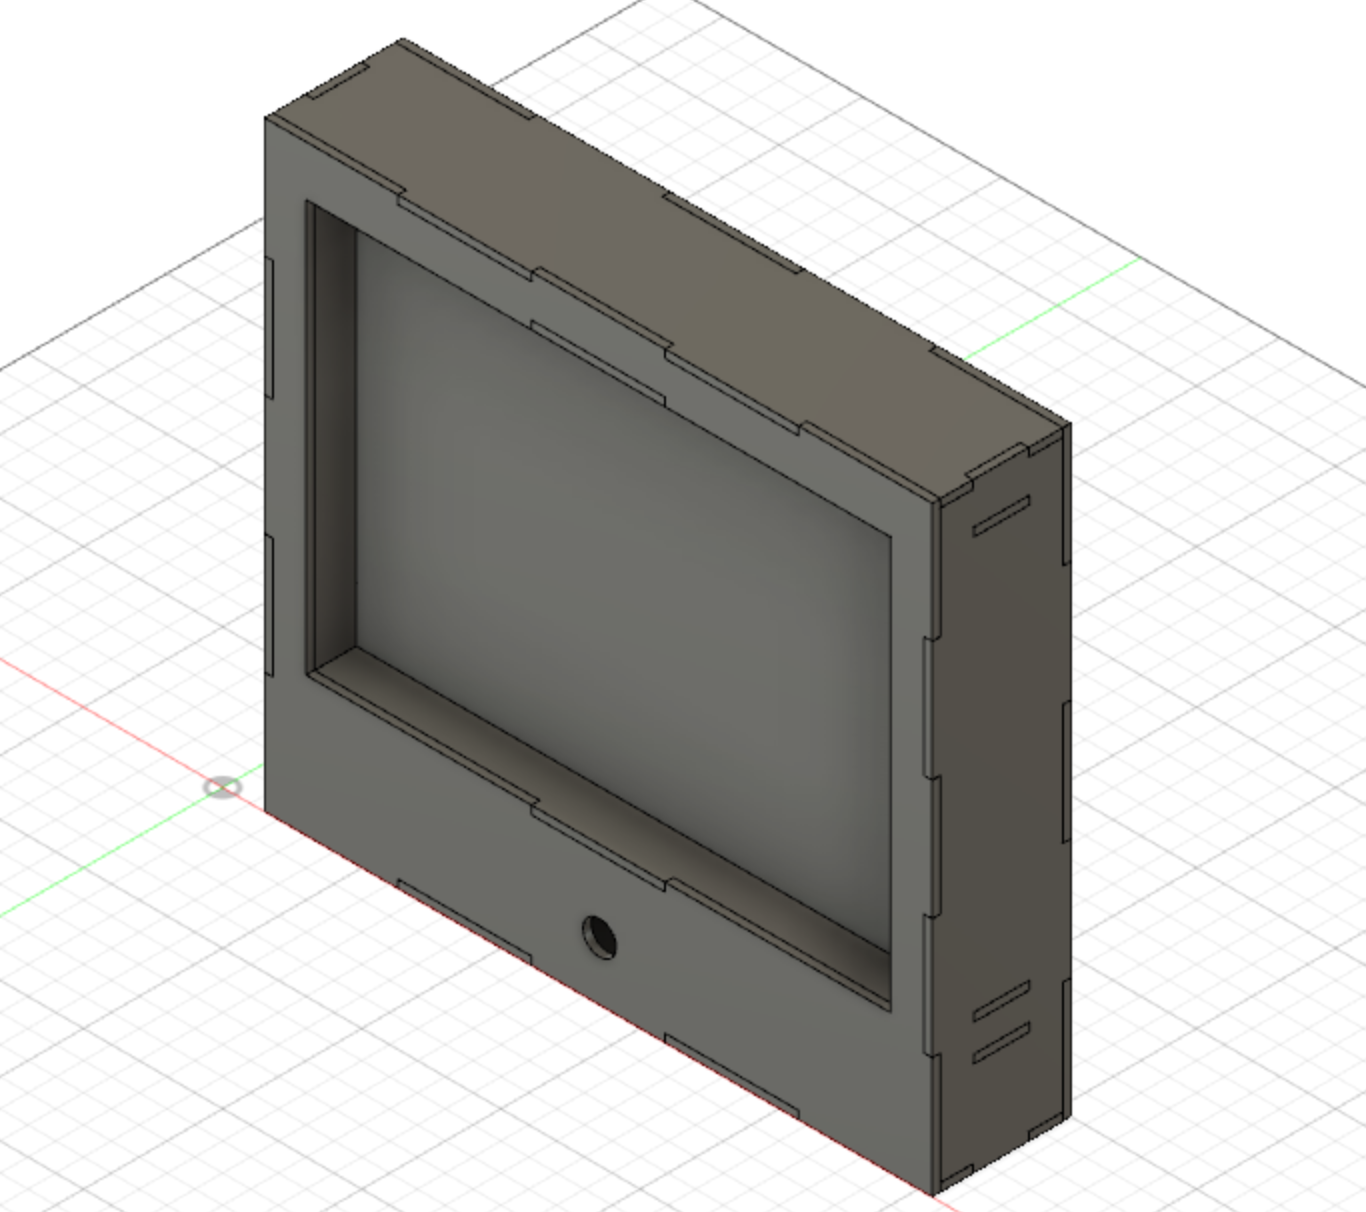
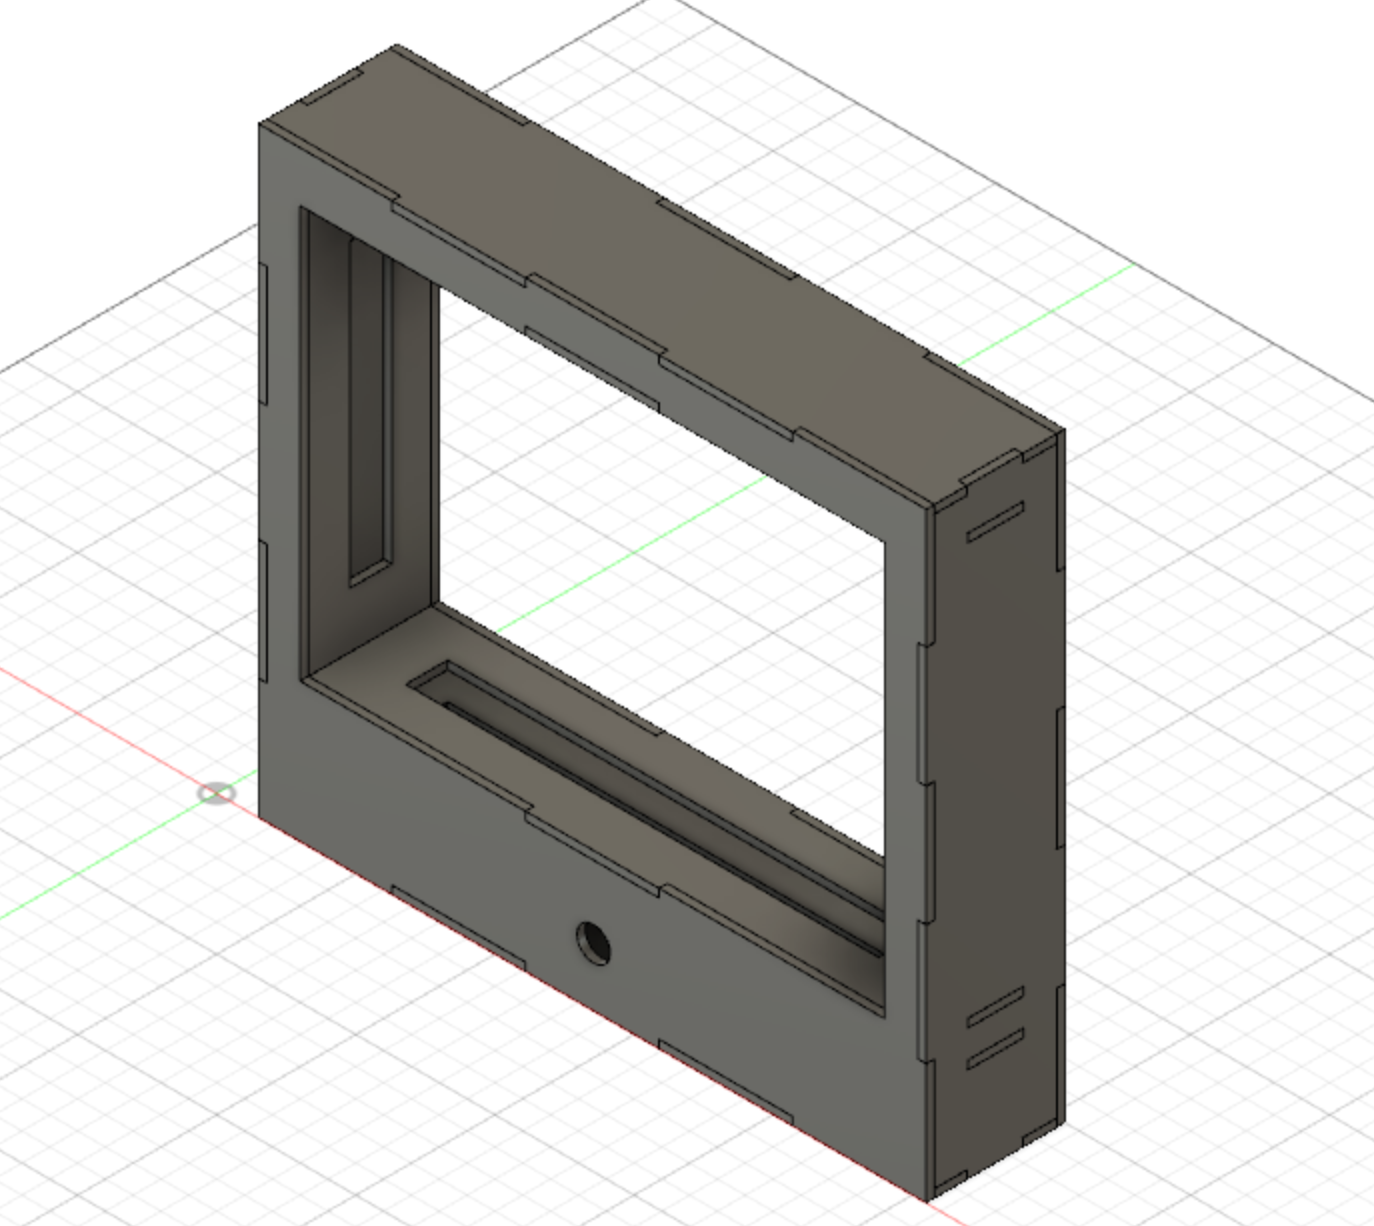
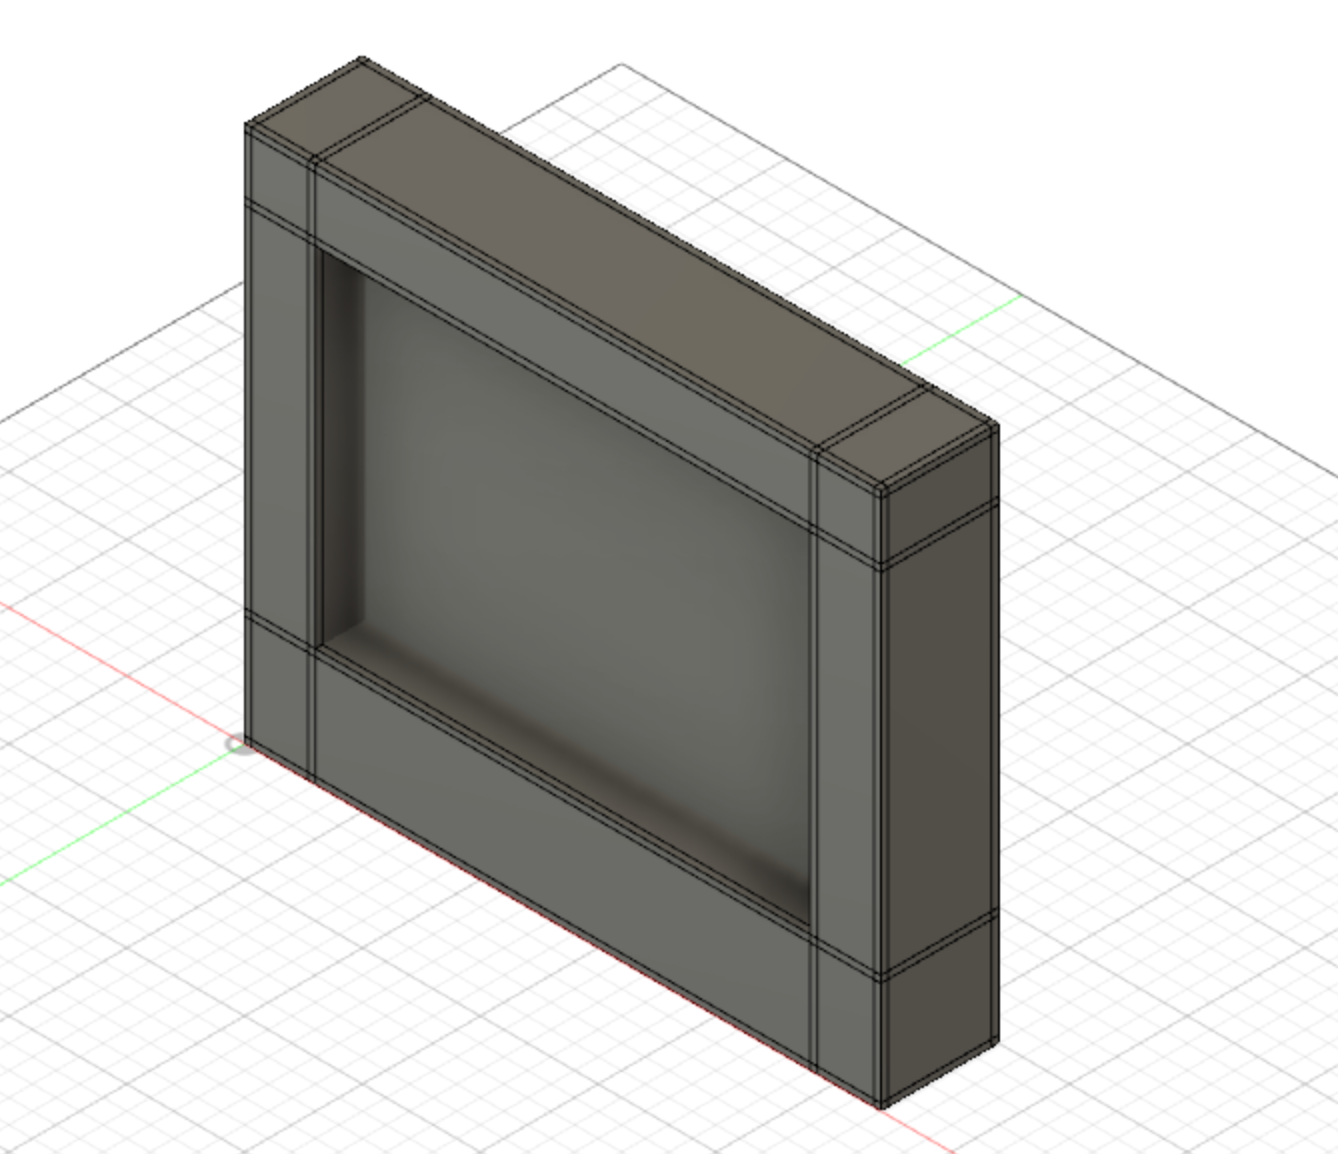
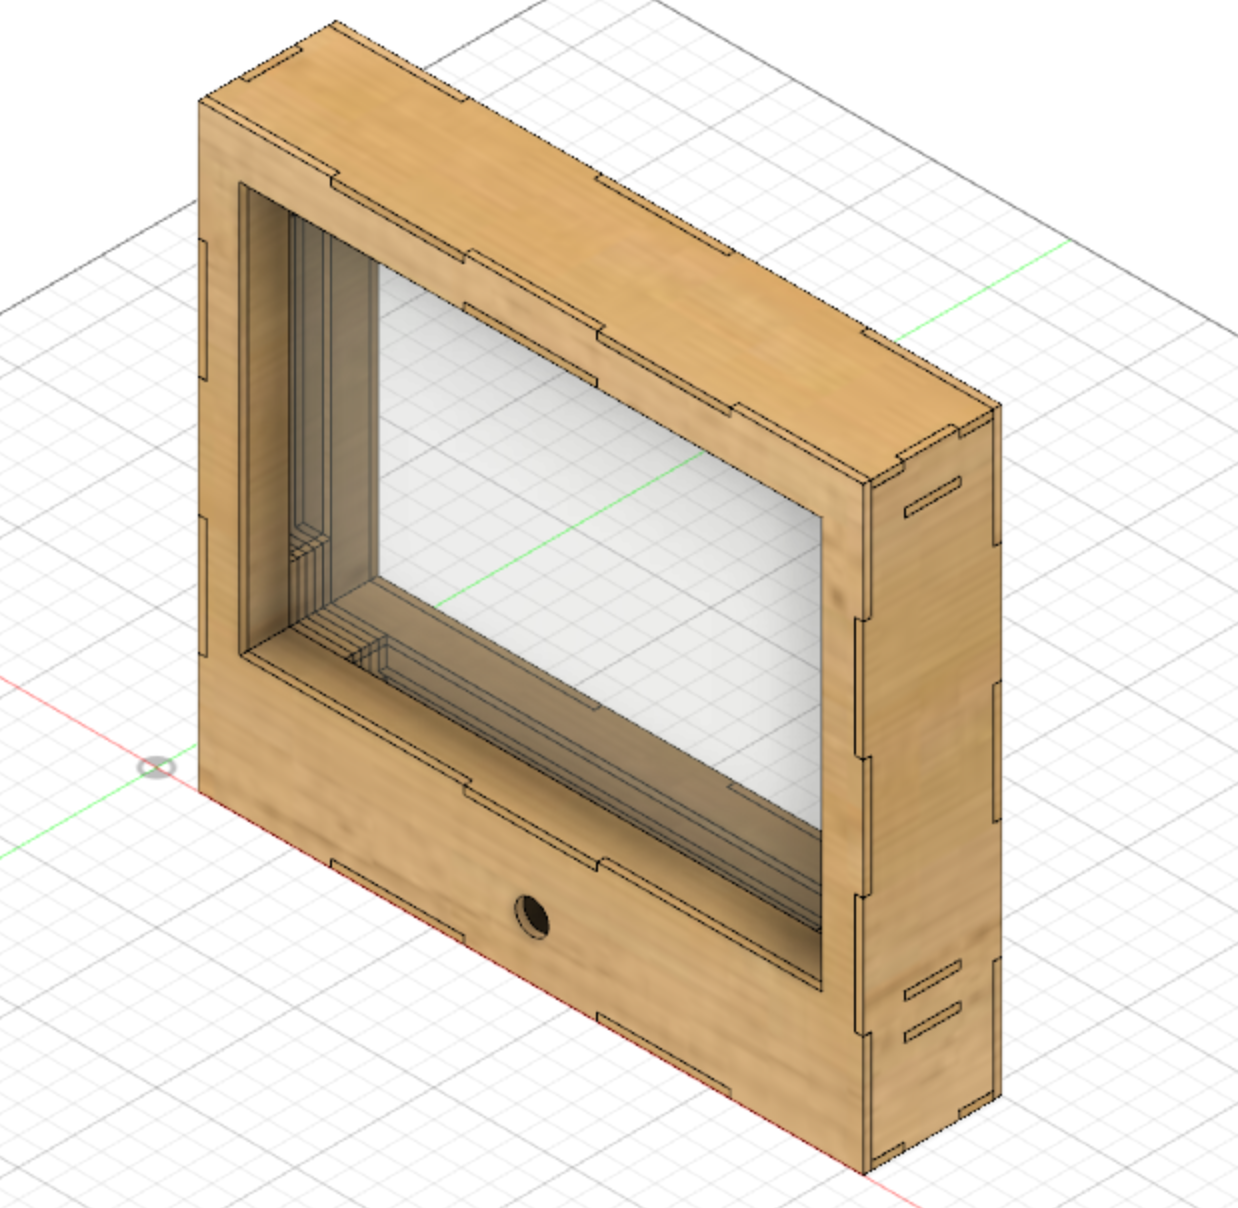
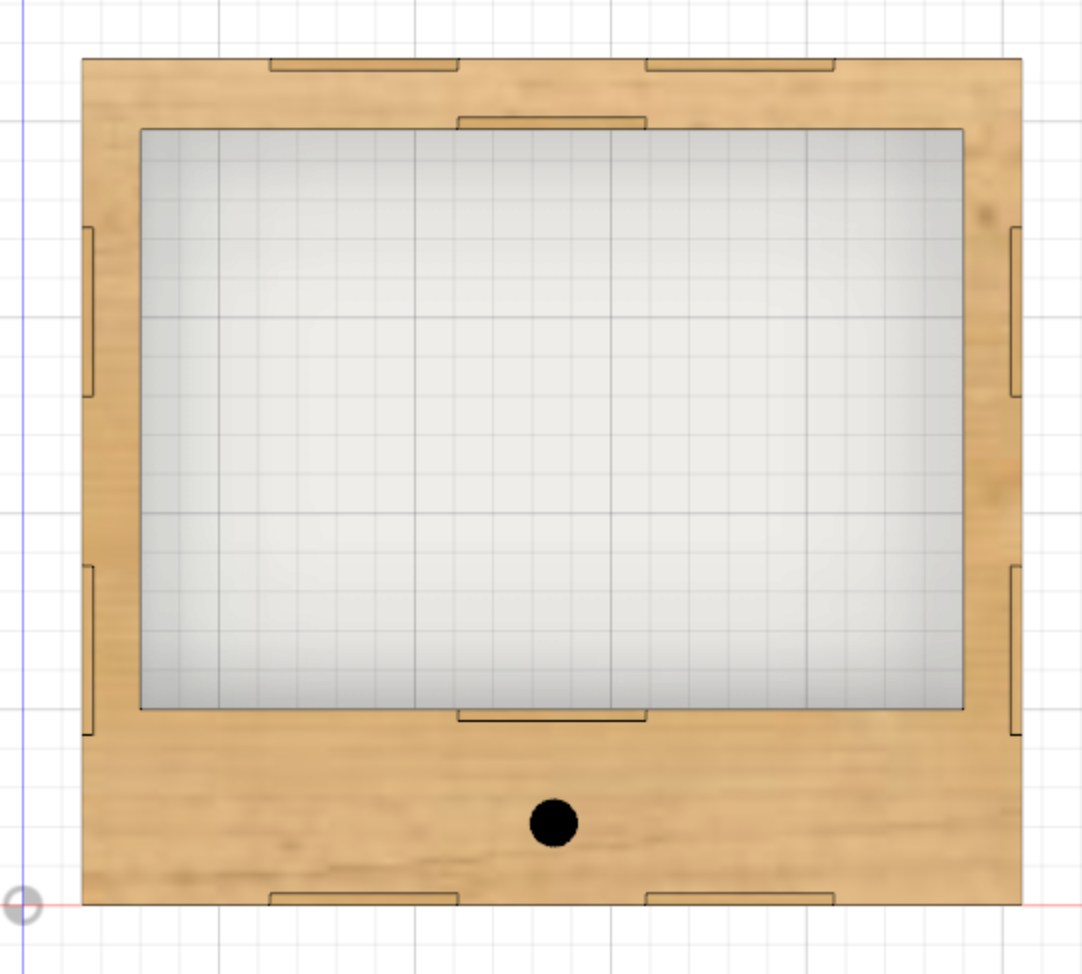
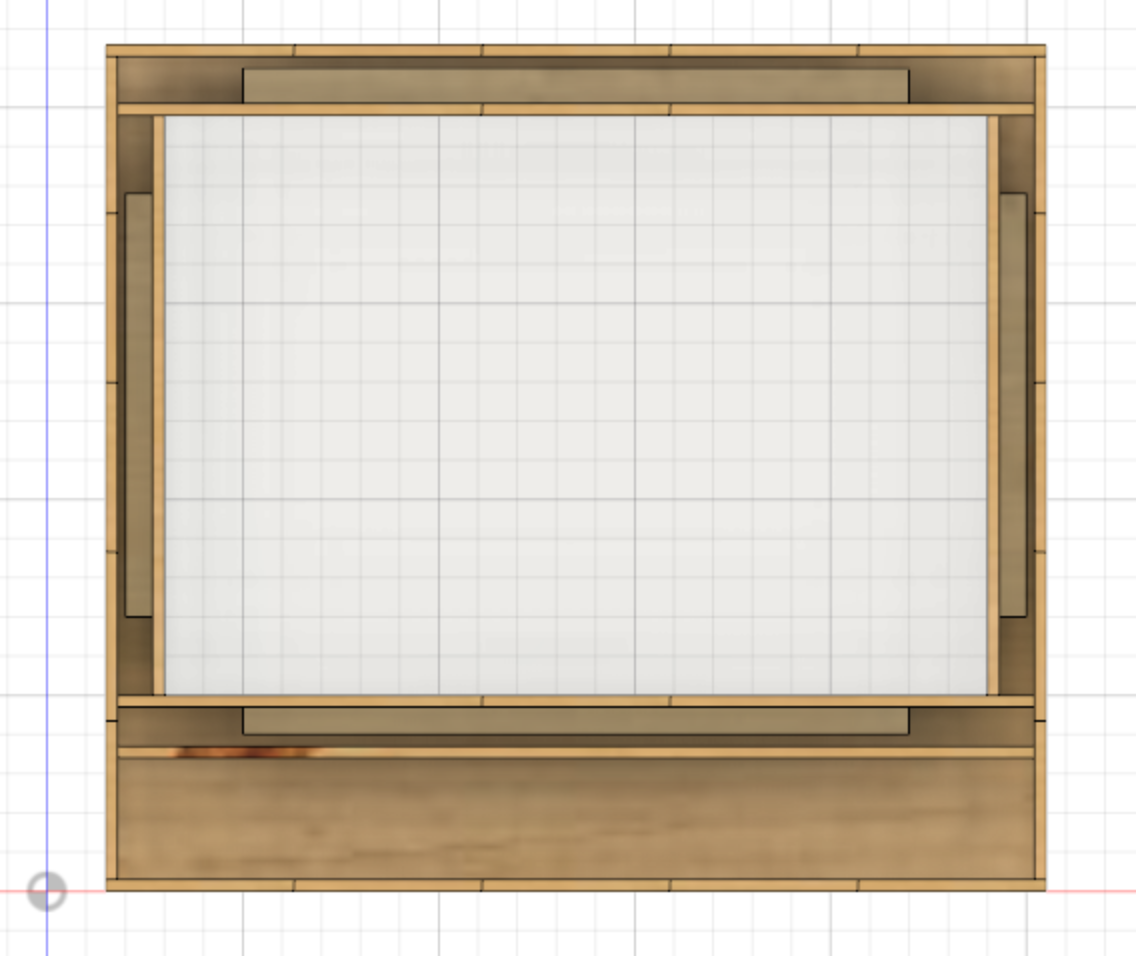
Next, I added wood and acrylic textures for them to look realistic. Here is my final housing design, as well as the cross section.
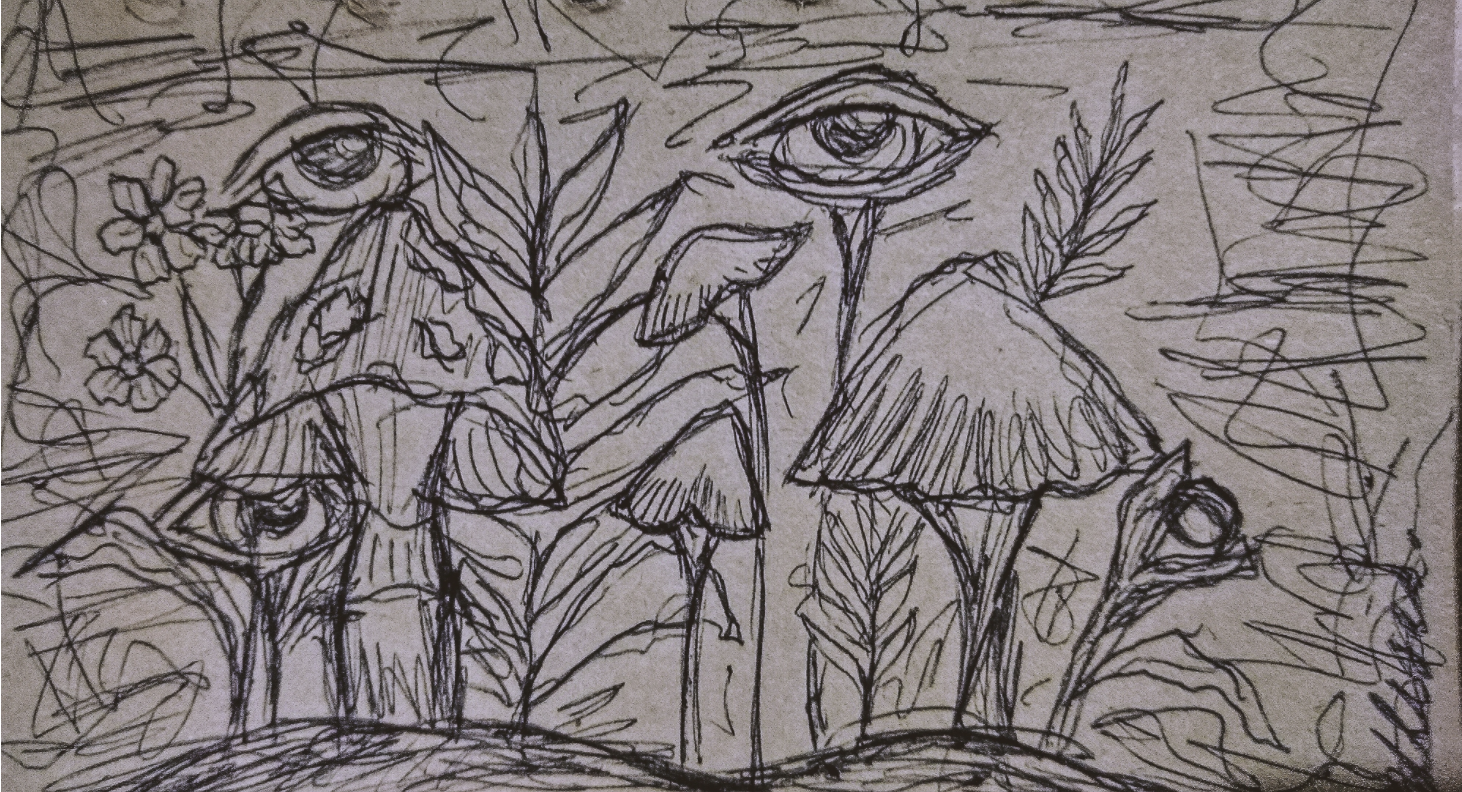
I went to find images as reference for my light design. I wanted to do a slightly darker and cool design incorporating mushrooms, eyes and skulls, and found images that were similar to that aesthetic.

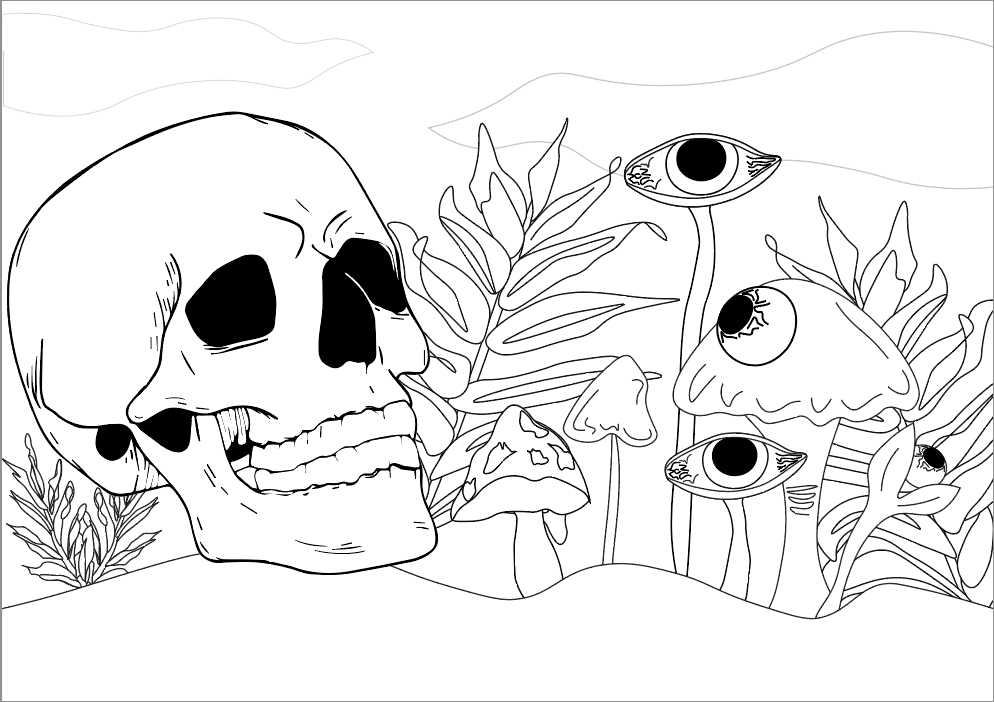
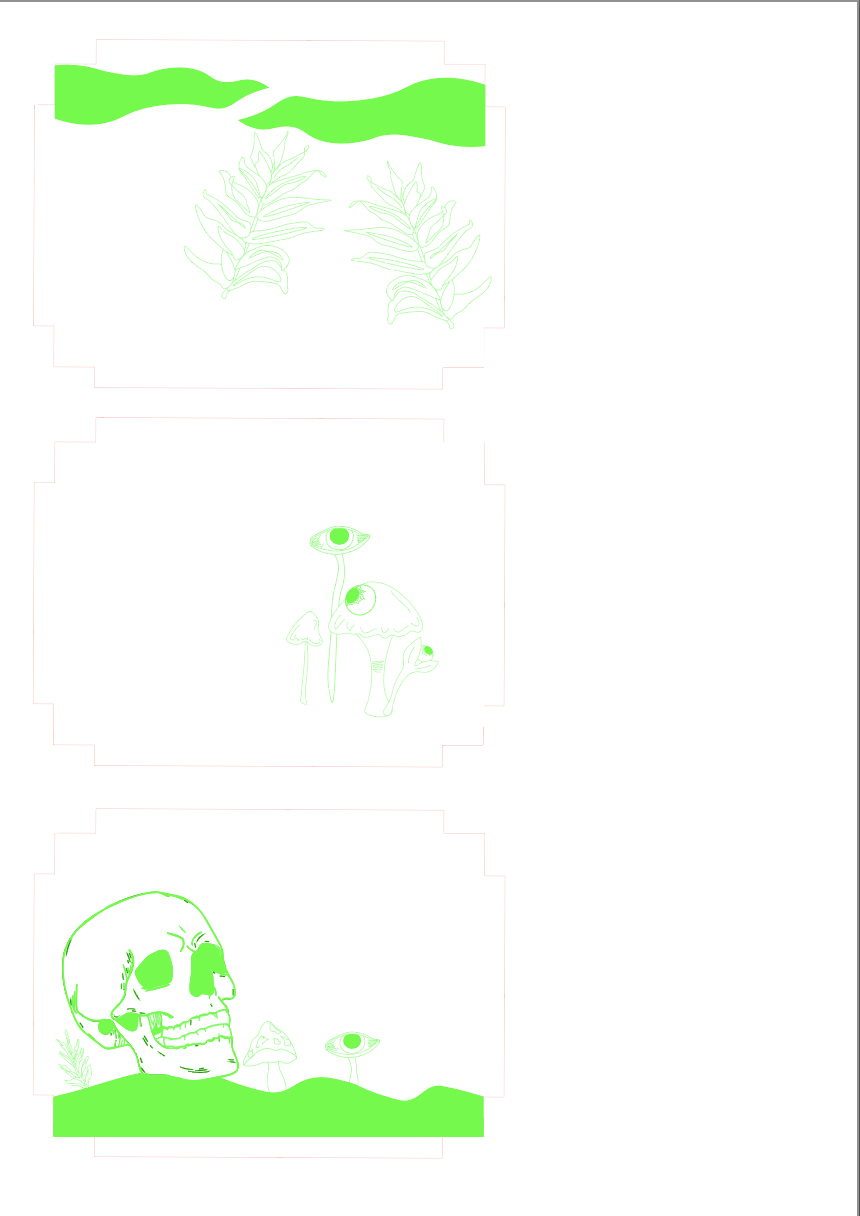
I redrew the mushroom, plant and eye elements in my own style on Illustrator, and image traced the skull, before laying them out. I also added ground and smokey clouds to give it a better setting. Here is my design.
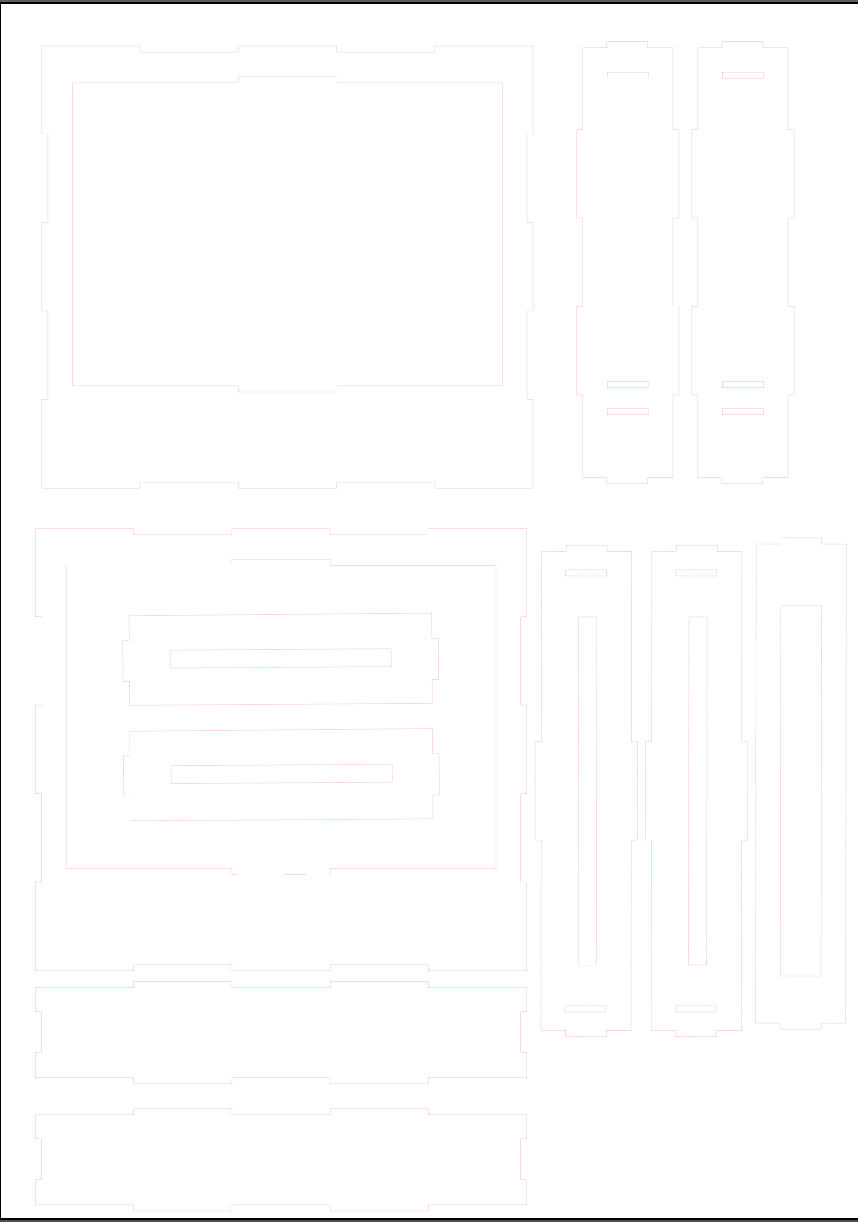
Since my mood light was supposed to have multiple layers, I split up the different elements into 3 layers. I made sketches for my housing, and exported them as DXF files. I then added the light design onto the acrylic pieces, and added a hole for the Adruino Nano at the slide. Lastly, I set my graphics in RGB red and RGB green for cutting and engraving respectively to prepare them for cutting. THe black spots here are caused by the graphics being too small, but they are all in RGB red and green.
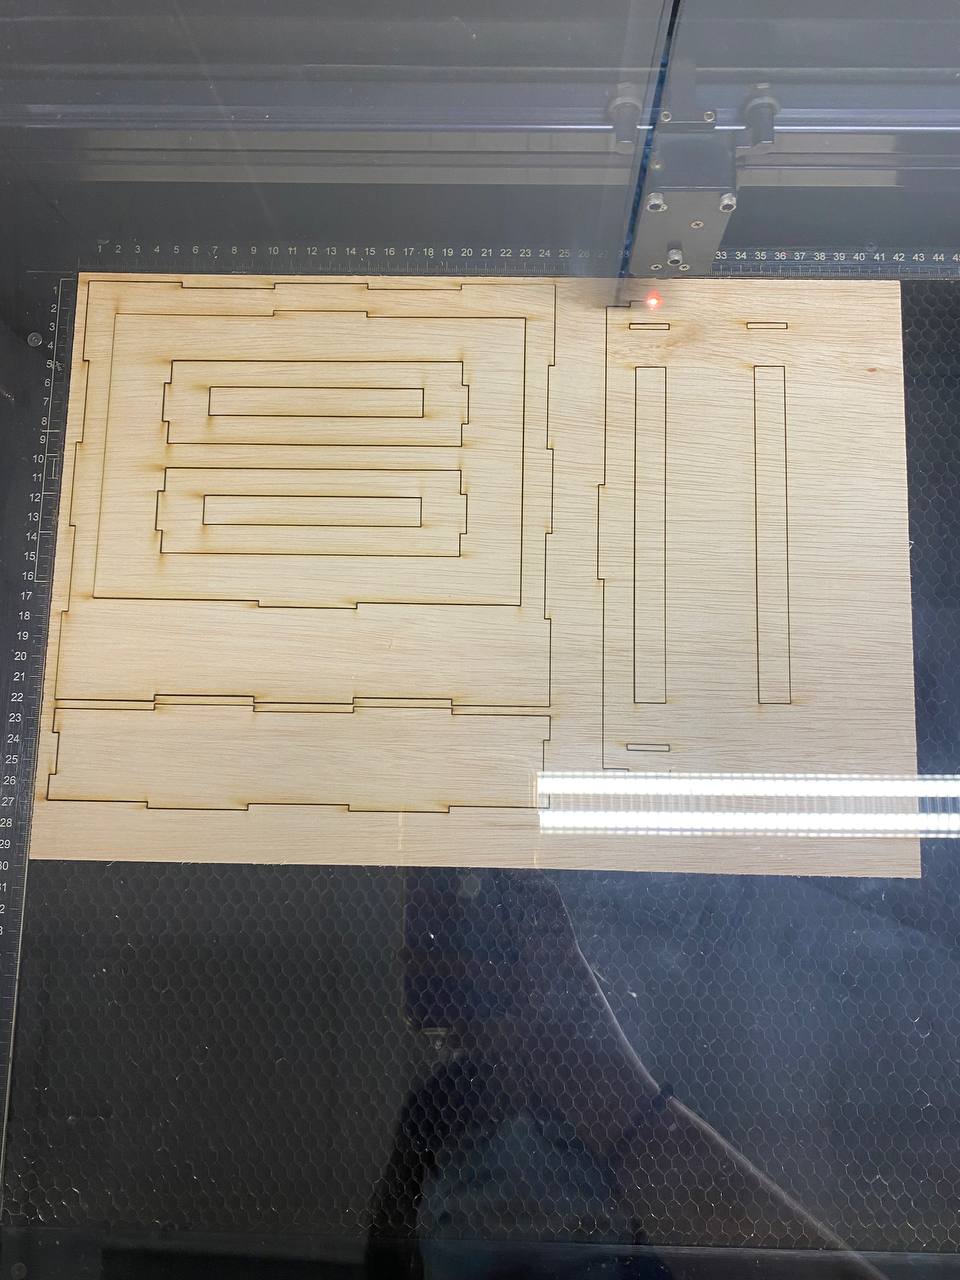
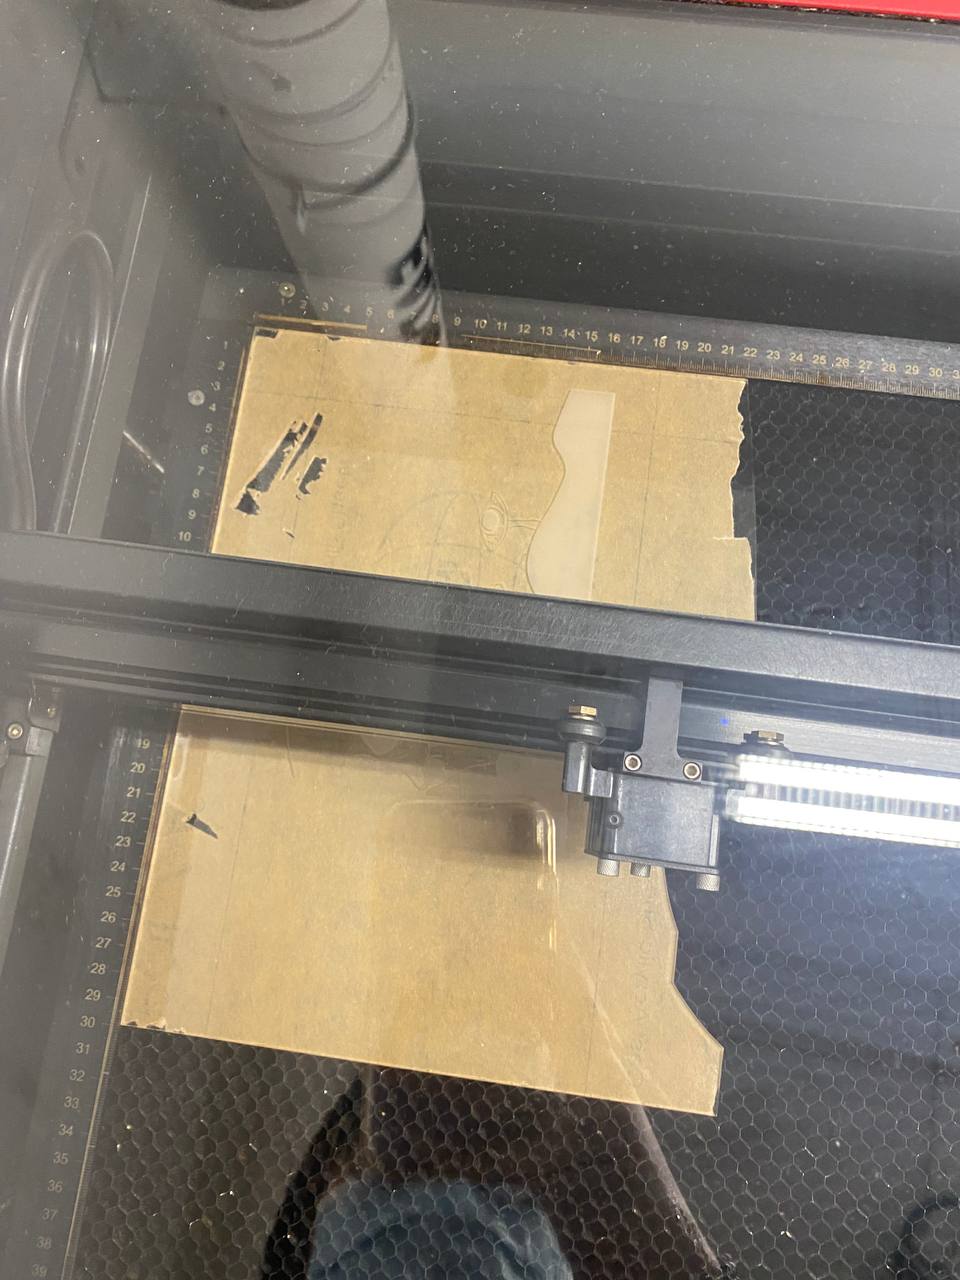
Here are some photos of me doing laser cutting.
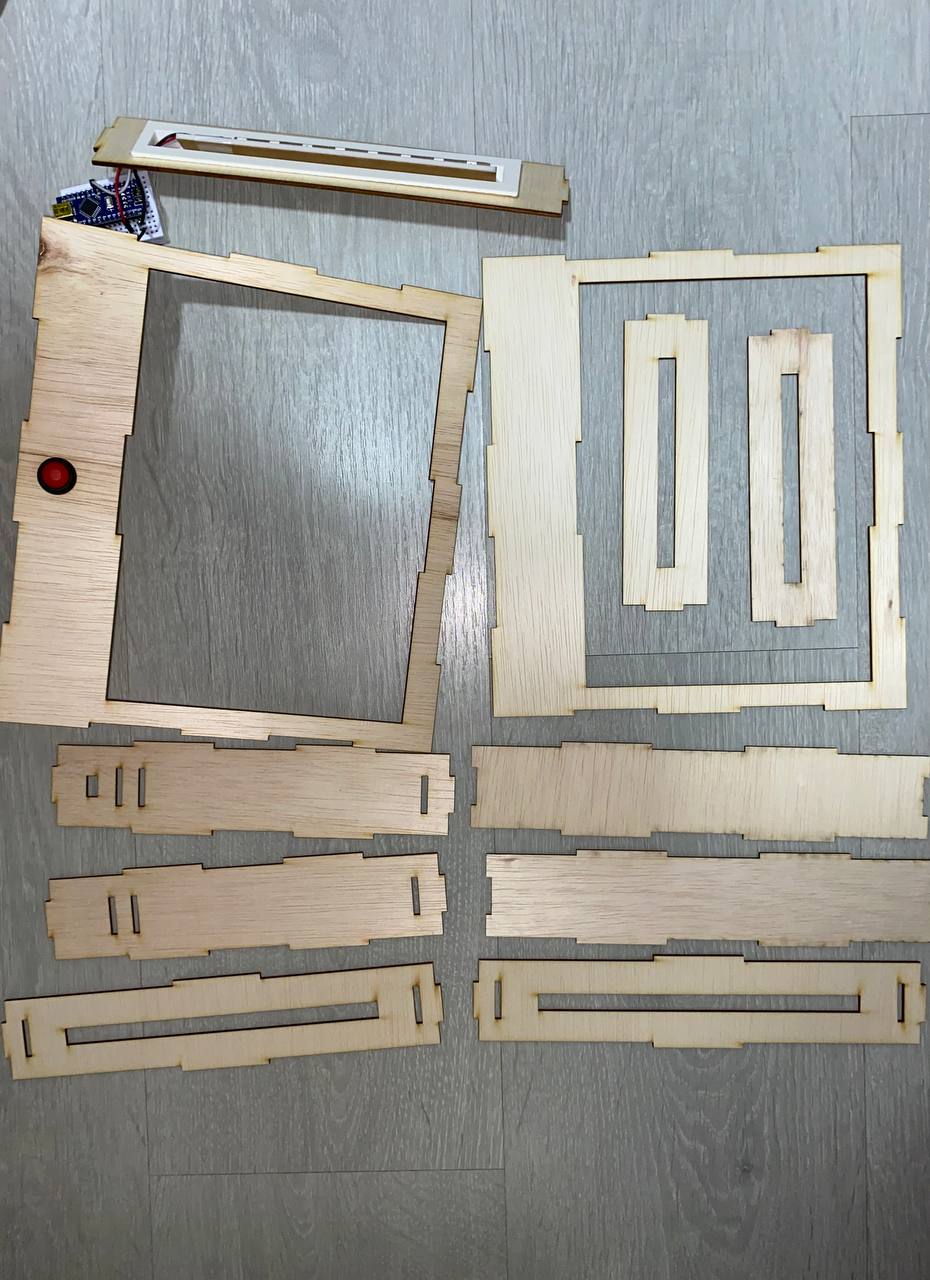
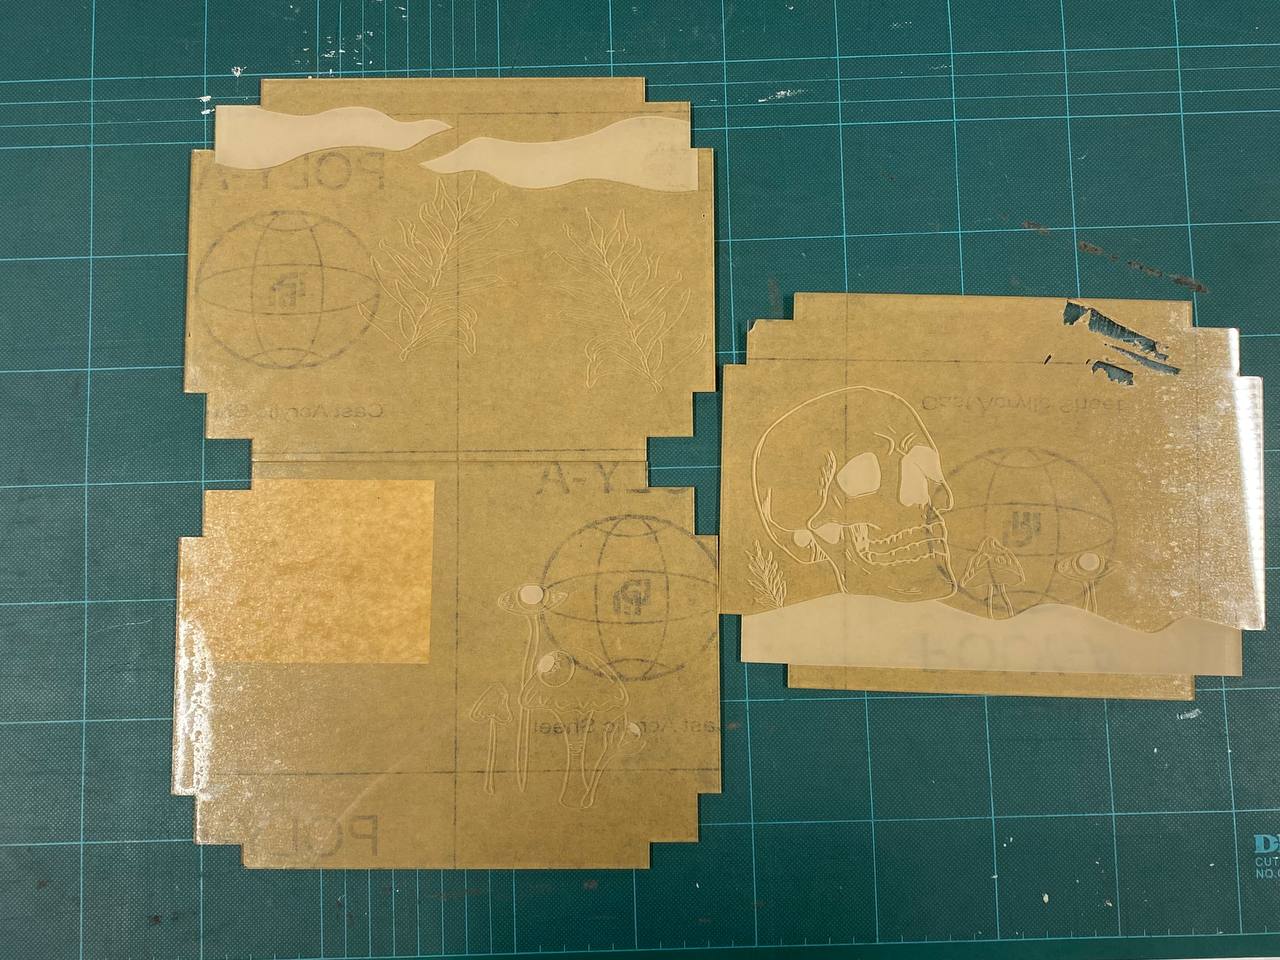
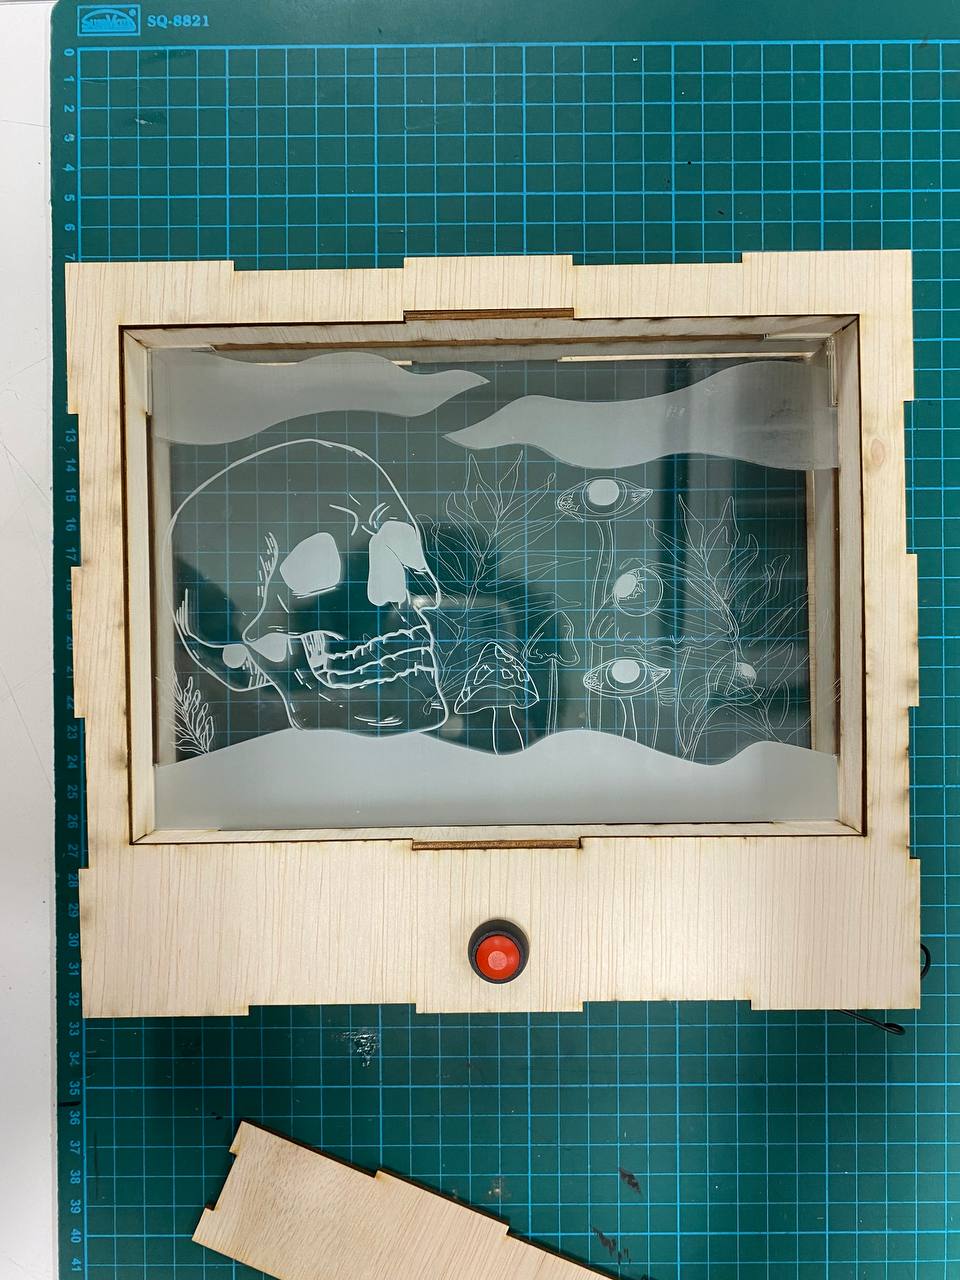
After cutting, they looked like this. I then roughly set everything up to visualise and test if my housing worked or not, and it did.
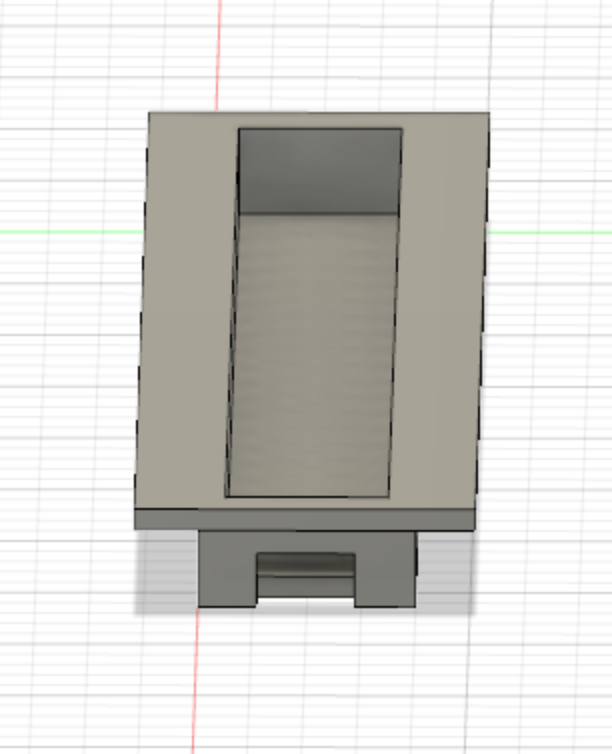
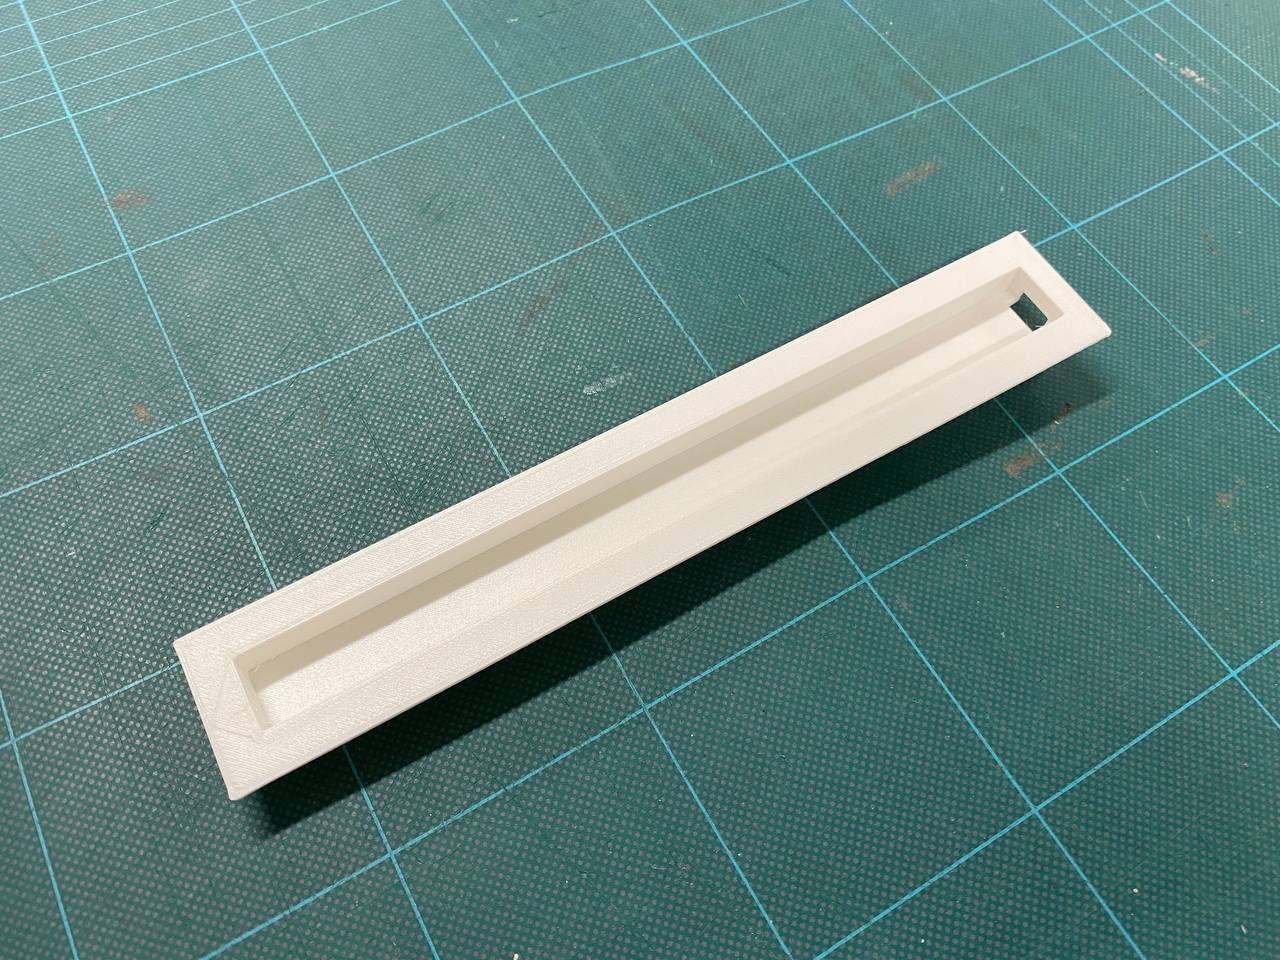
Next, I went back to Fusion 360, and designed a Neopixel holder. I measured the mounted Neopixel I had, and made a simple holder for it to rest into. I also added a hole on the right side for the wires to go through for it to connect to the Arduino Nano.
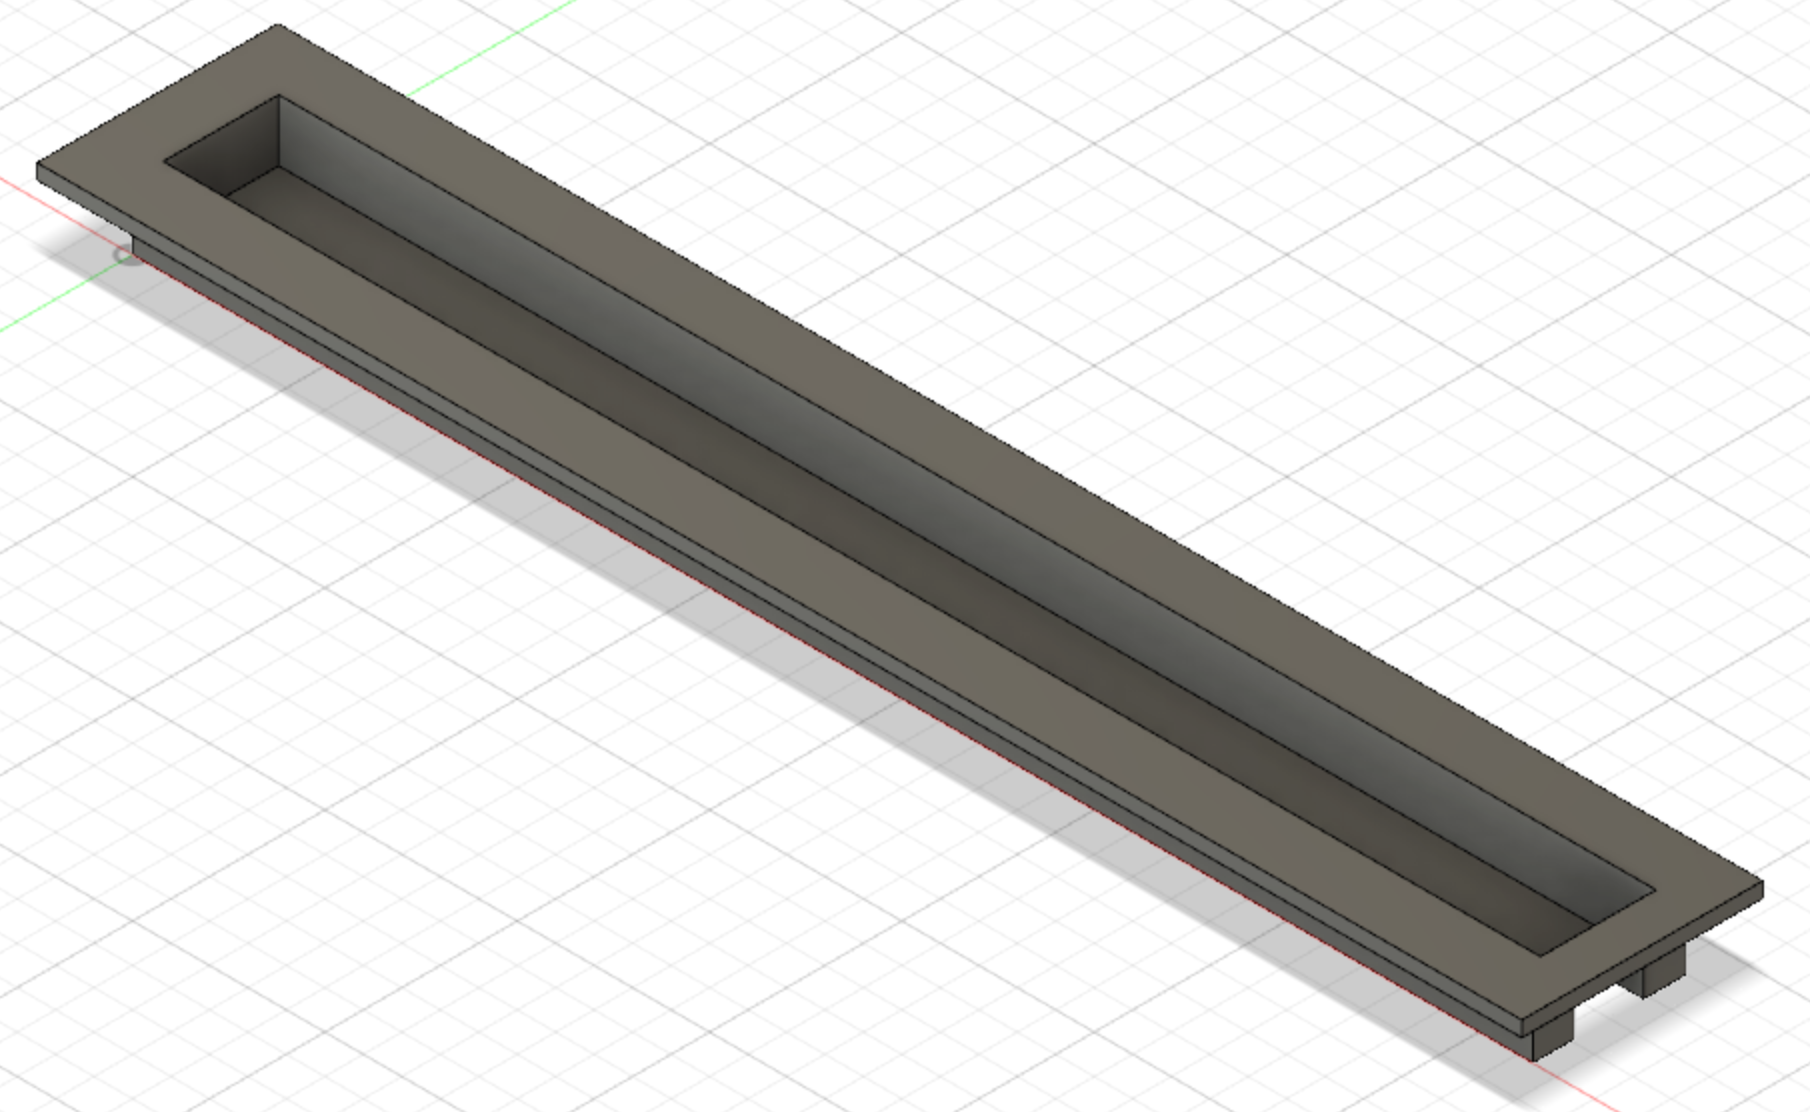
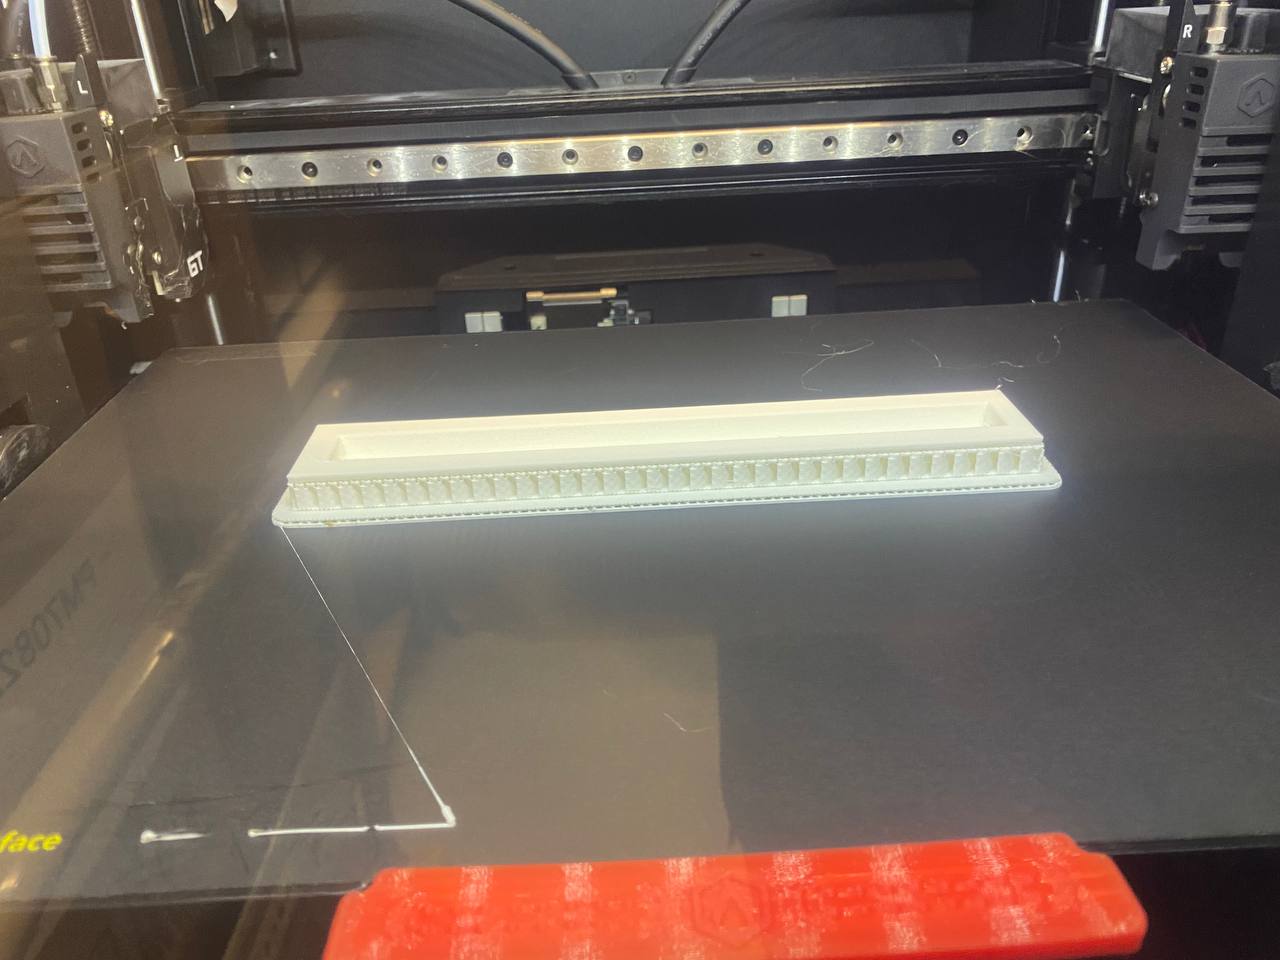
After slicing the code, I exported it as gcode and sent the file for printing at the 3D printer. I then checked to see if the Neopixel fit, and if the holder fits into the hosuing, and thankfully, both worked.
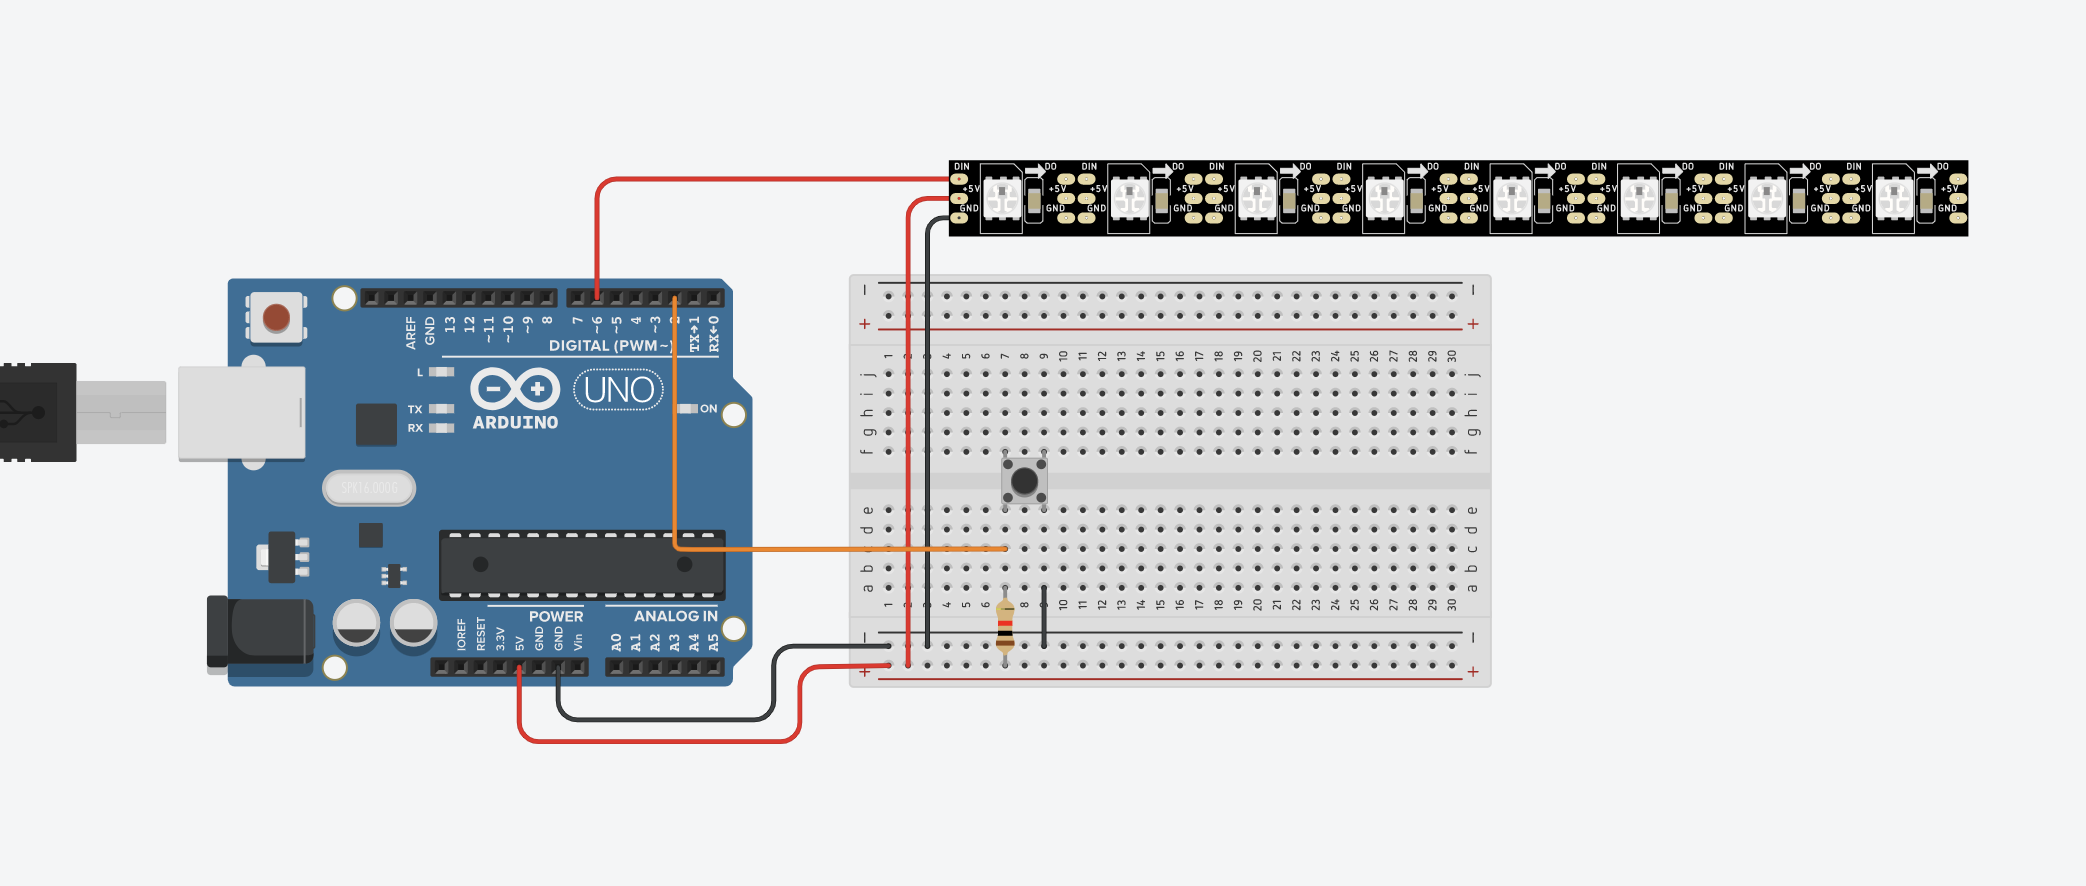
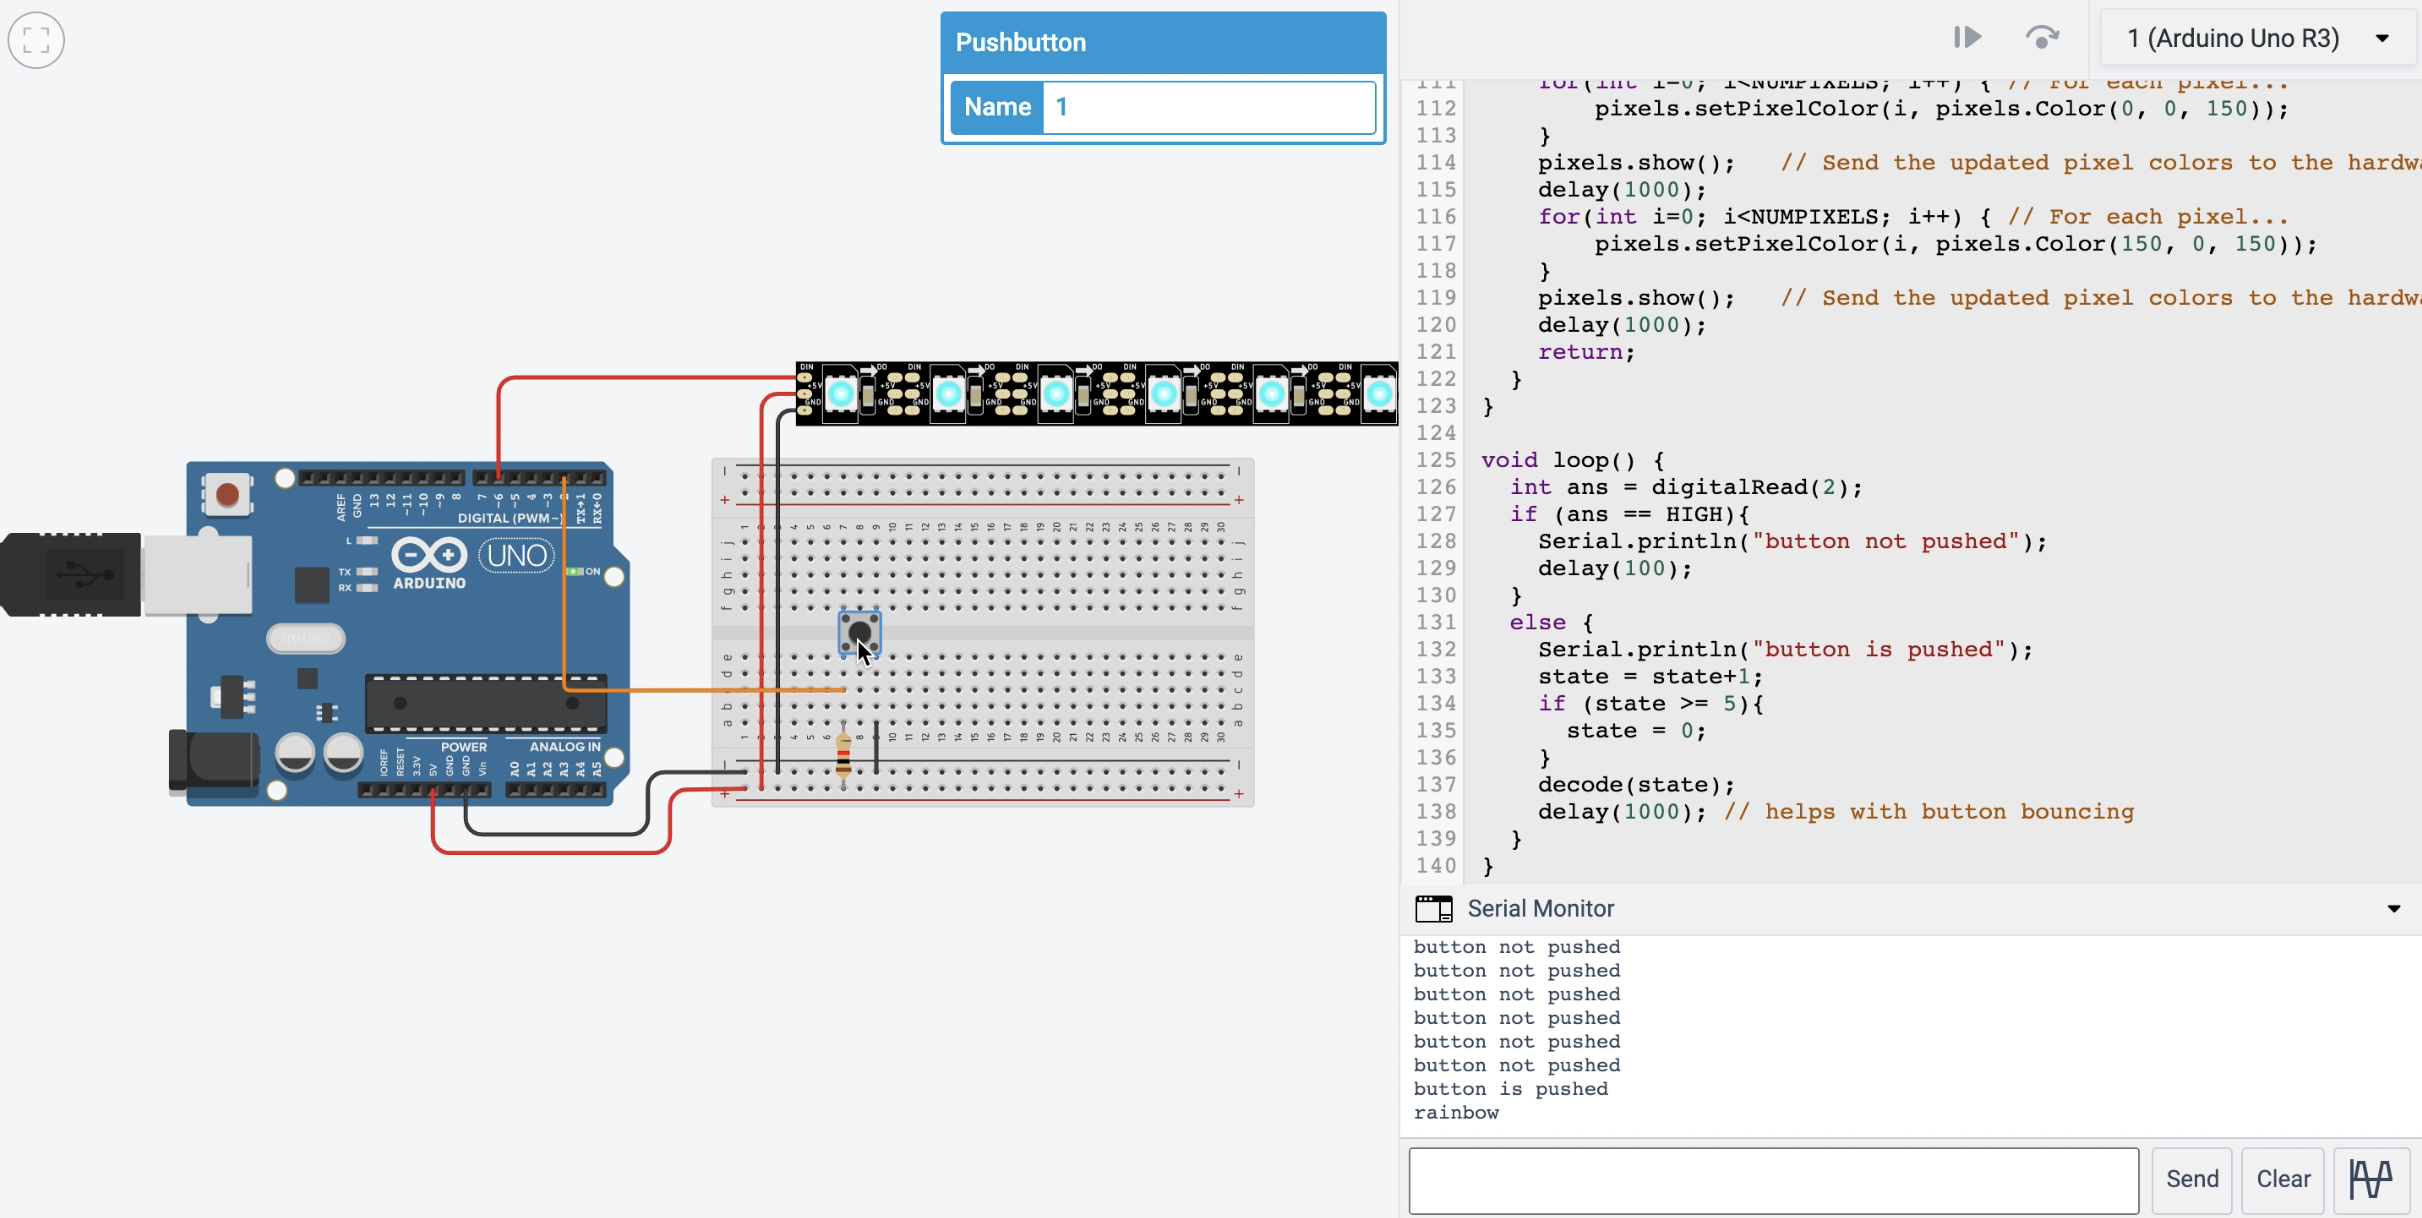
I then started working on the circuit and code. I tested it out on TinkerCad first. I referenced some of the old works, and came out with a layout. I went to the Adafruit Library and took the example code provided, and inserted it into TinkerCad, adding in the digital pin number and number of LEDs. Then, I tested it out to see if the Neopixel would light up, first and foremost. After I checked that it worked, I tried to add in the button functions. Then, I created multiple states for my different colour modes, and wrote if statements to connect the push button to the Neopixel for it to toggle with every click of the button.
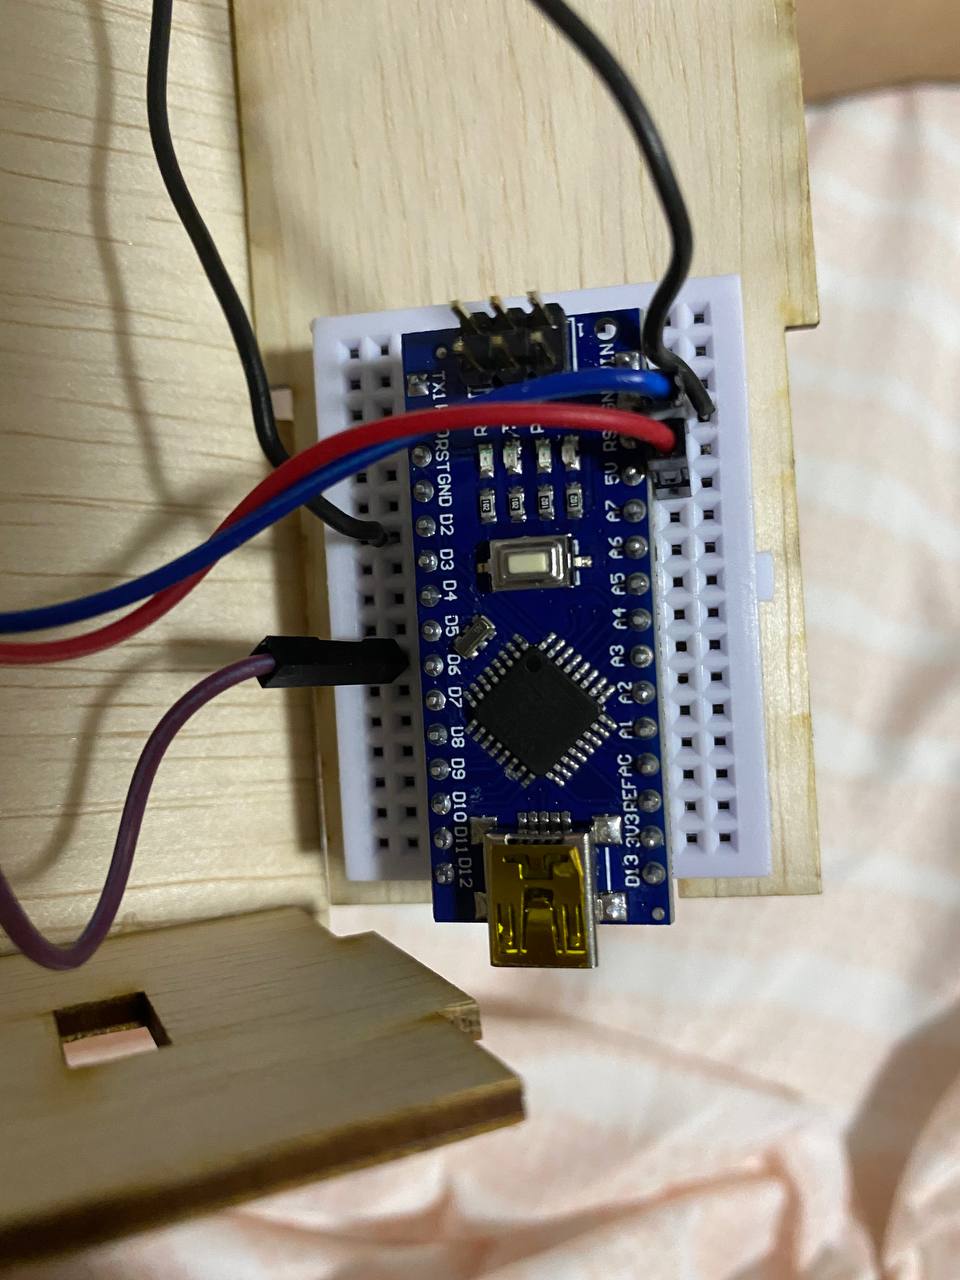
After checking the code on TinkerCad, I transferred it to Arduino to test it out again physically. I wired out the circuit according to the TinkerCad circuit, and inserted the code into Arduino. Once I connected it to my laptop which acts as the power source, I tested out the functions which I confirm worked.
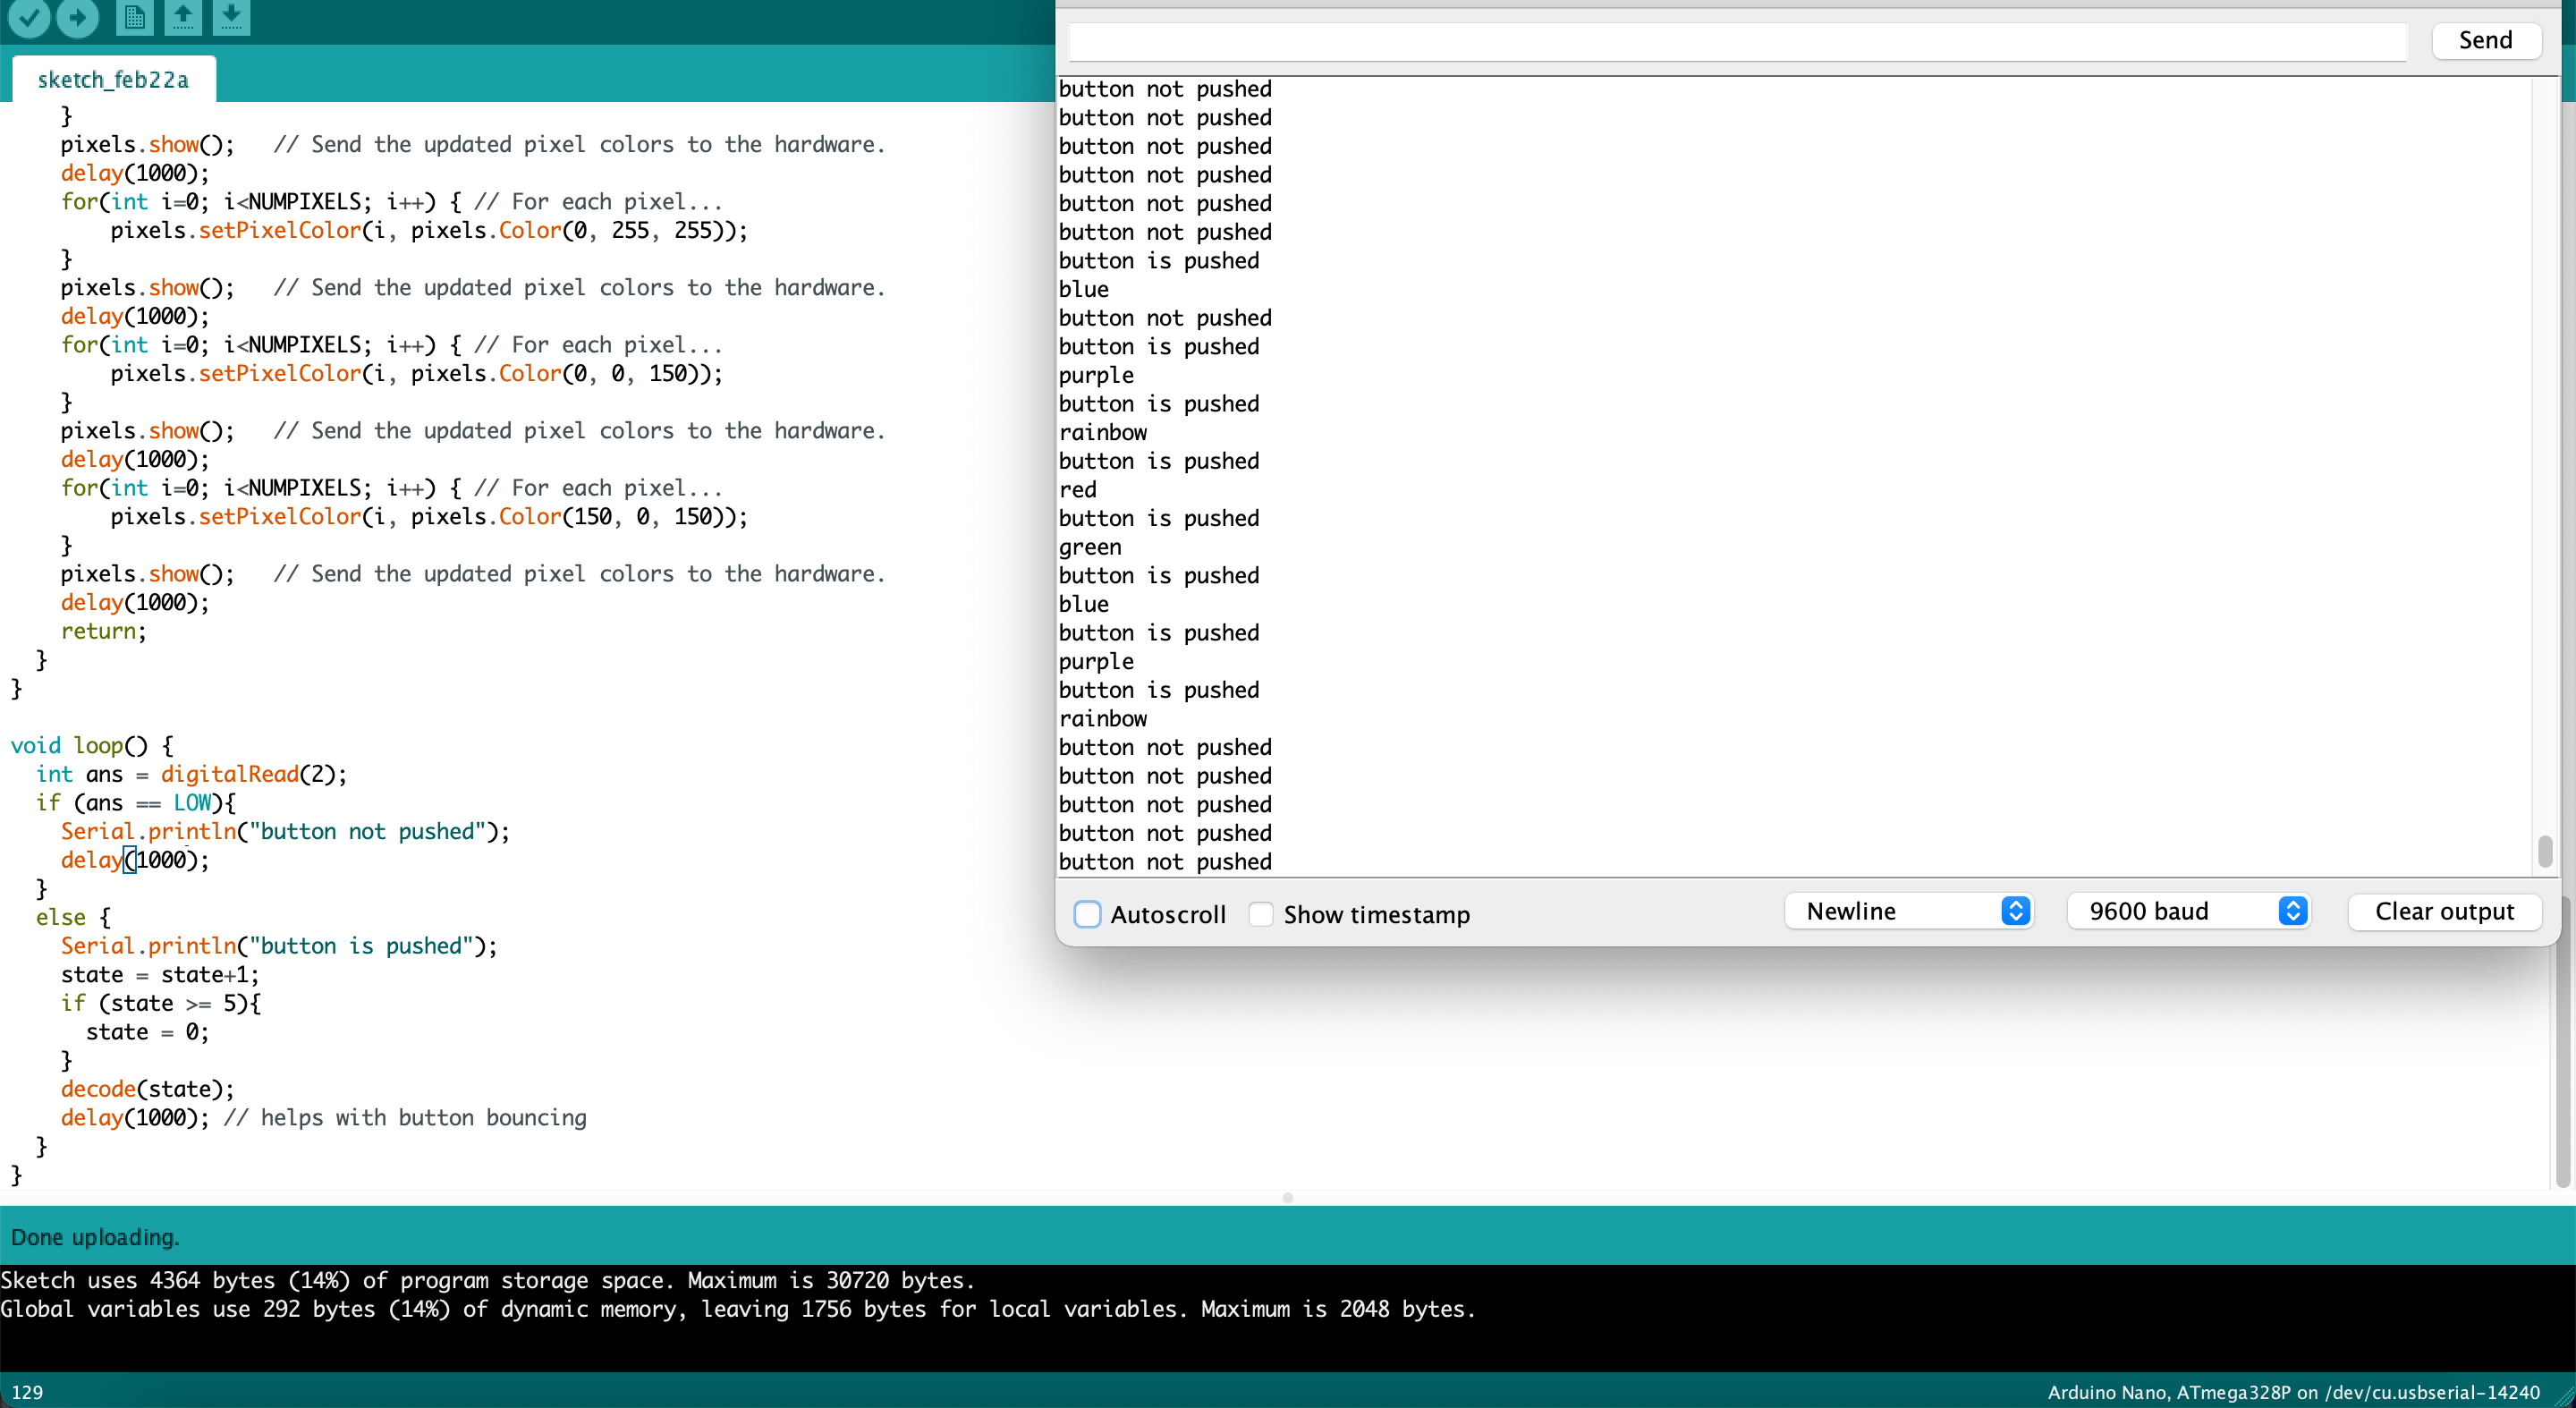
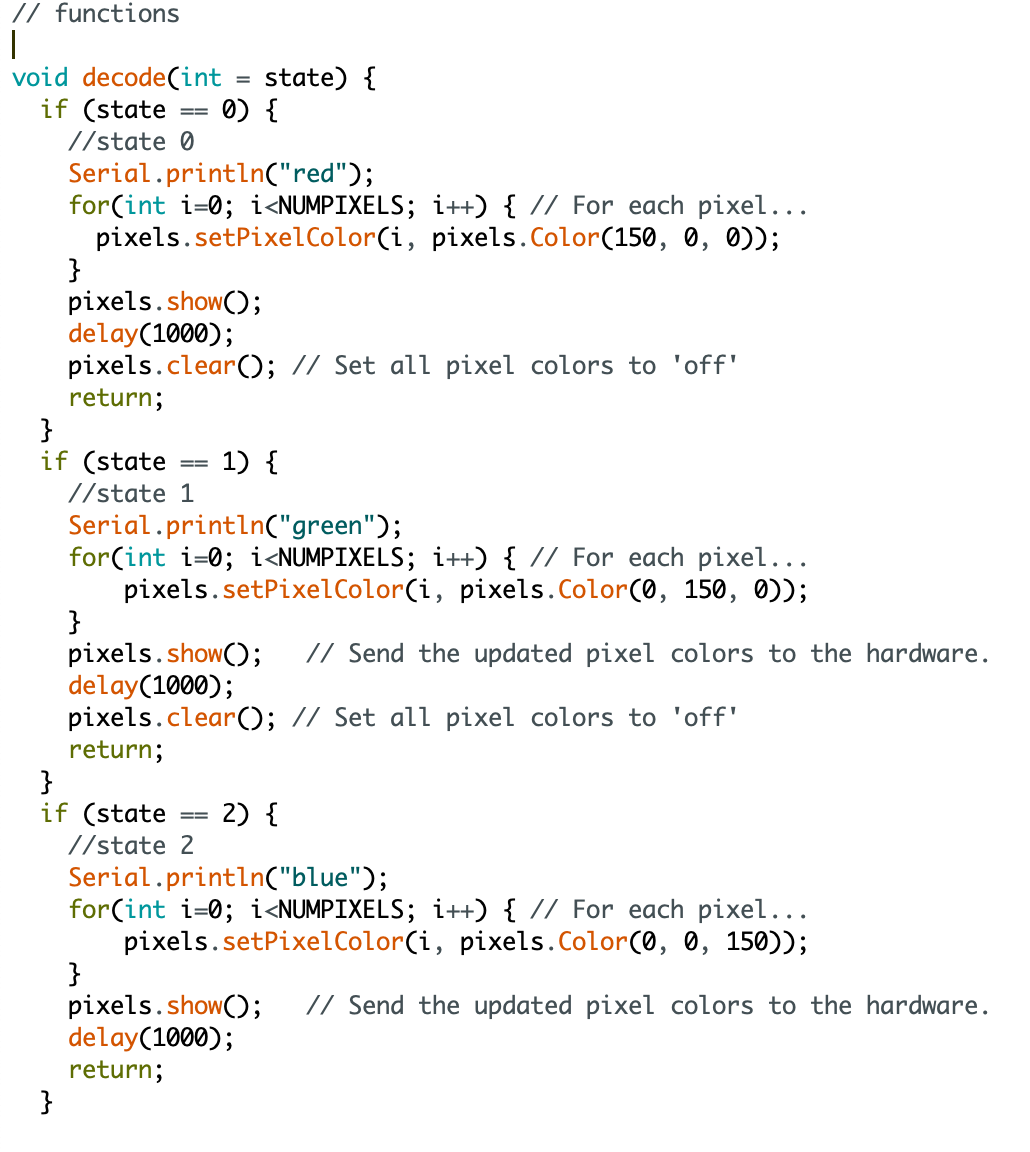
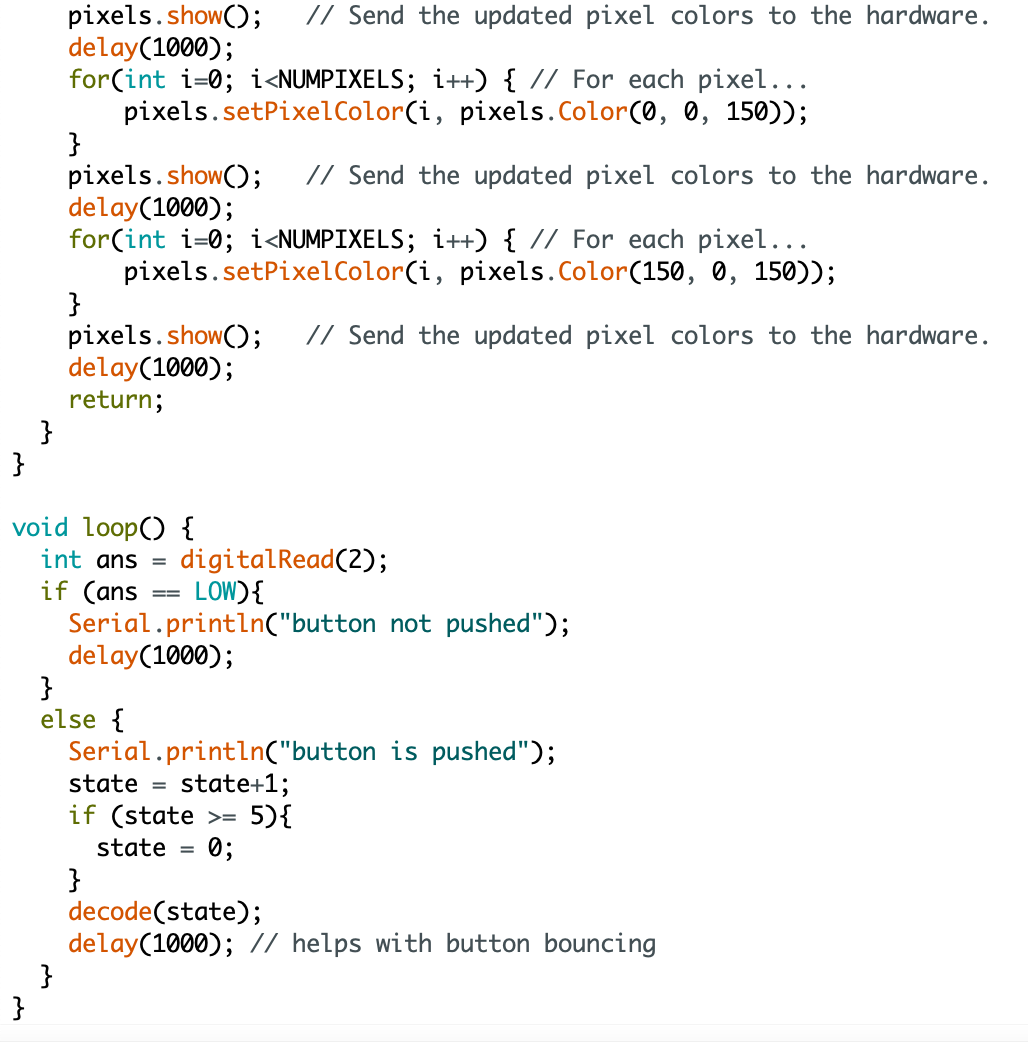
This is my Arduino code.


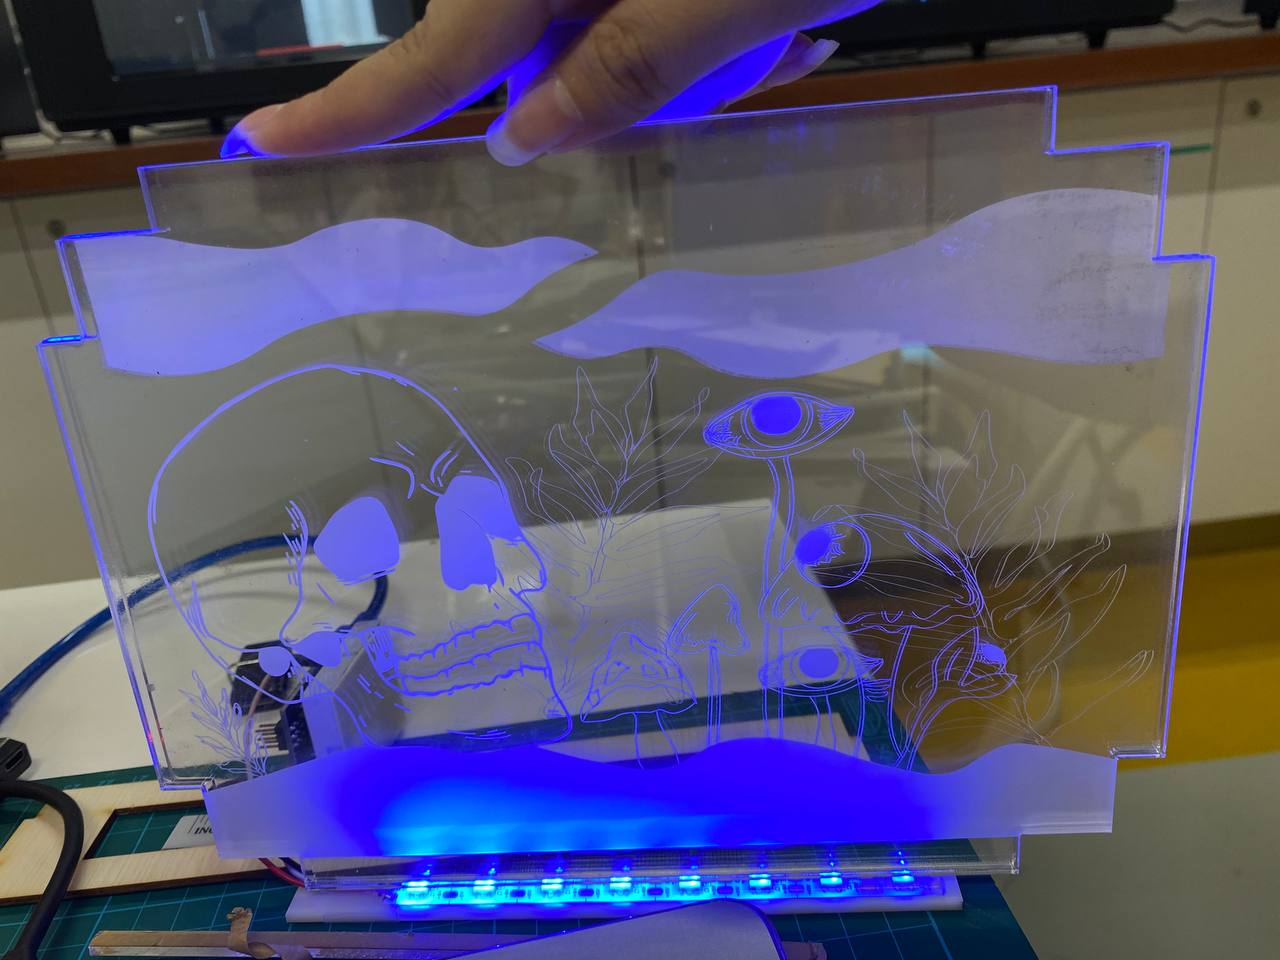
I checked the Neopixel with the acrylic boards, just to confirm that they would light up as what I imaged them to be like.
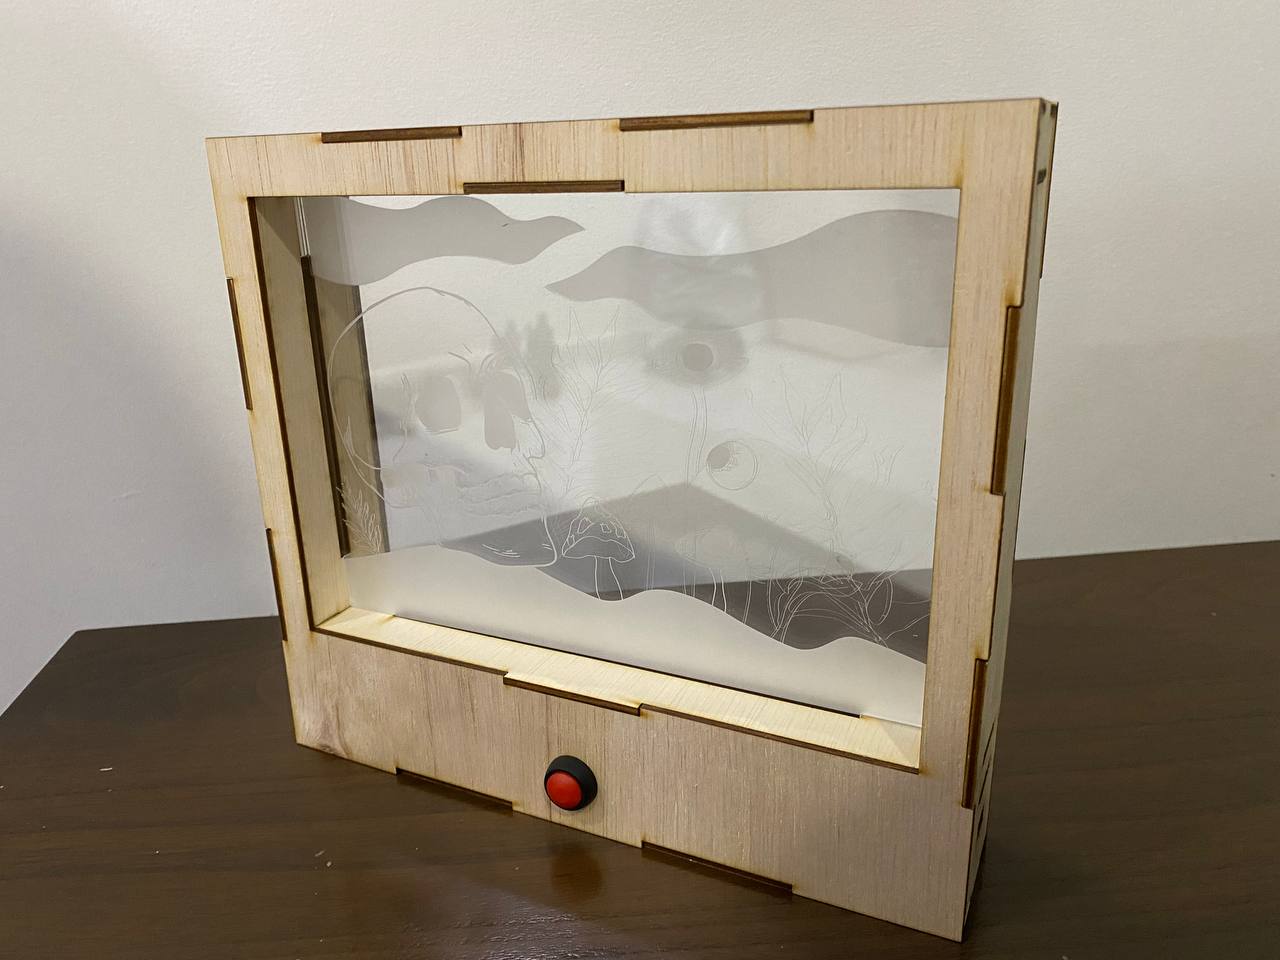
Finally, I assembled everything together, and then tested out the mood light again with it assembled. I tested out the buttons and toggling of the different colour modes, and confirming it worked. Project successful!

Here are my deliverables.
This project was surprisingly really fun to do! I really loved that we could incorporate all that we have learnt so far in this eelctive to our project of choice. I really enjoyed illustrating the light design, doing 3D computer aided design on Fusion 360, and using the laser cutter and 3D printer. The assembling was also really fun, as I felt the satisfaction of building something from scratch, which made me very happy. For me, I struggled with the coding, as I was really new to coding, and was not sure what to do, where to include and remove codes, or what type of code to use. It took me a few tries, as well as some of my friend's help to finish the code. Another thing was that there seemed to be a weak connection between the Arduino Nano and the breadboard. I had to press down my Nano really hard before the functions could work, despite the code and wirring being correct, or it would keep popping out of the breadboard. This stunned me at first, as I thought I was doing something wrong, but I then realised it was the breadboard providing a weak connection. I also struggled with button bouncing, which was quite frustrating. I had to increase the delay to fix the problem, and it caused the reaction to be slightly slower than what I wanted it to be. All in all, I was very glad I could learn a wide range of skills that I could possibly use in my future projects even as a design student, and am truly grateful for this fanstastic learning experience.