EP1000 Digital Fabrication Prototyping Fundamentals
3D Printing!
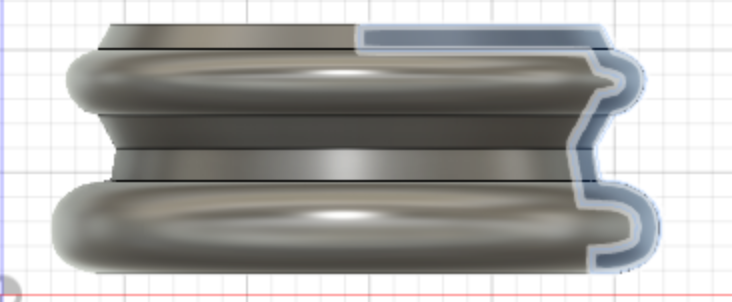
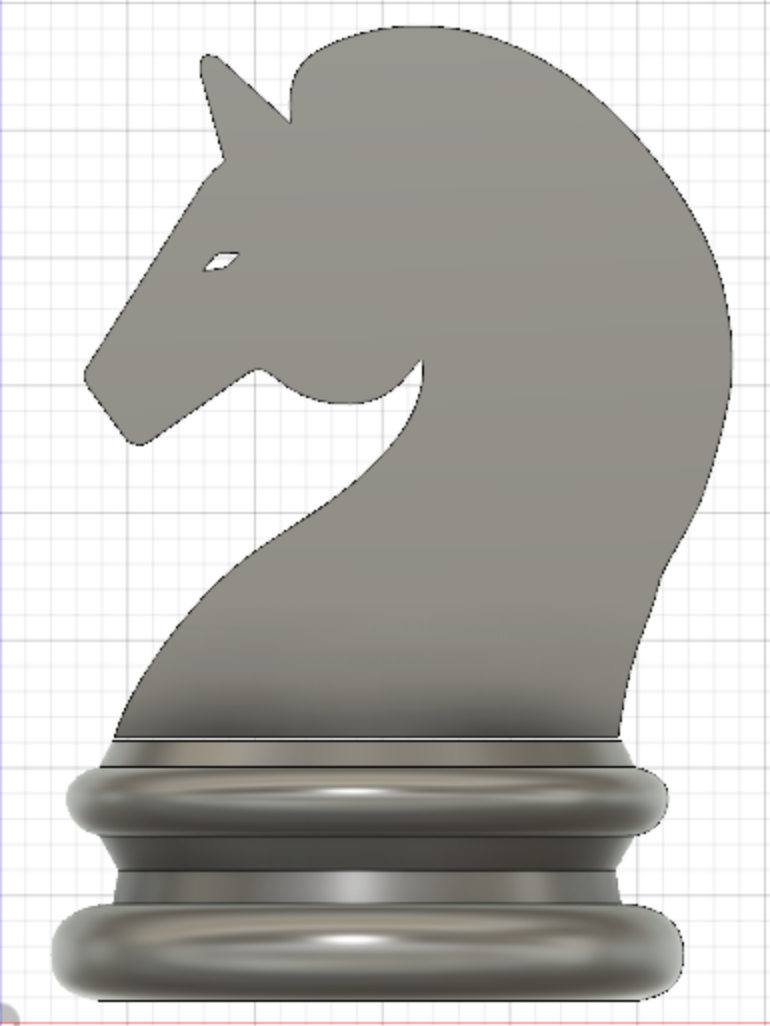
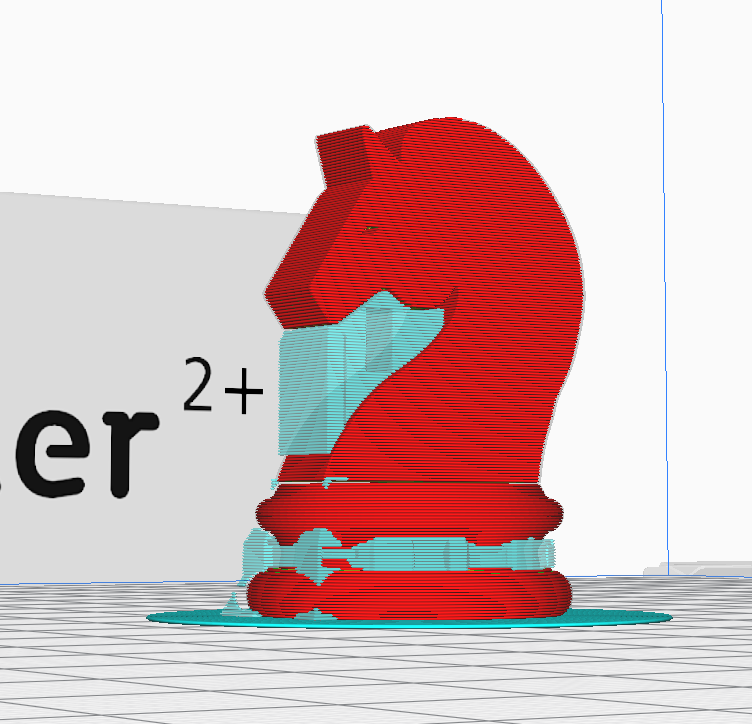
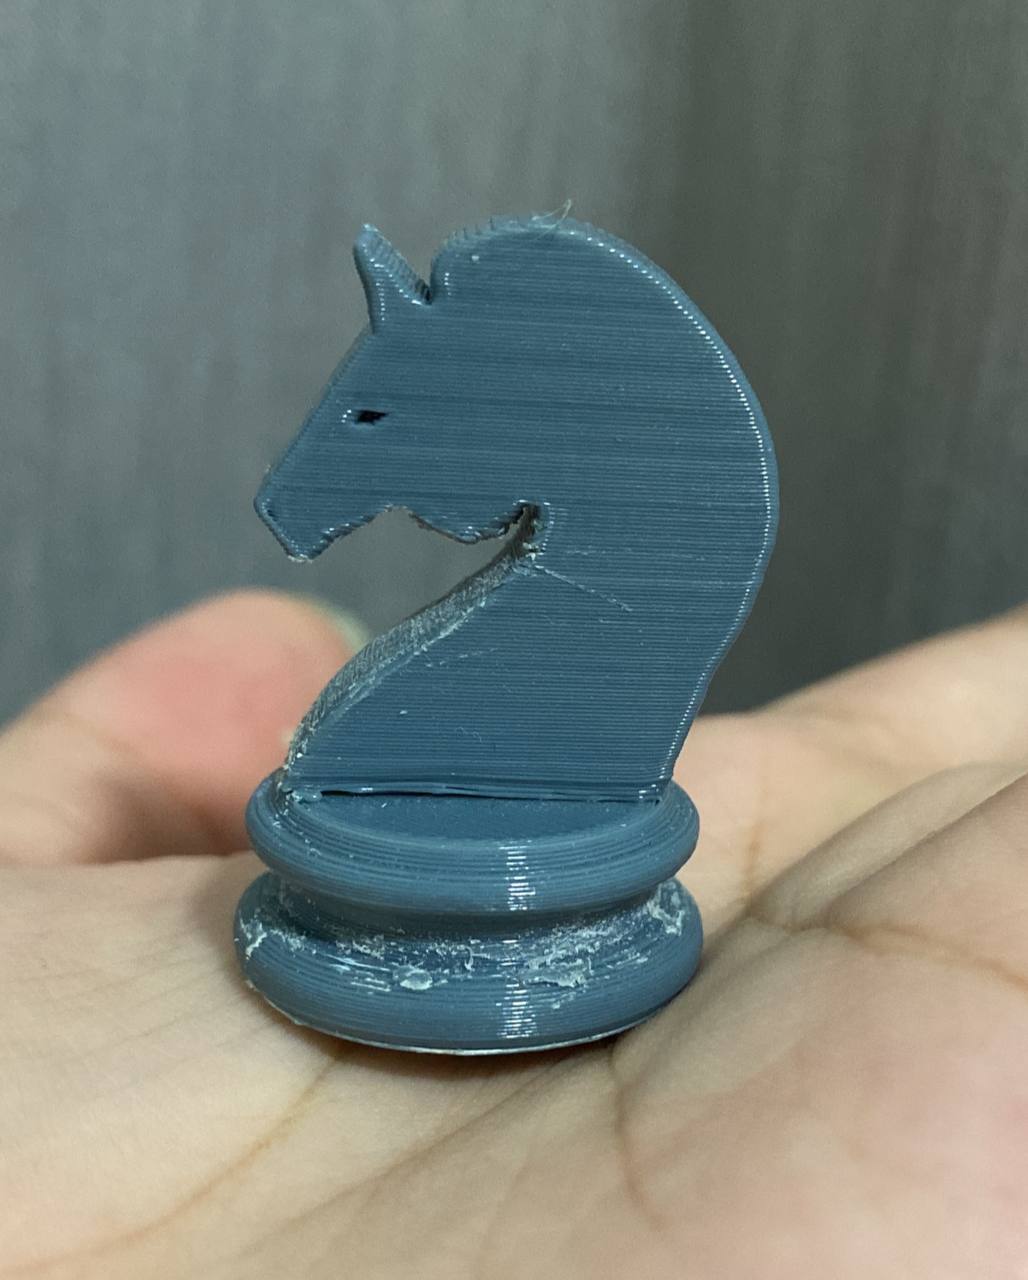
We eventually were told to create a knight chess piece to 3D print, which got me quite excited. At first, I was not able to form the correct shape, but with help from my friends and lecturers, I eventually managed to make a nice looking knight. I started off by finding a reference of a knight chess piece. I sketched out the outline of the base, then revolved it to form a circular base.
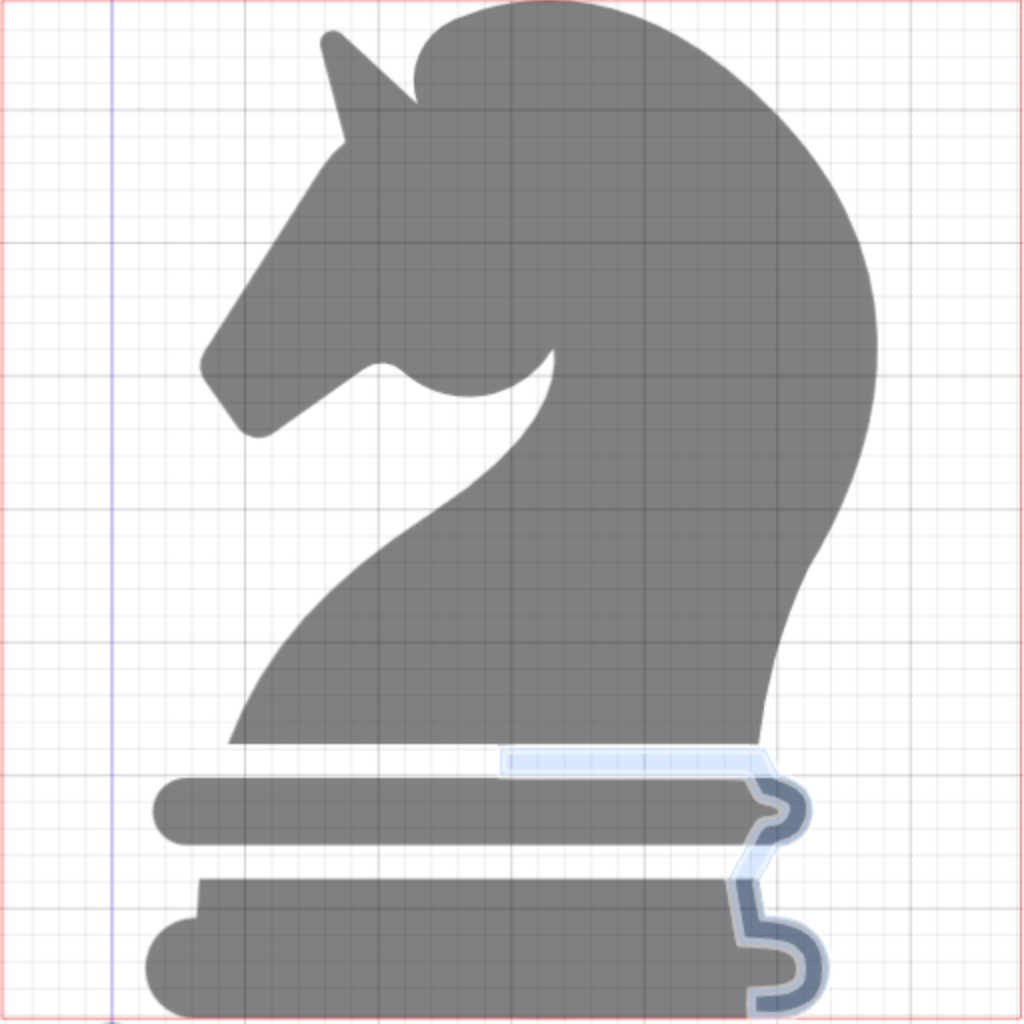
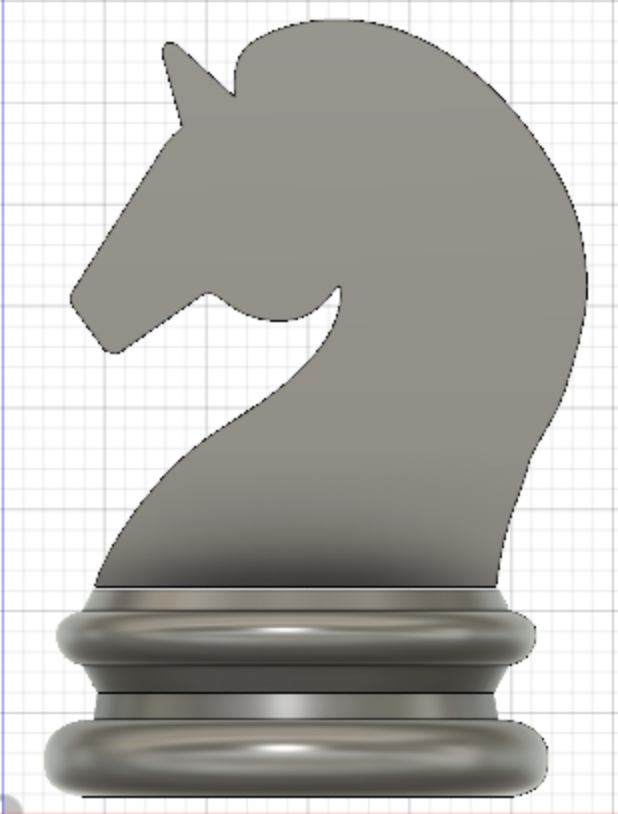
Next, I worked on the head. I made a sketch of an outline for the knight, then extruded it on both sides to give it thickness. I then made sure that it in nicely placed in the center of the circular base.
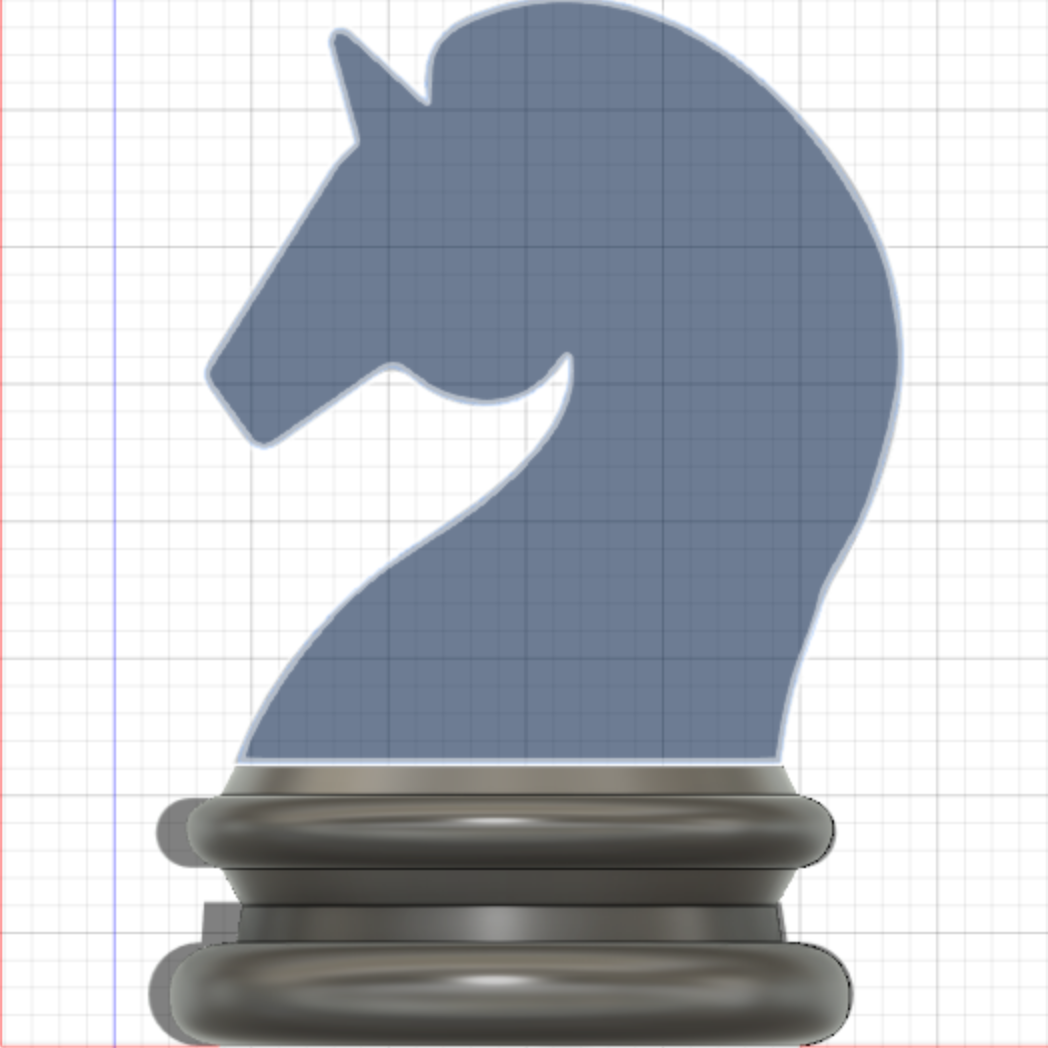
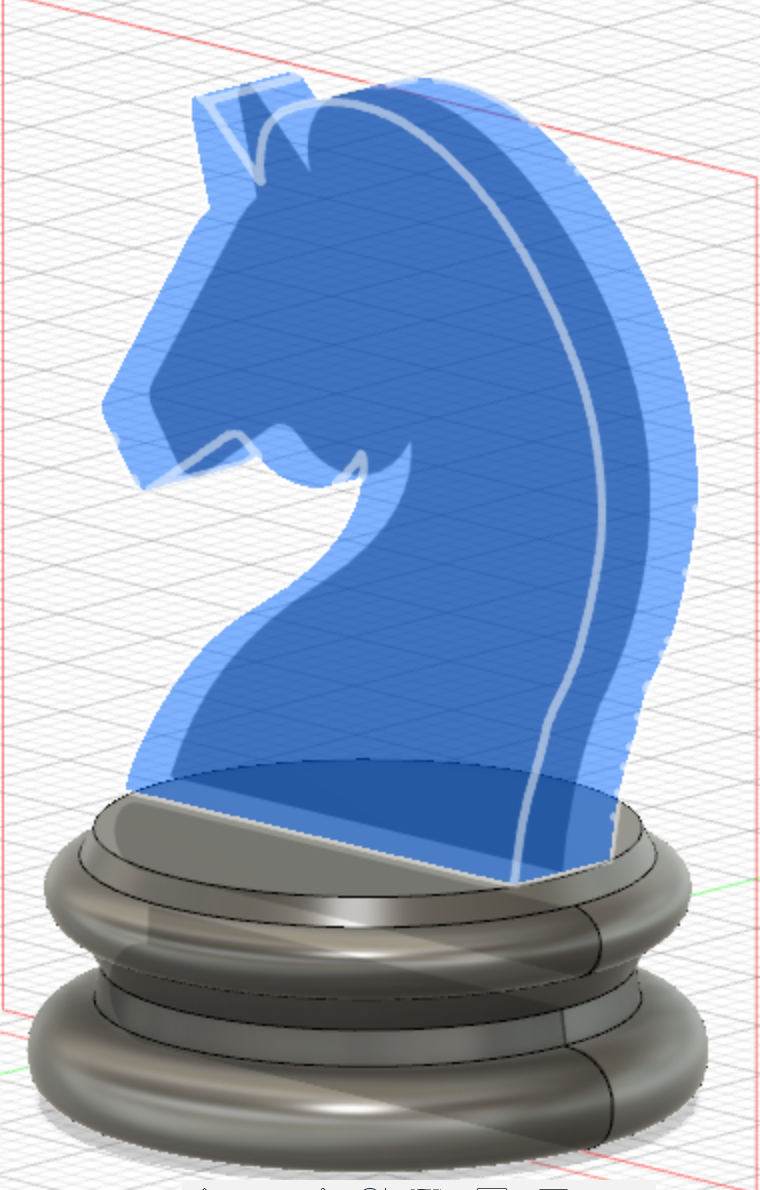
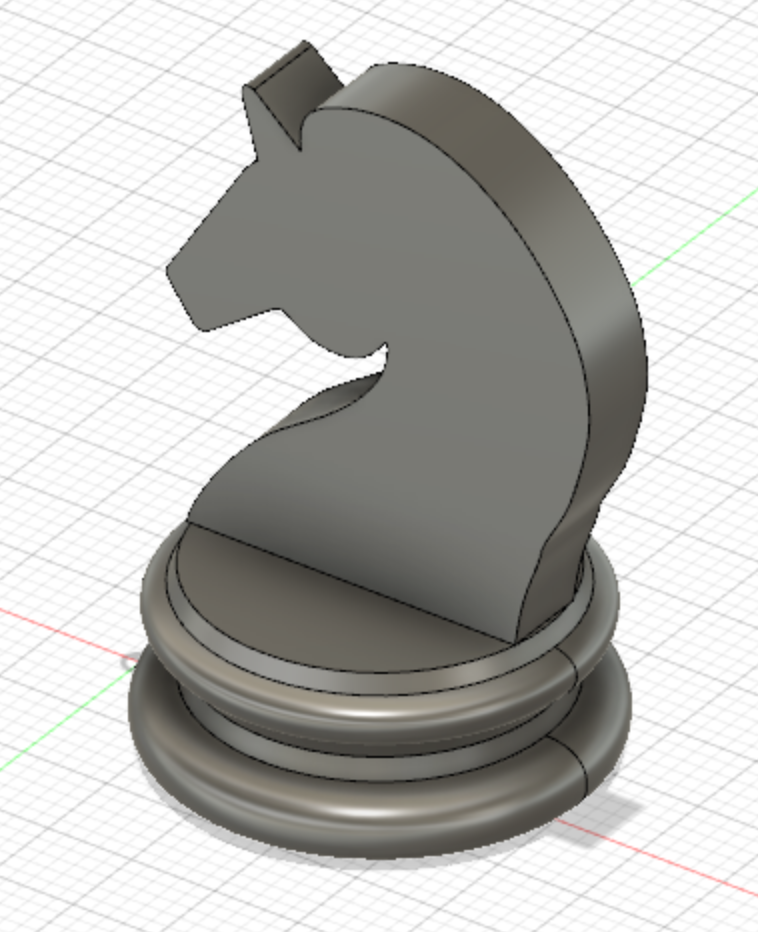
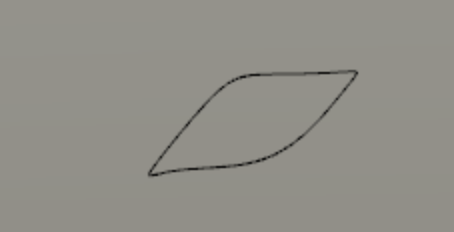
Lastly, I added an eye for the horse. I sketched out the shape of an eye, then extruded it, before cutting out the eye from the knight body. This gives us a hole for the eye on the chess piece.


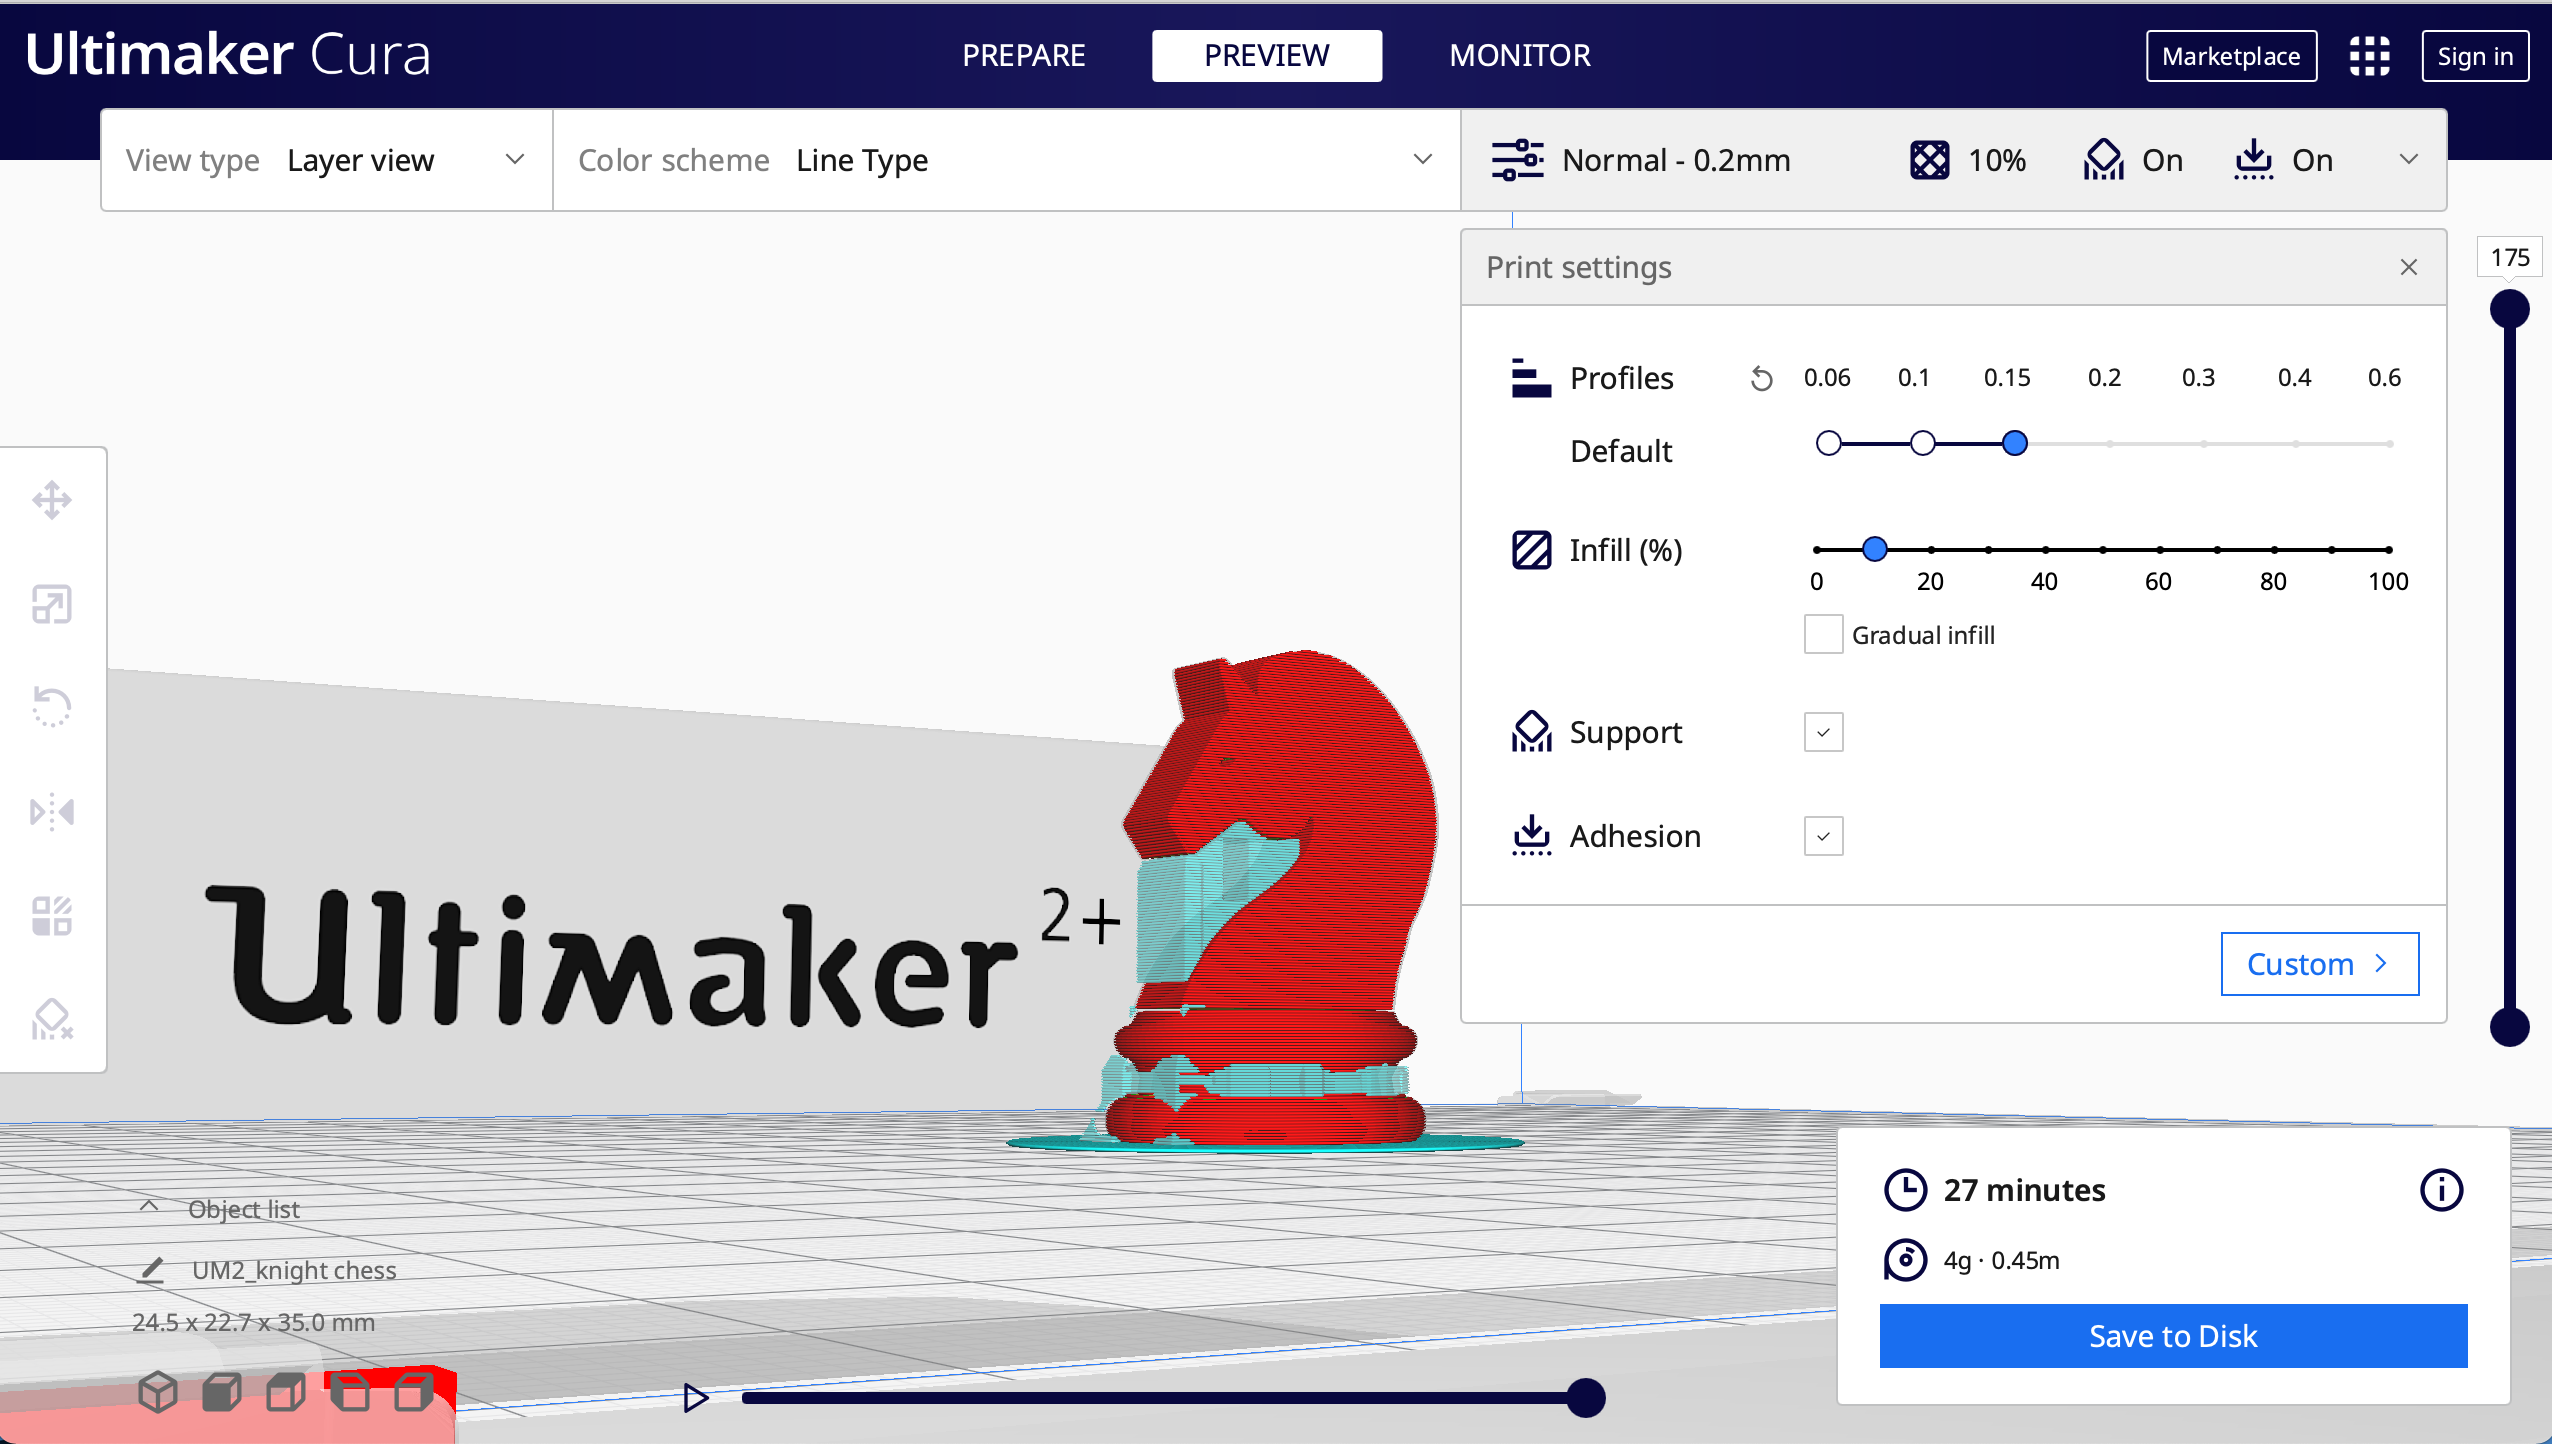
After adjusting the dimensions and size, we had to transfer it to Cura for printing. Cura was honestly very foreign to me, but hopefully I get to use it more often in future, and I'll eventually get used to it! For the settings, we have to take note to reduce the infill to 20% of less for faster printing speed. We also need to check for supports and adhesion. Lastly, we need to make sure it fits within the machine size, or there would be errors.
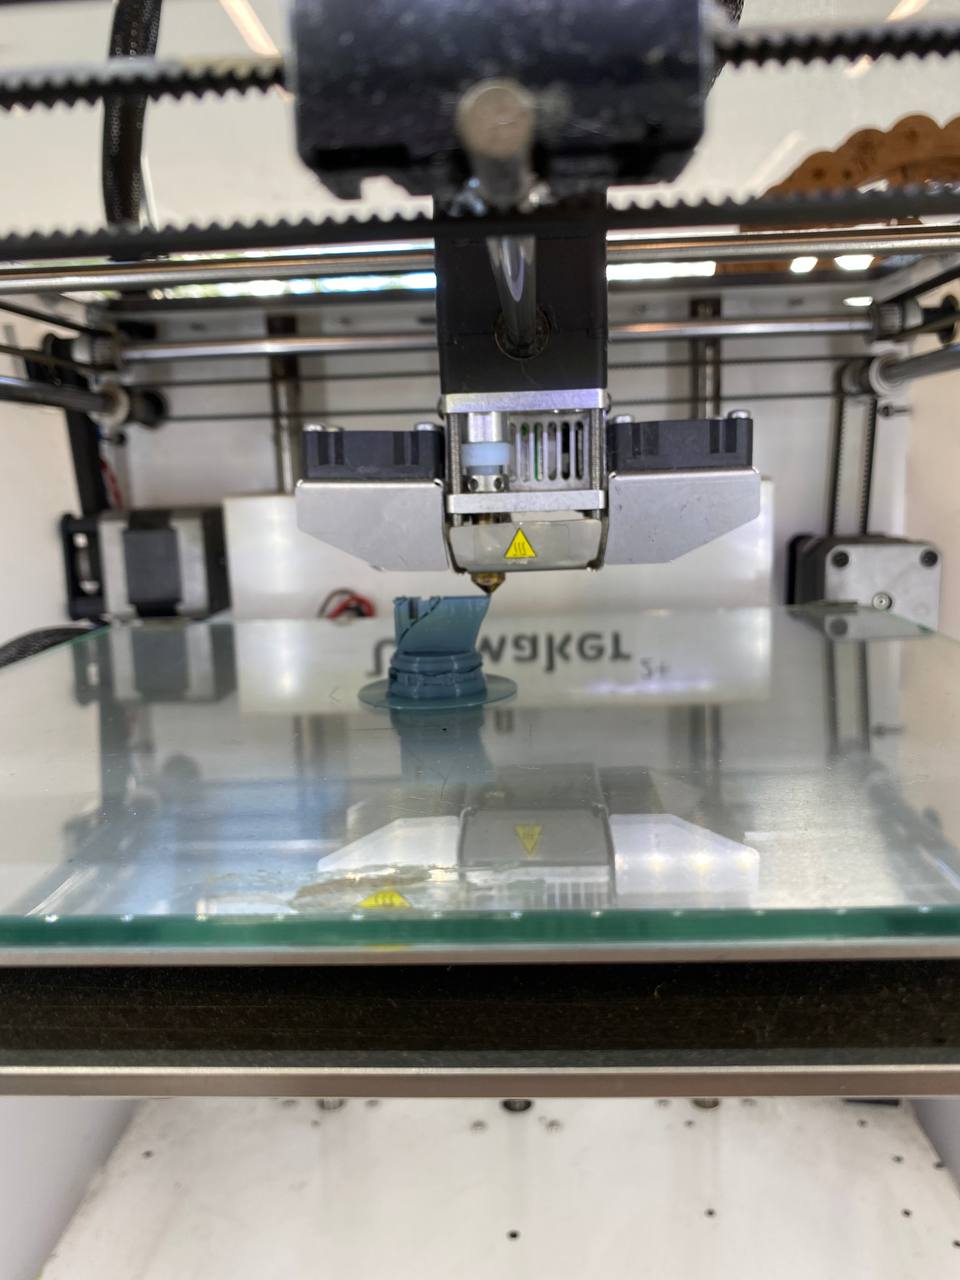
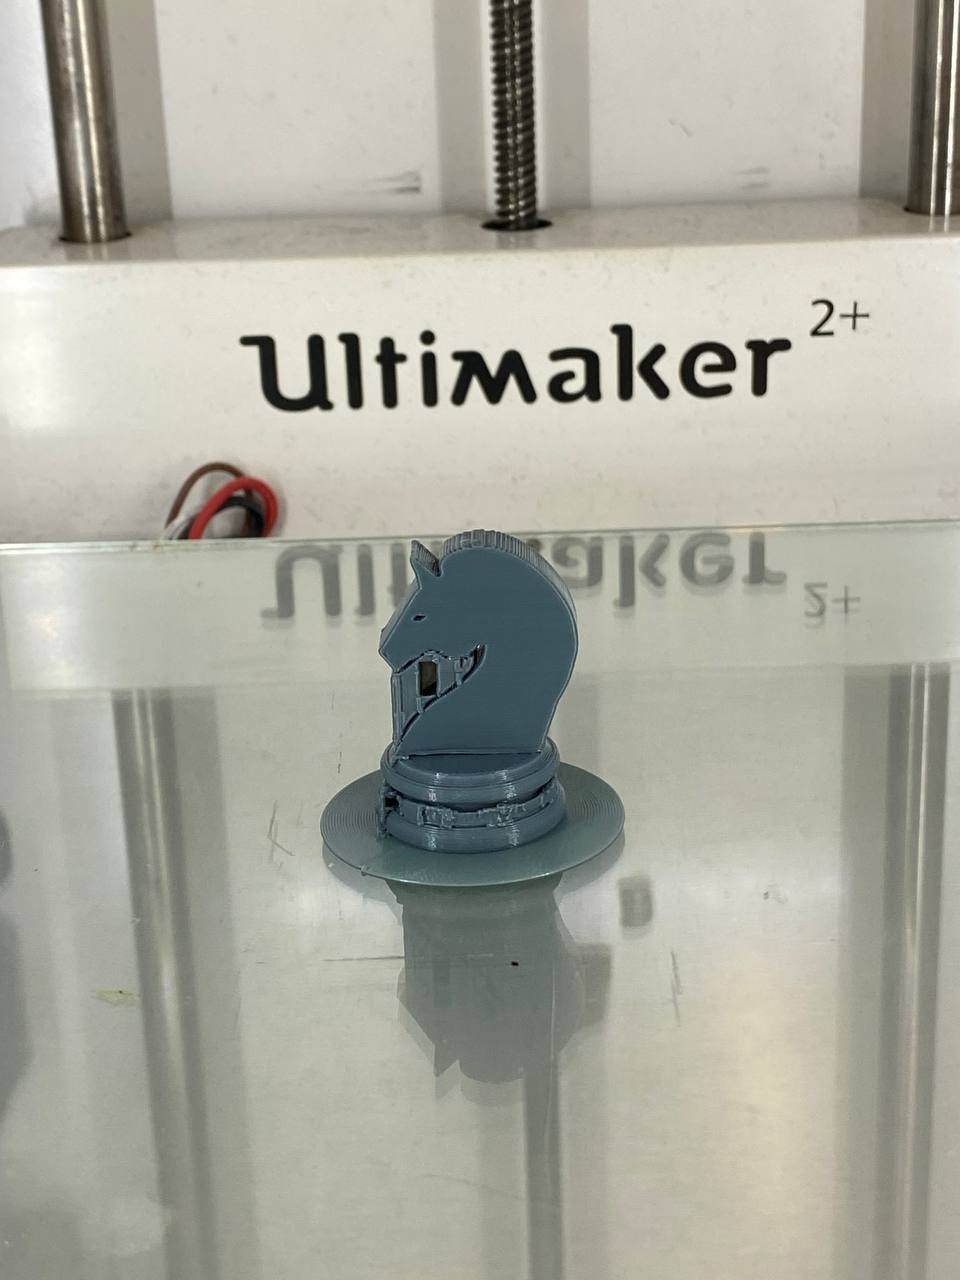
After exporting it ad gcode and transferring it to the SD card, I inserted it into the 3D printing machine, where I watched my chess piece get printed. I also cut out the supports once I was home, turning it into my final product.
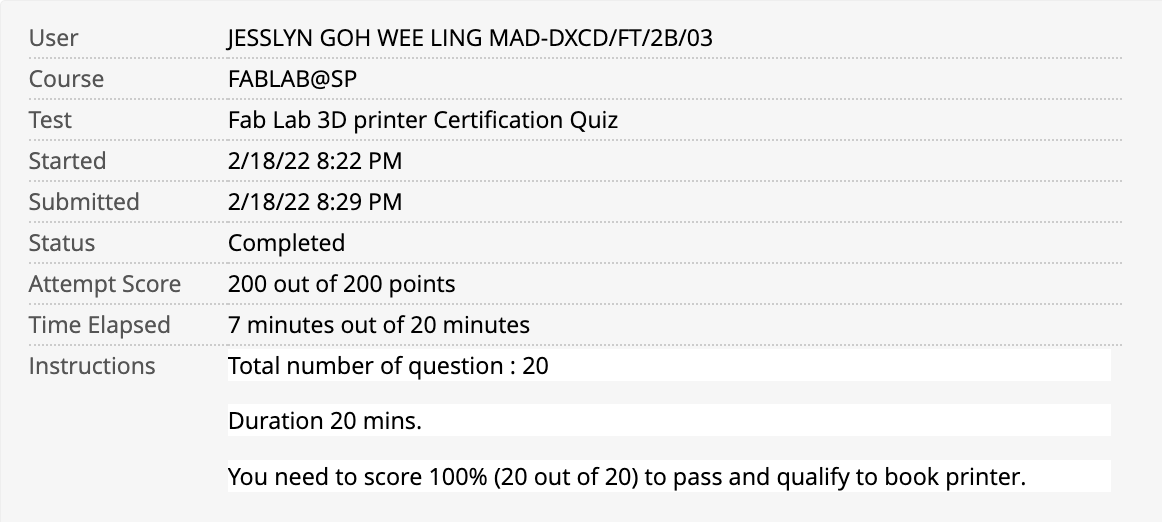
I also took the test for the 3D printer.
Since this was my first piece of physical work form this module, I got a sense of accomplishment, and it made me really happy to see my work turn into a physical item.