EP1000 Digital Fabrication Prototyping Fundamentals
Laser Cutting!
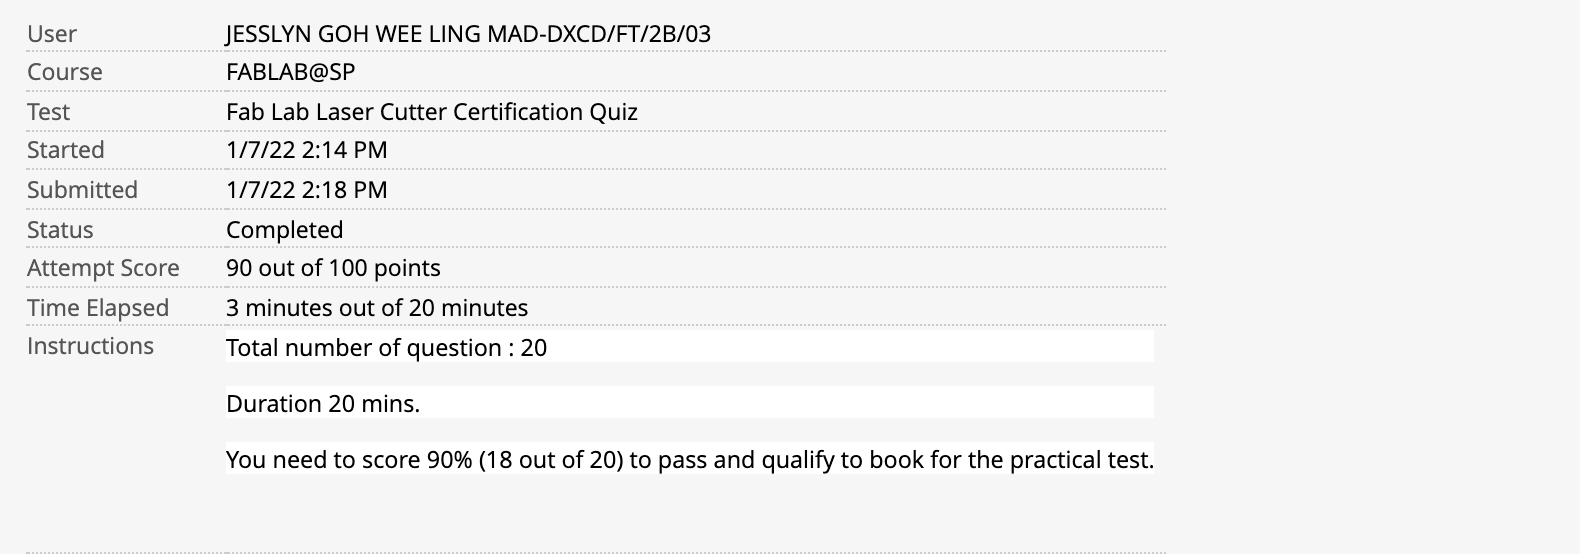
For Laser Printing, we were first required to take the test to use the printer itself for safety reasons.
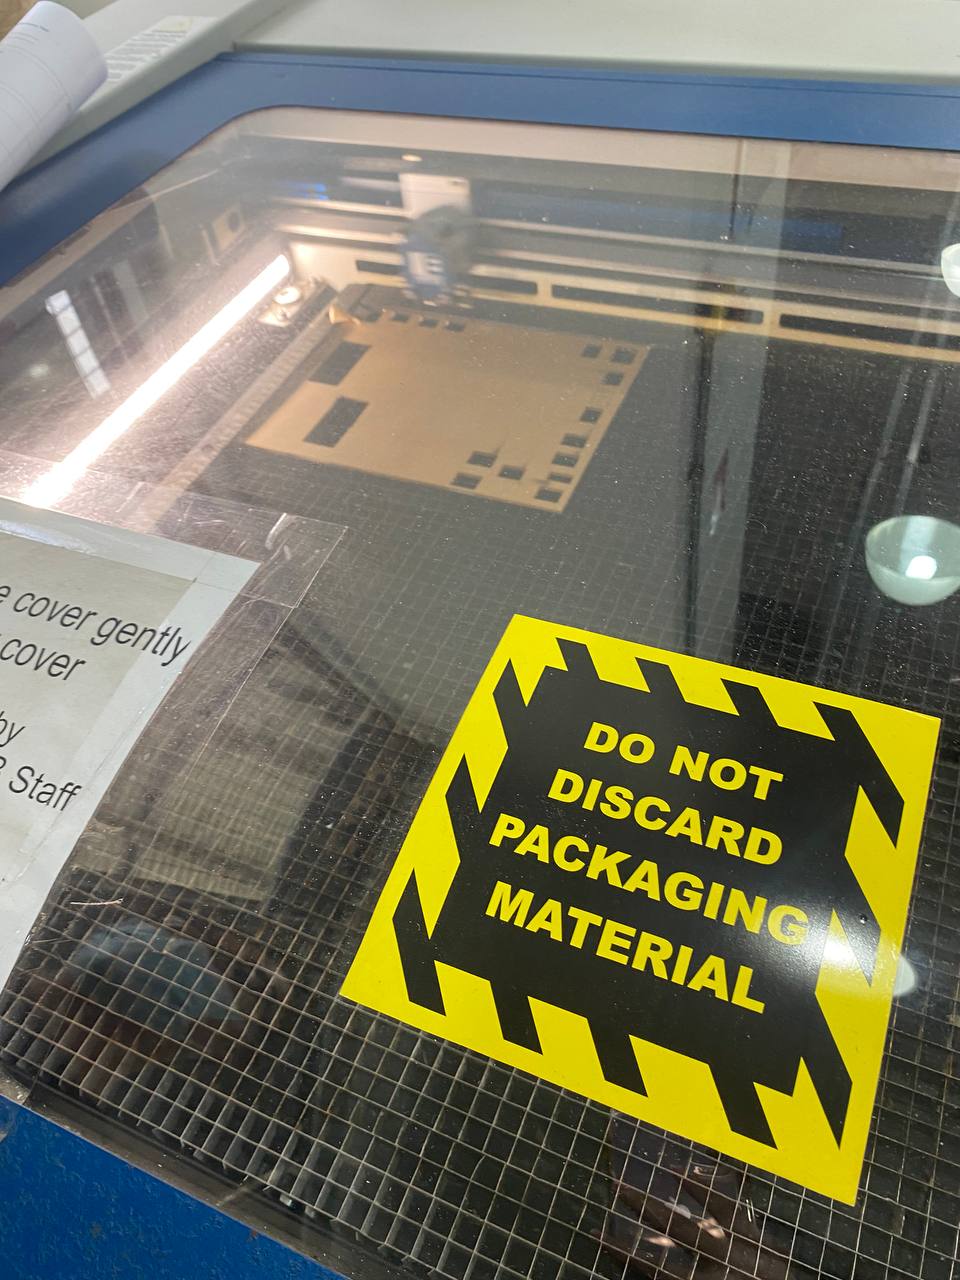
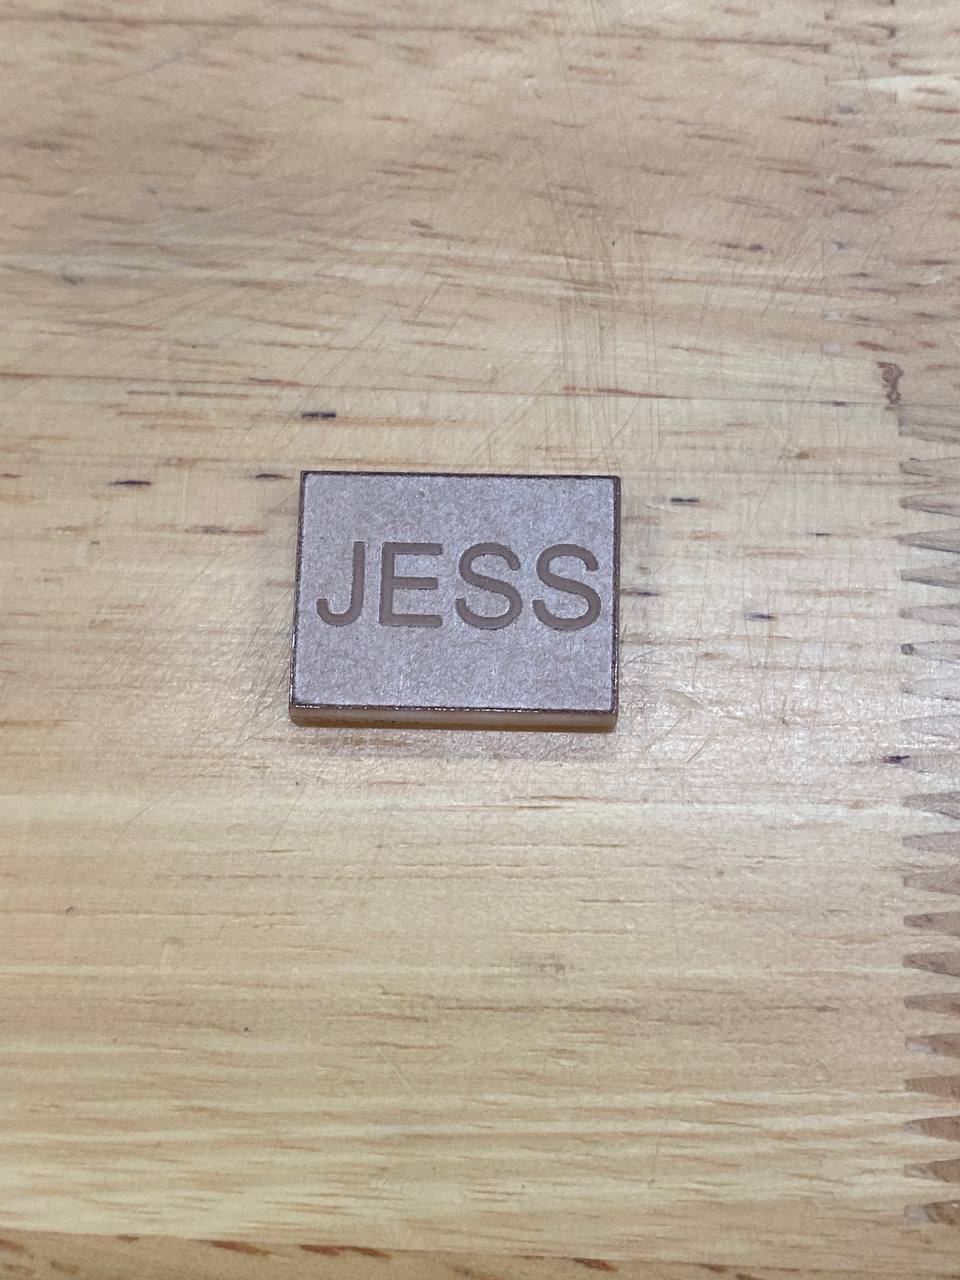
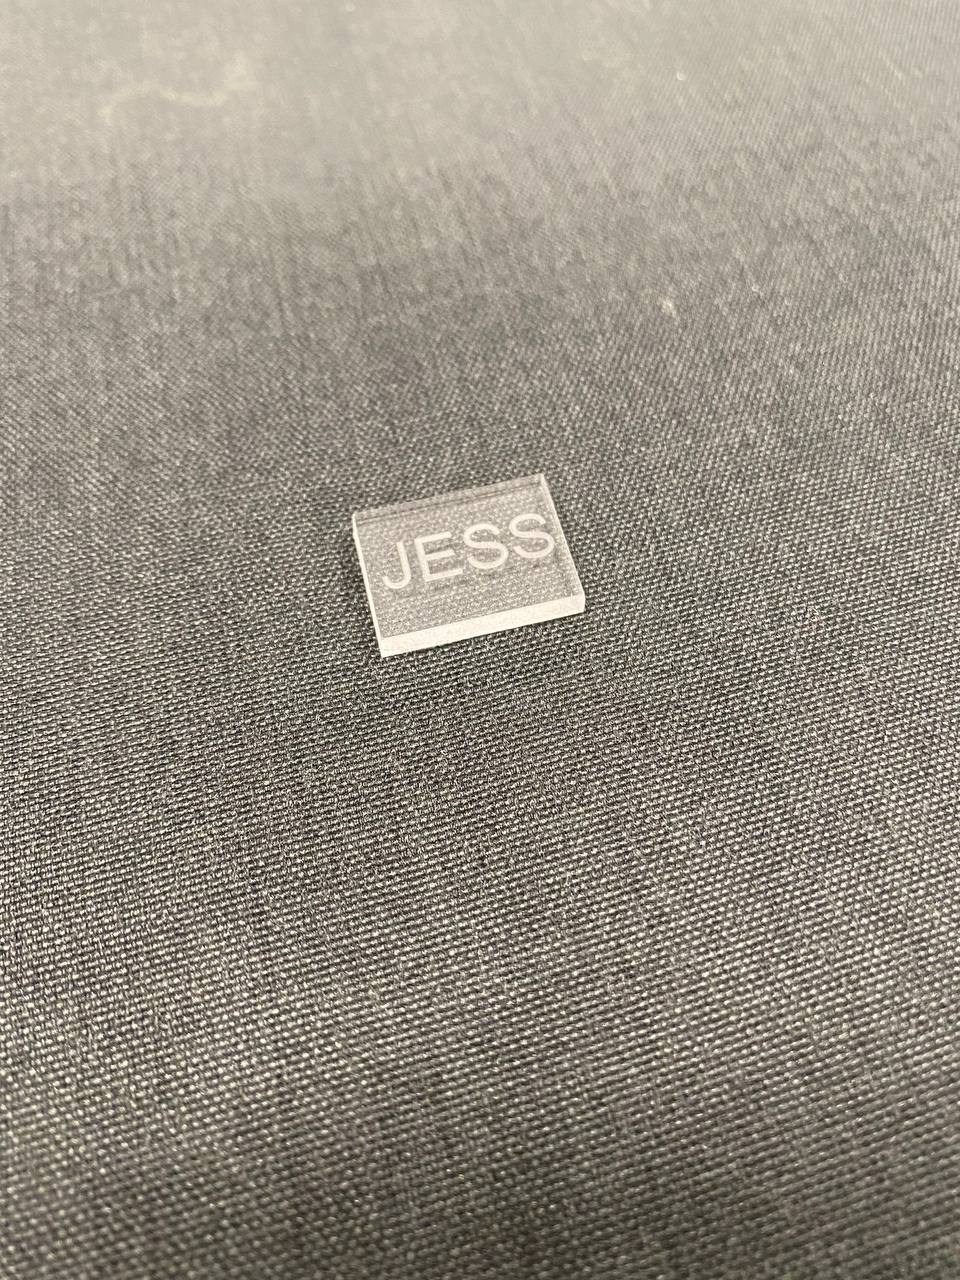
After passing the laser test, we were brought down to Fablab to have some practical experience using the machine. We were taught how to edit our work to make it suitable and ready to be laser cut. We should change the colour of the lines we want to cut through RGB red, while engraving would be RGB green. Auto focus should be turned on. For engraving, we need to import a resolution of 300dpi, and thk 3mm, as well as turn on air assist. For cutting, we need to import vector, thk 3mm, check import, set the speed to 10, and lastly turn on air assist. We then made and cut small acrylic rectangles with our names engraved on it for us to know and learn how to use the software and laser cutting machine properly.
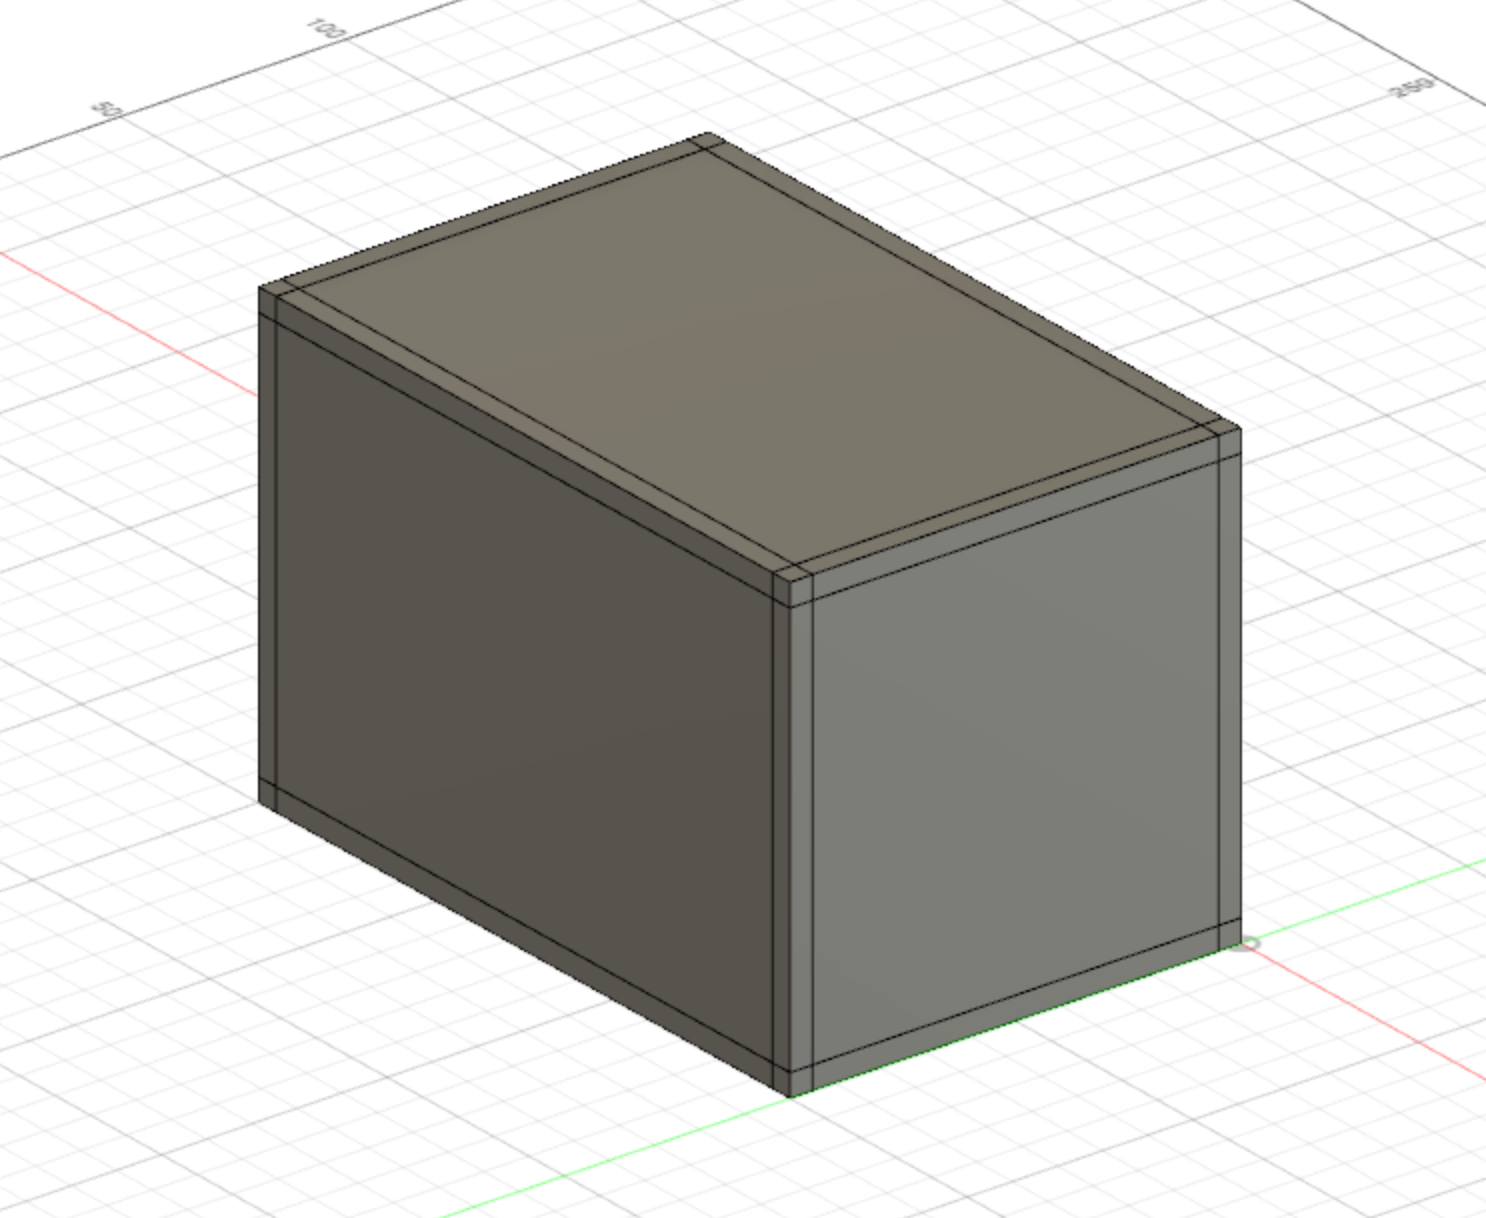
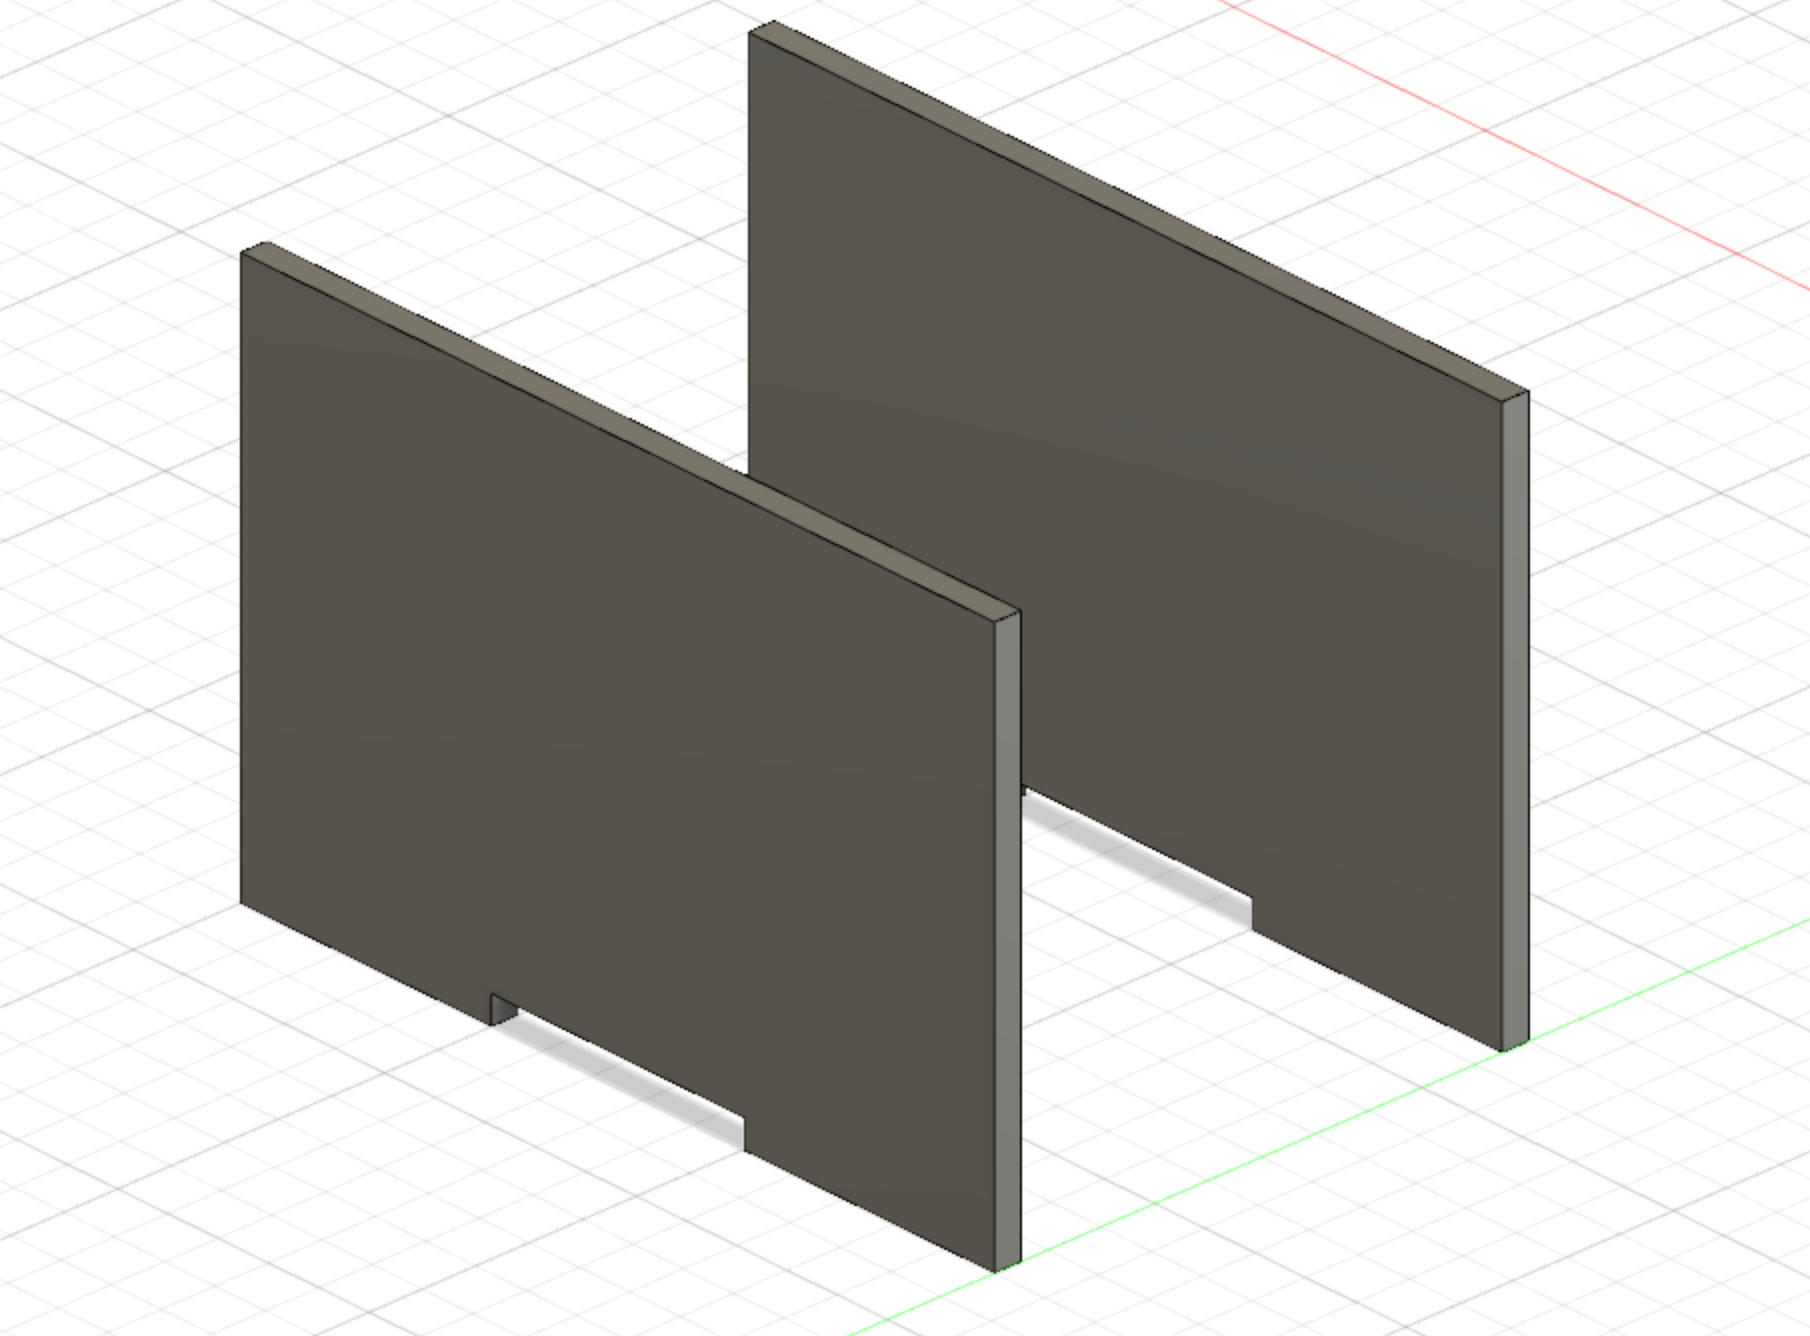
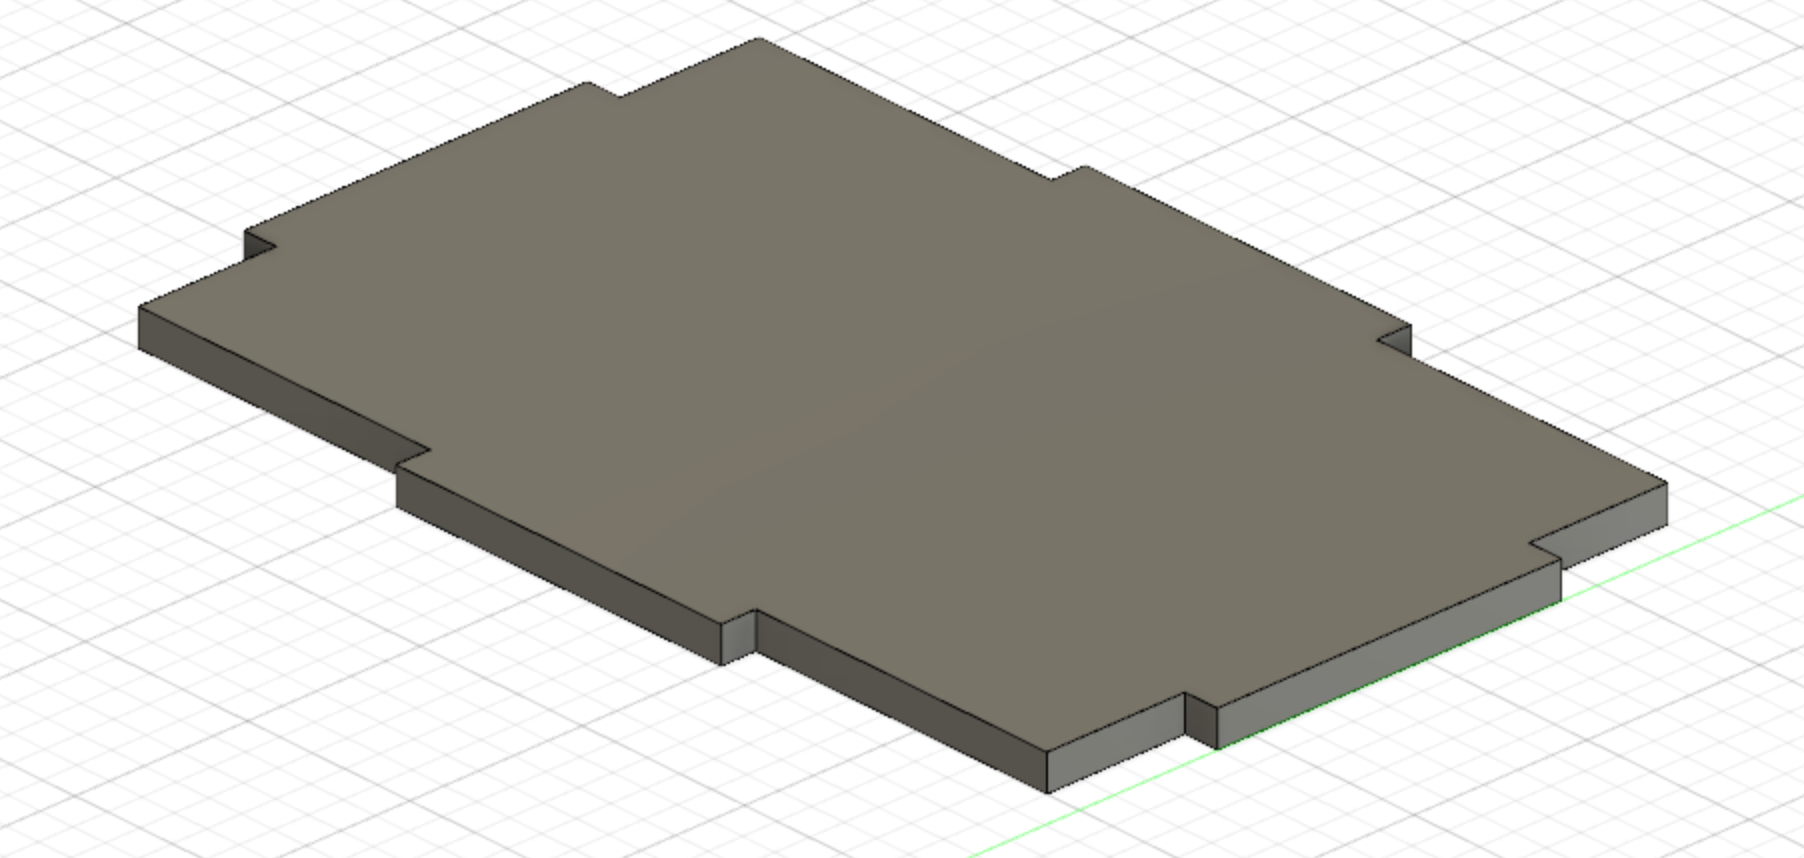
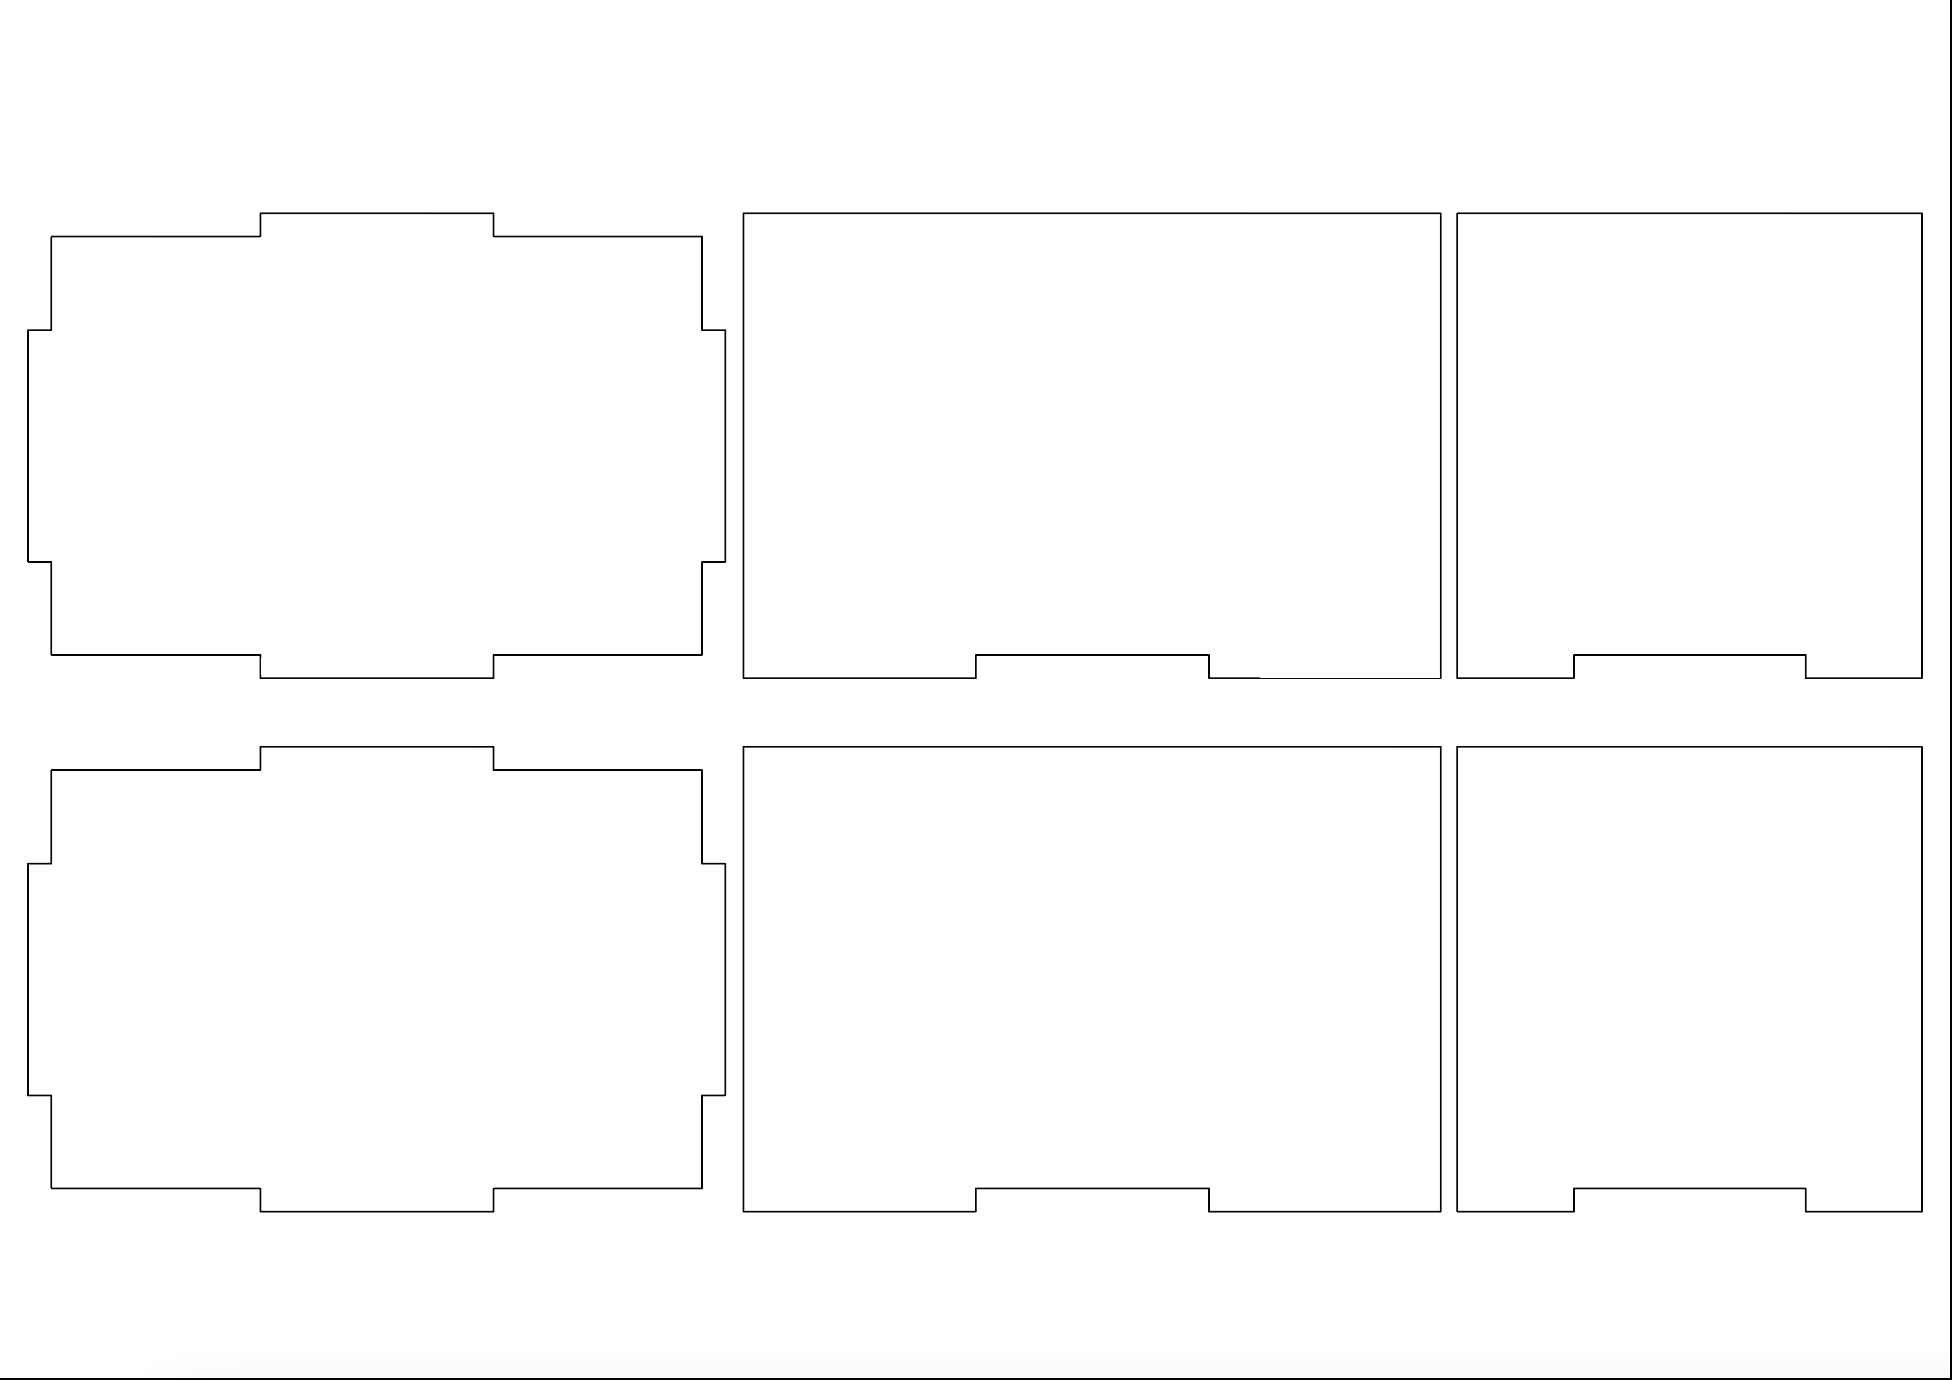
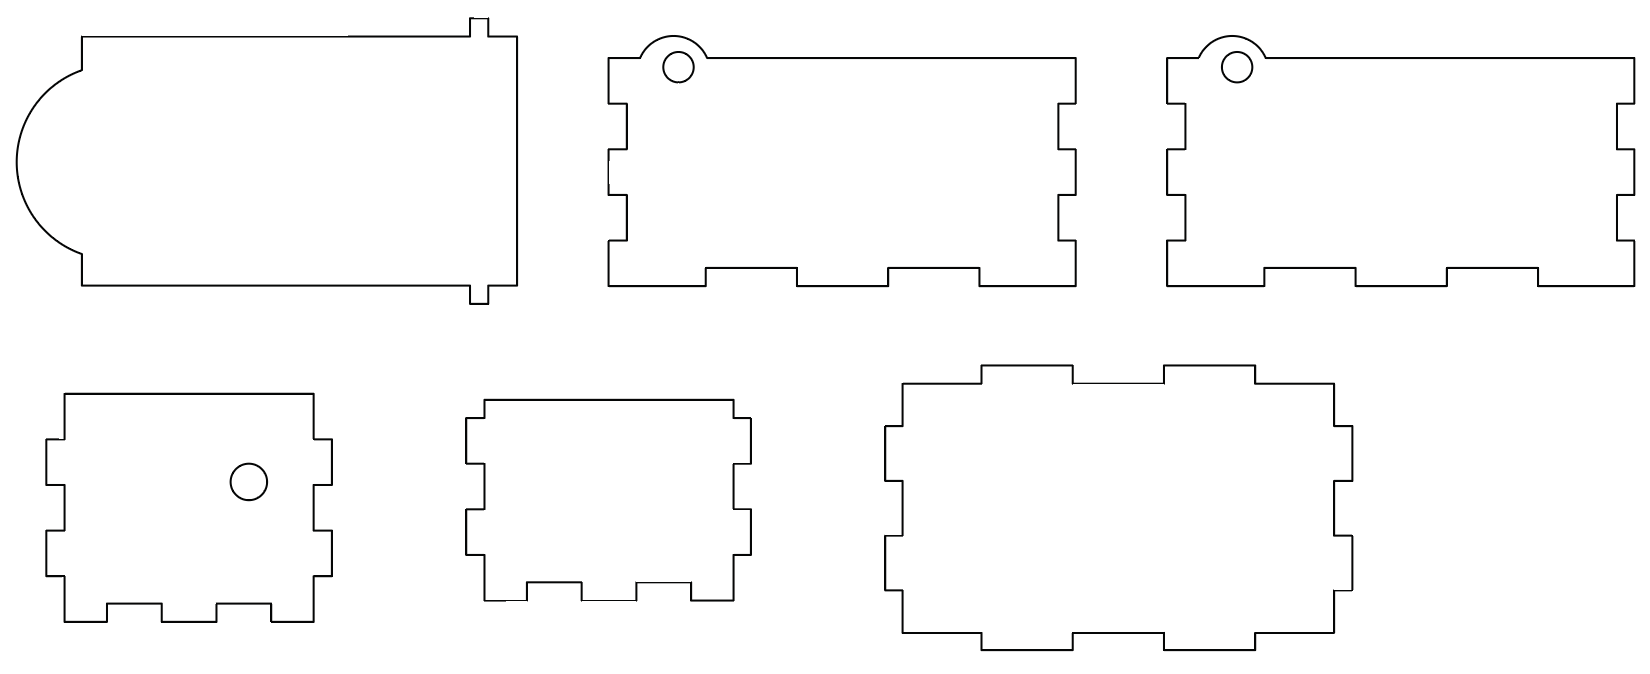
We started off by drafting dimensions and parametrics for our music box with the use of parametric designs in Fusion 360. I started off by making a normal box, before making rectangles for the teeth, then cutting away the corner for the teeth to fit on each side. I saved them as DXF files as practice.
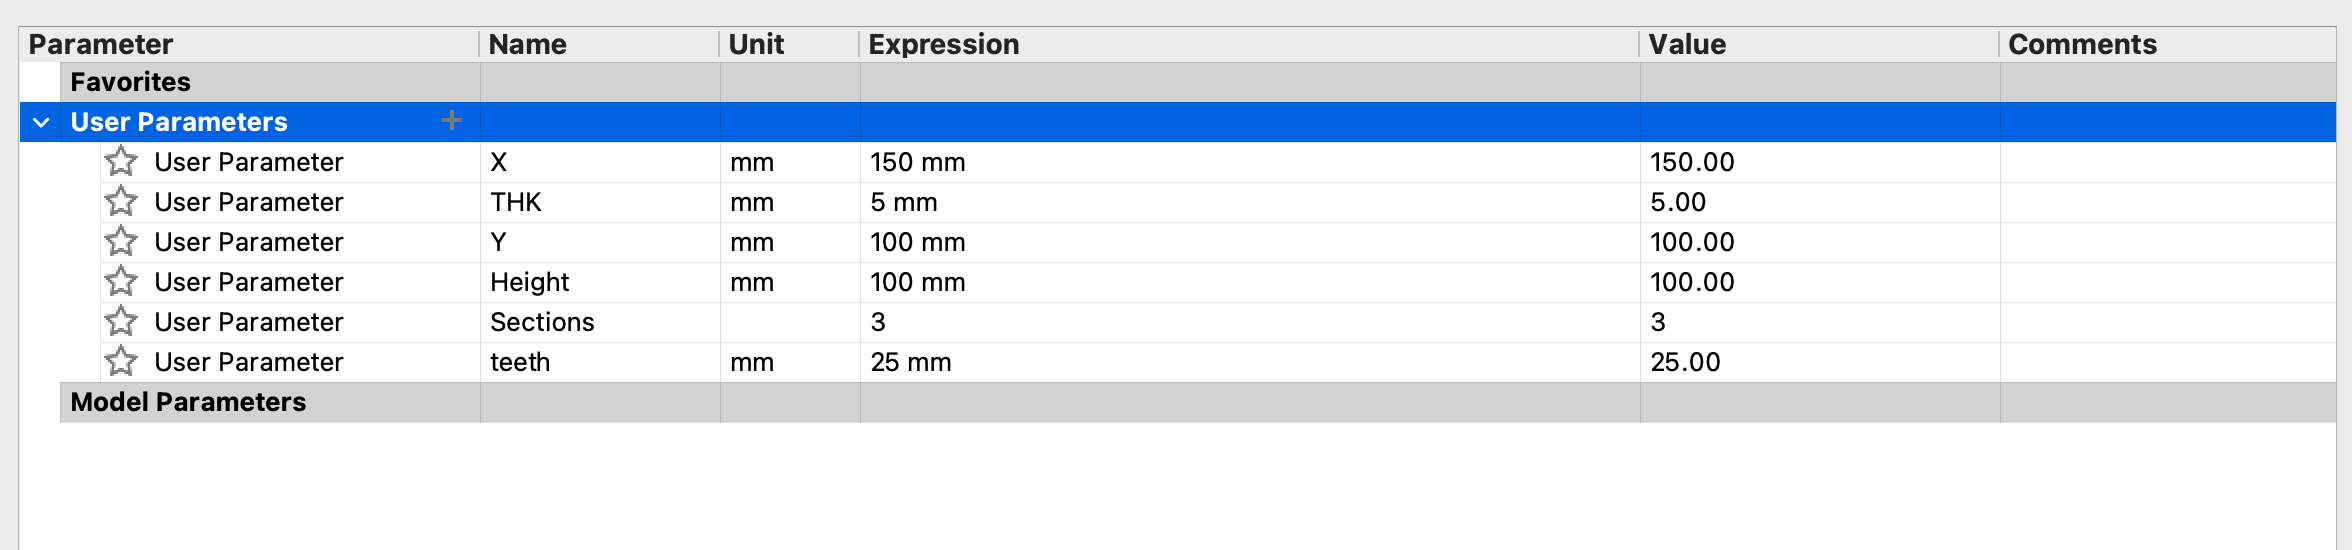
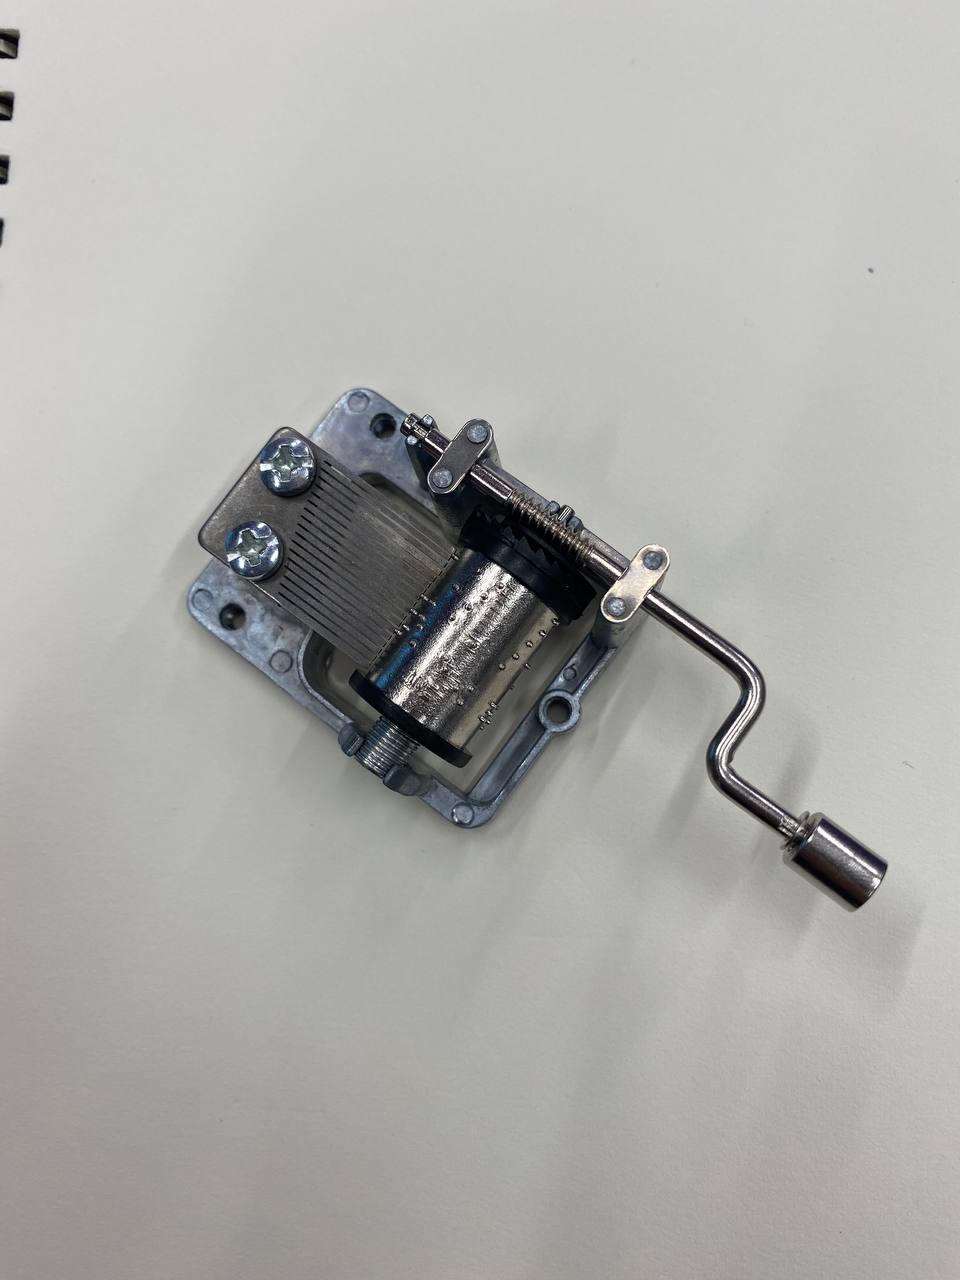
Before I start on the music box, I measured the mechanism and made sure that my box was able to fit, and that I knew where to position the hole for the mechanism handle.
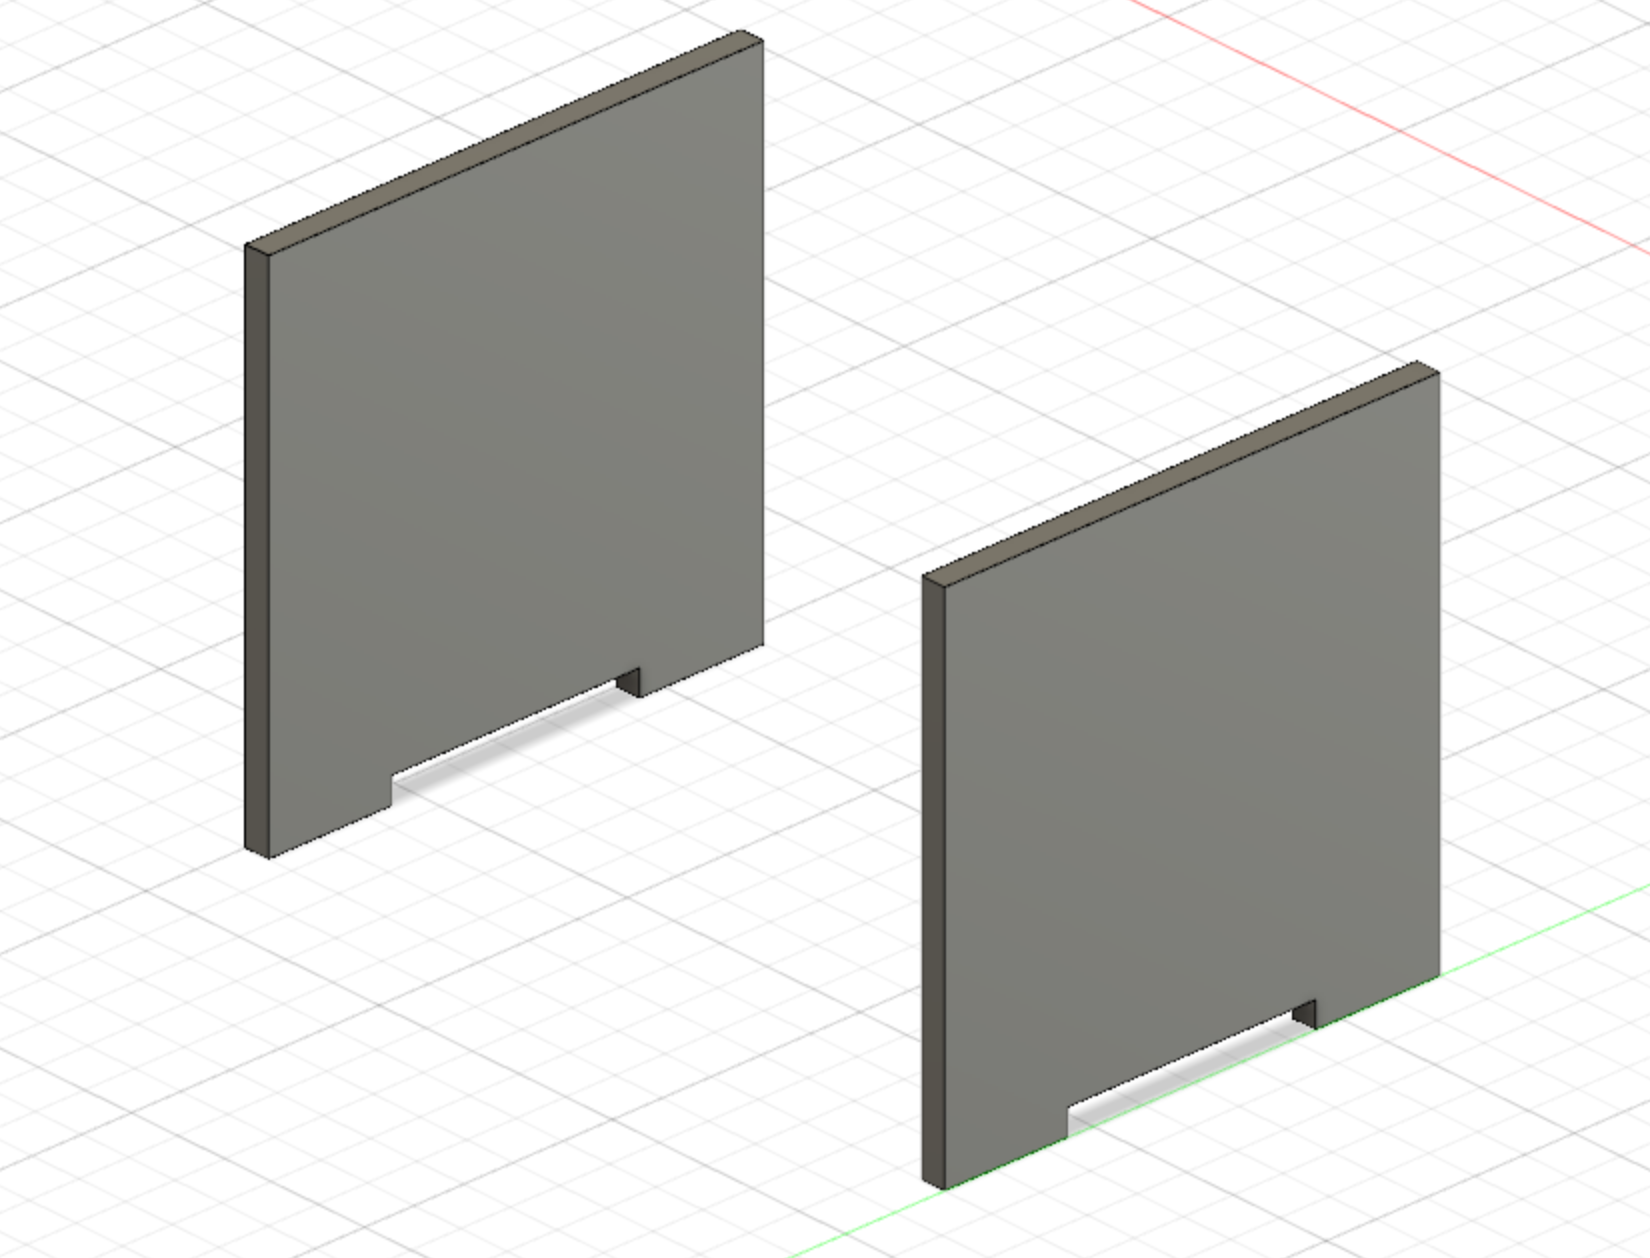
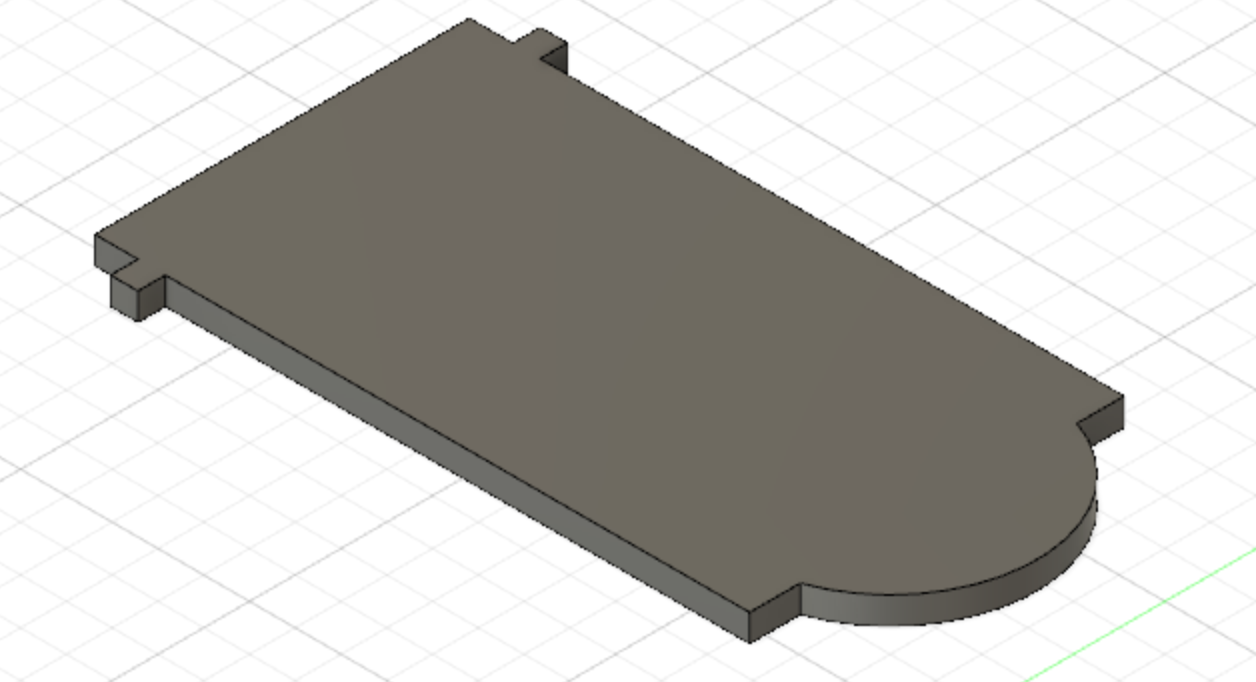
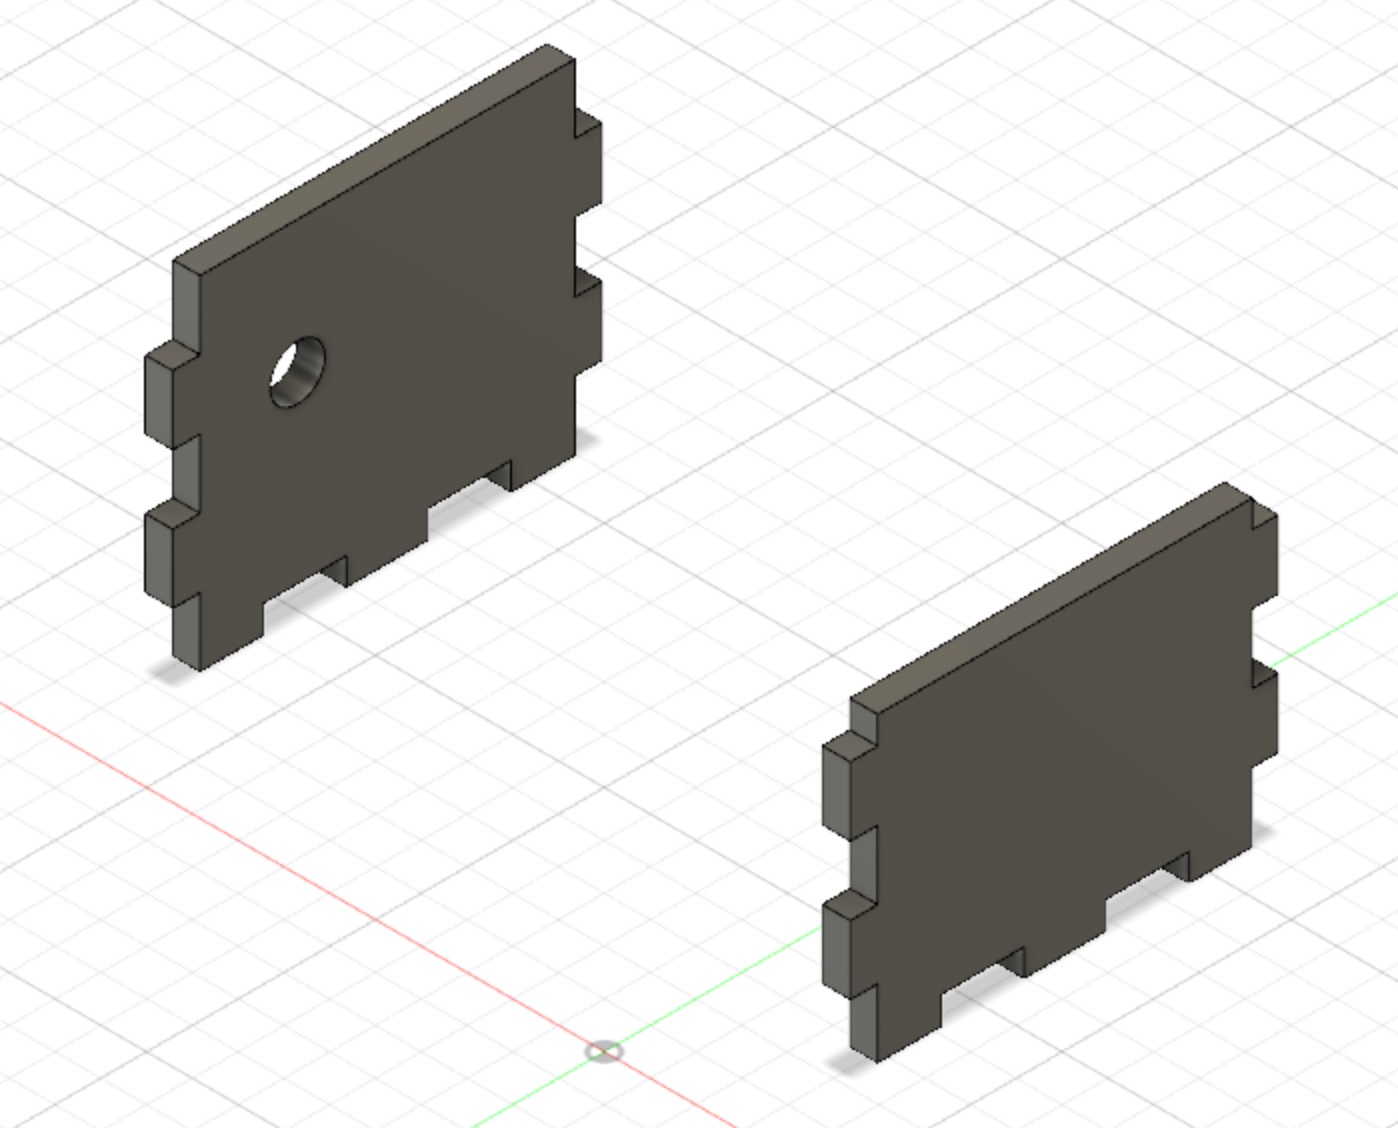
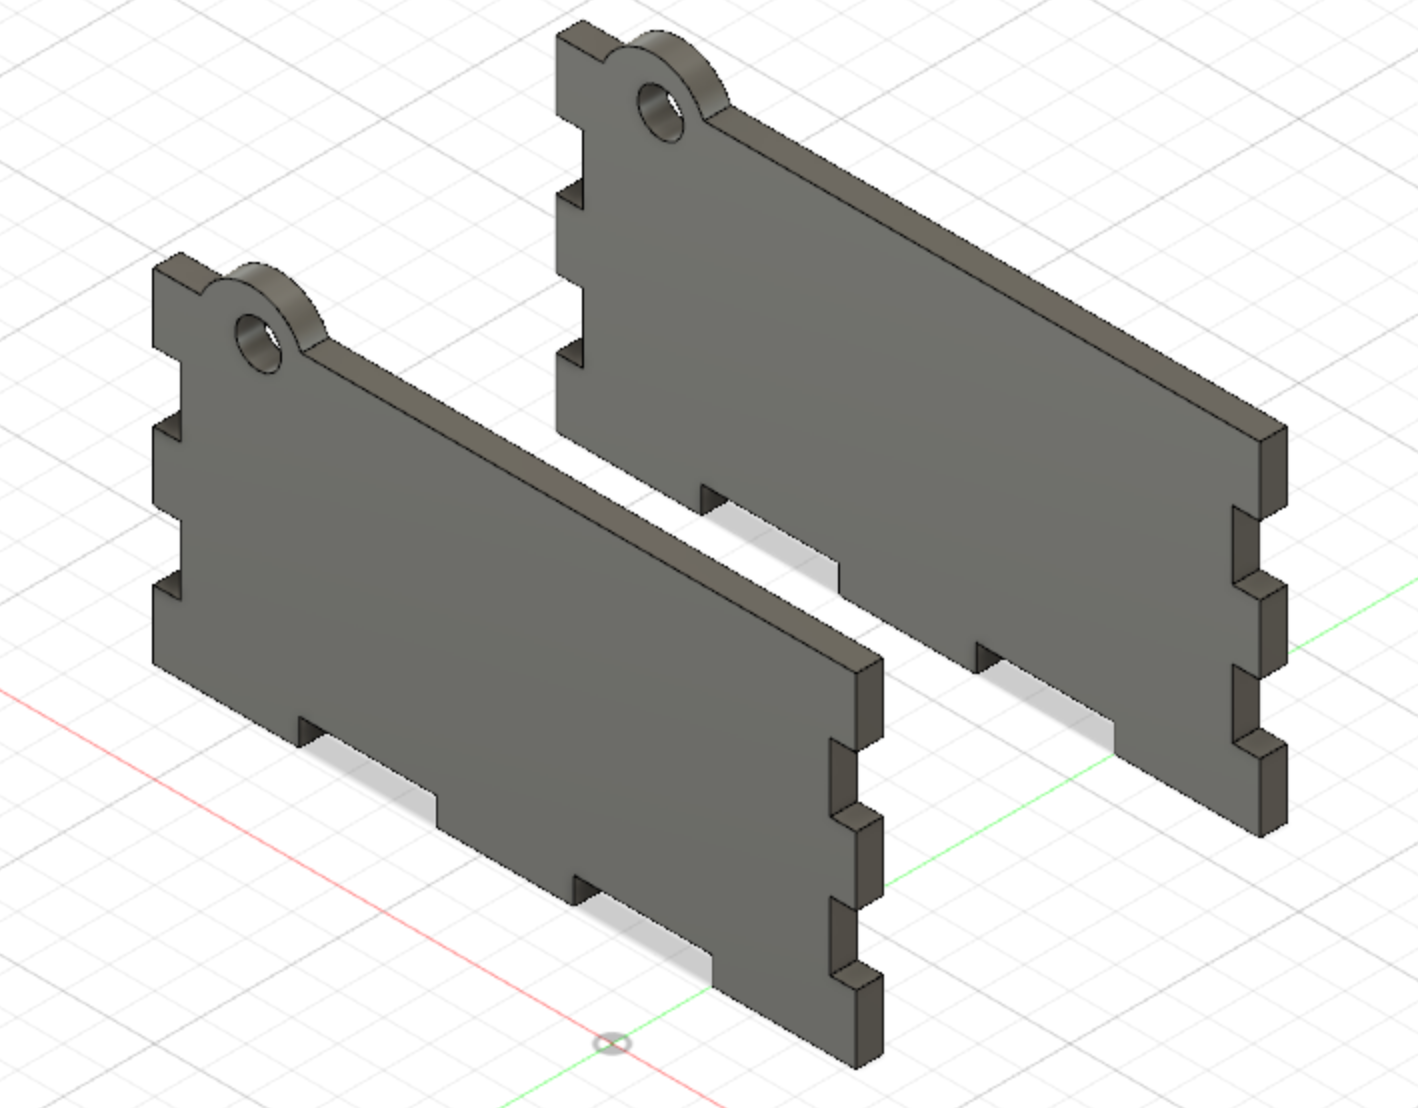
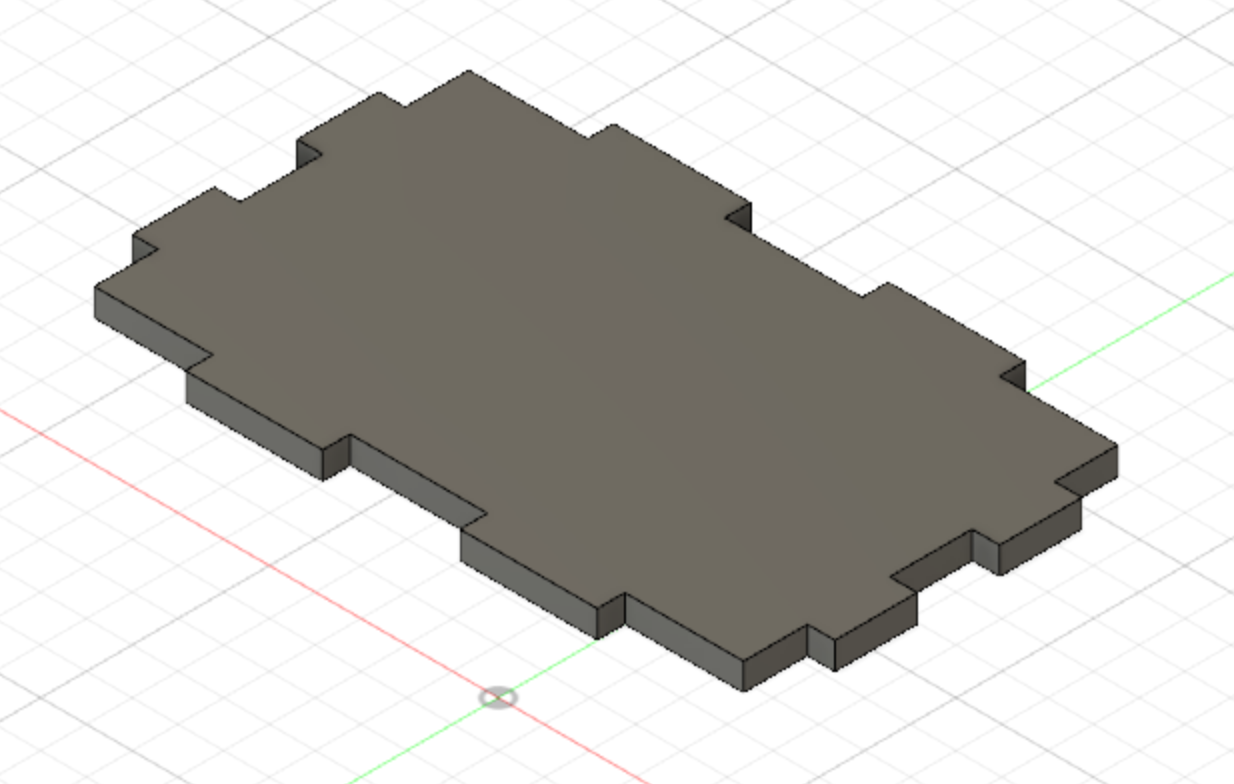
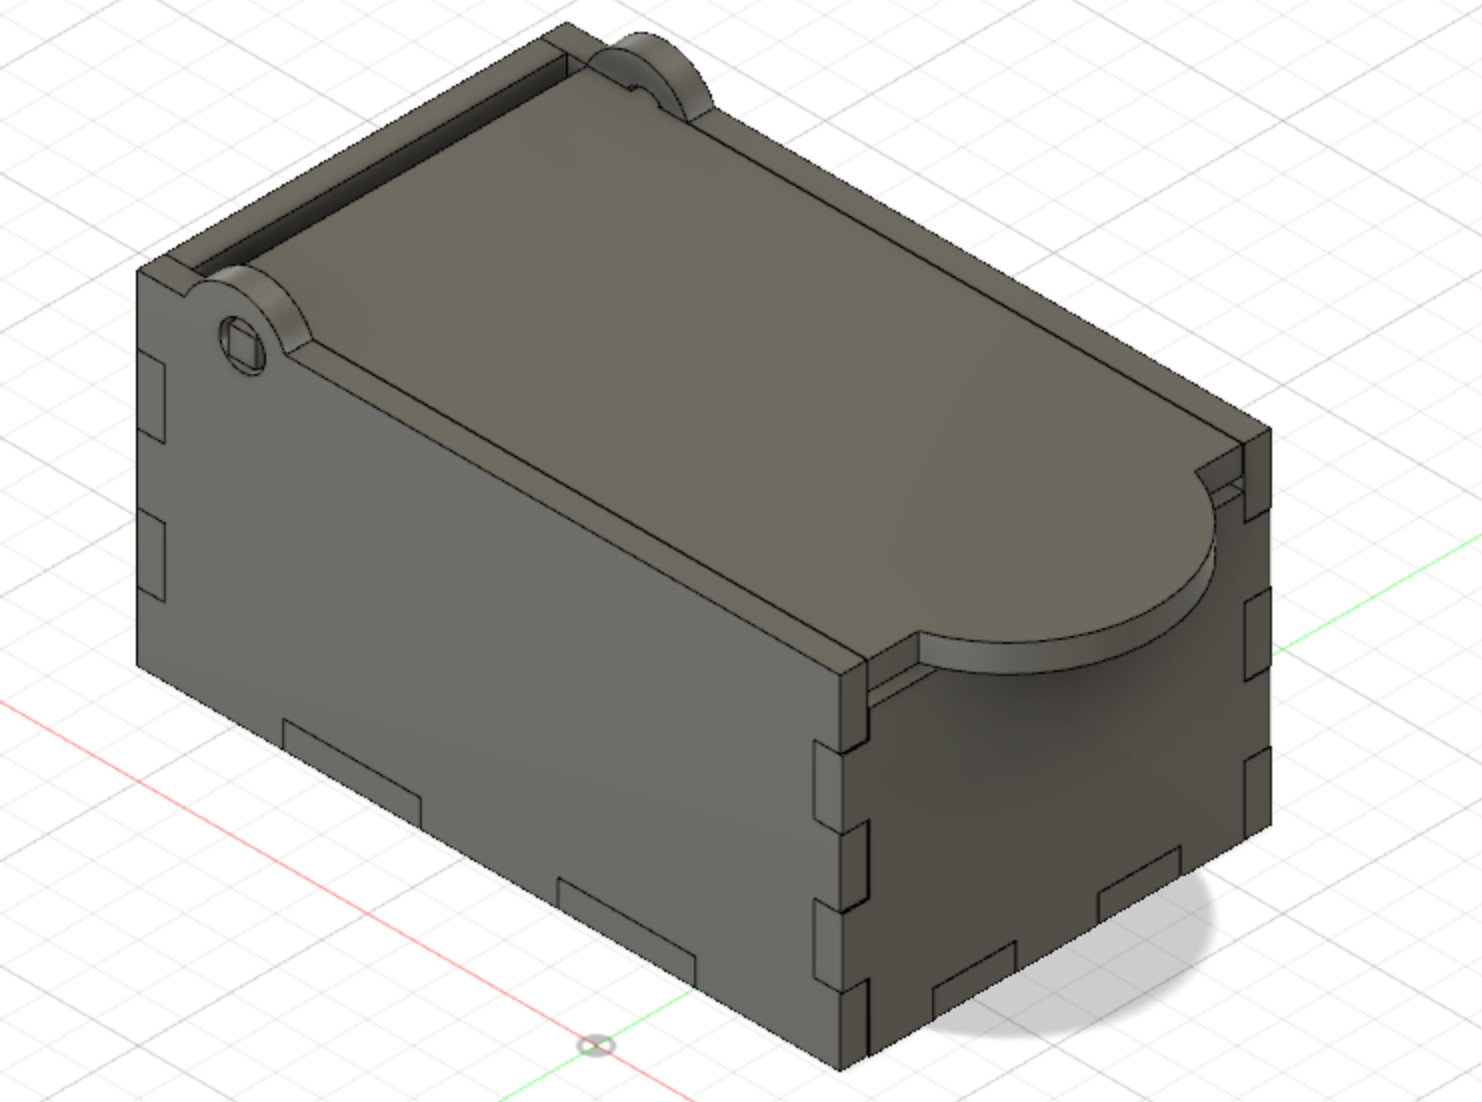
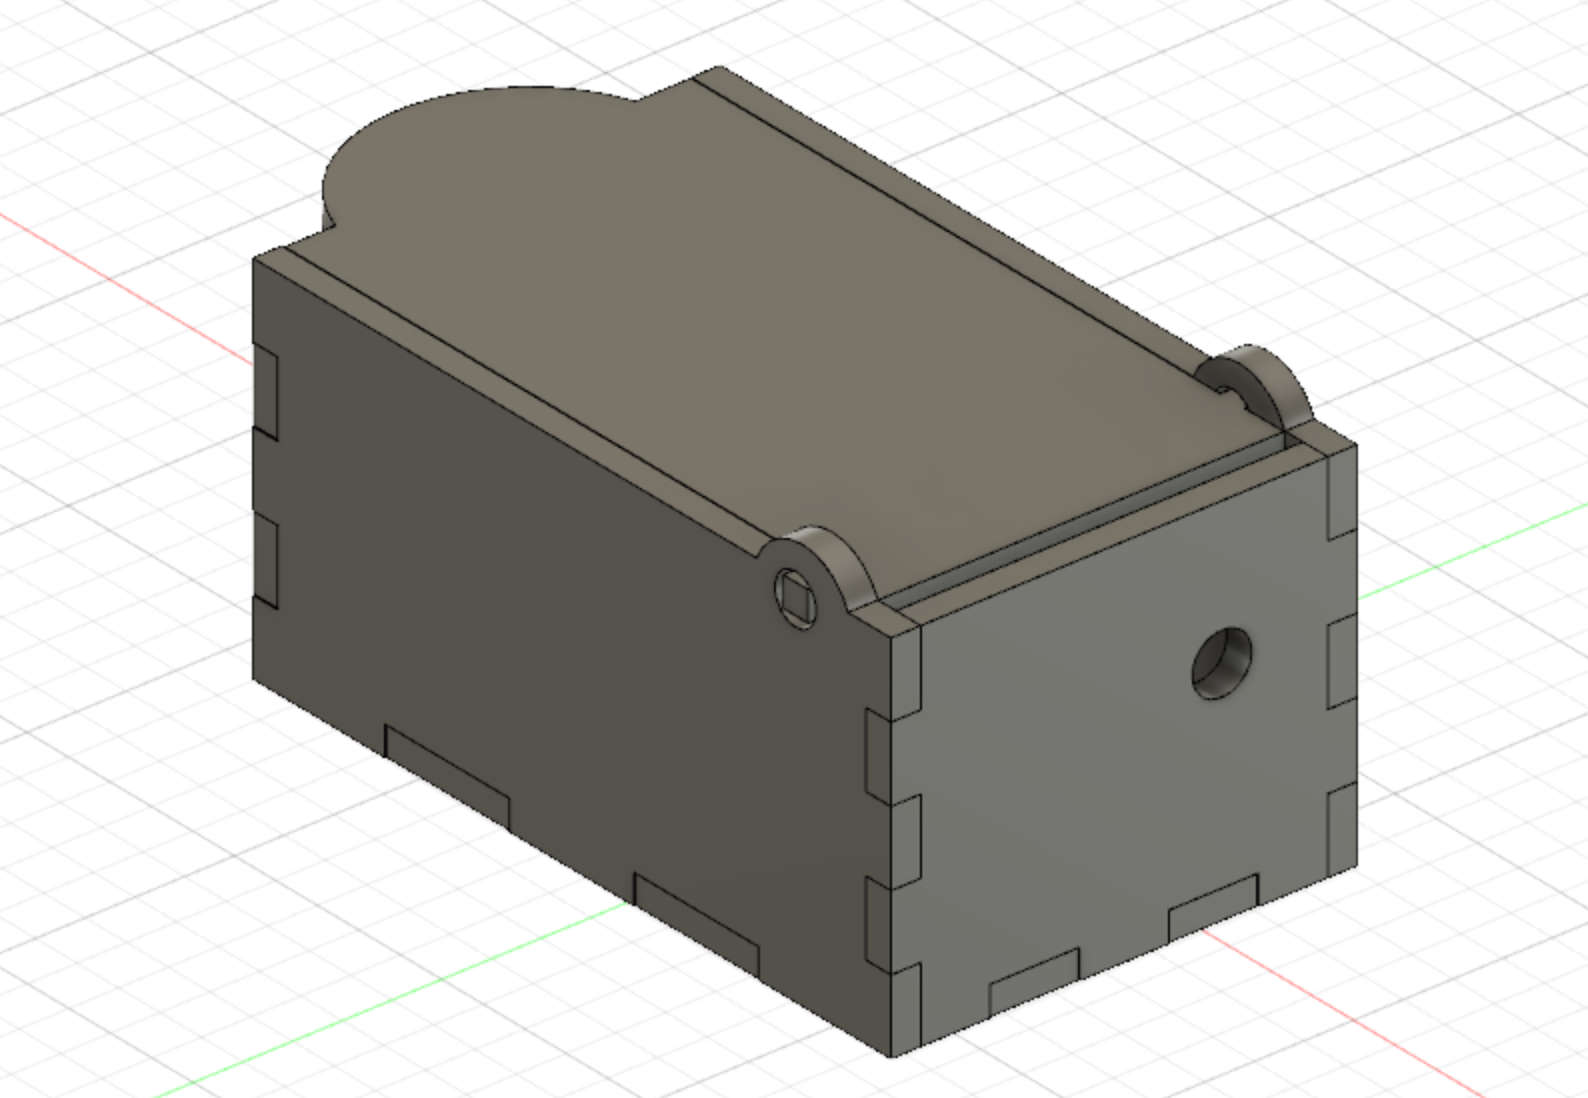
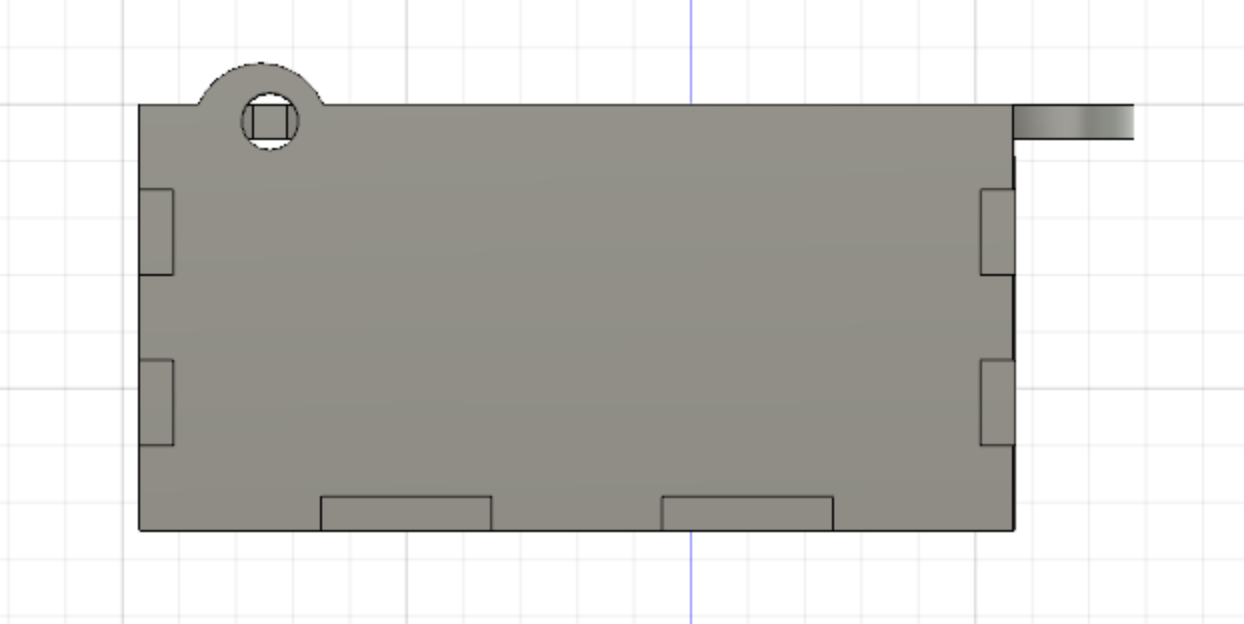
Similar to the previous practice, I started off by making a normal box using the box shape tool and extrude, before making small rectangles for the teeth, then cutting away the corners for the teeth to fit on each side. Next, I added the cylinders for the sides. I used the cylinder shape tool to make one big cylinder, and a smaller one in the center for the bigger one. I combined the big cylinders to the sides, before cutting out the smaller cylinders to create holes. This way, I can now open the lid easily. To compliment, I added two rectangle boxes sticked out the sides of the lid and into the holes. I also added a semi-cirle at the front of the lid for convinience for the lid to open. Lastly, I added a hole on the back for the mechanism handle.
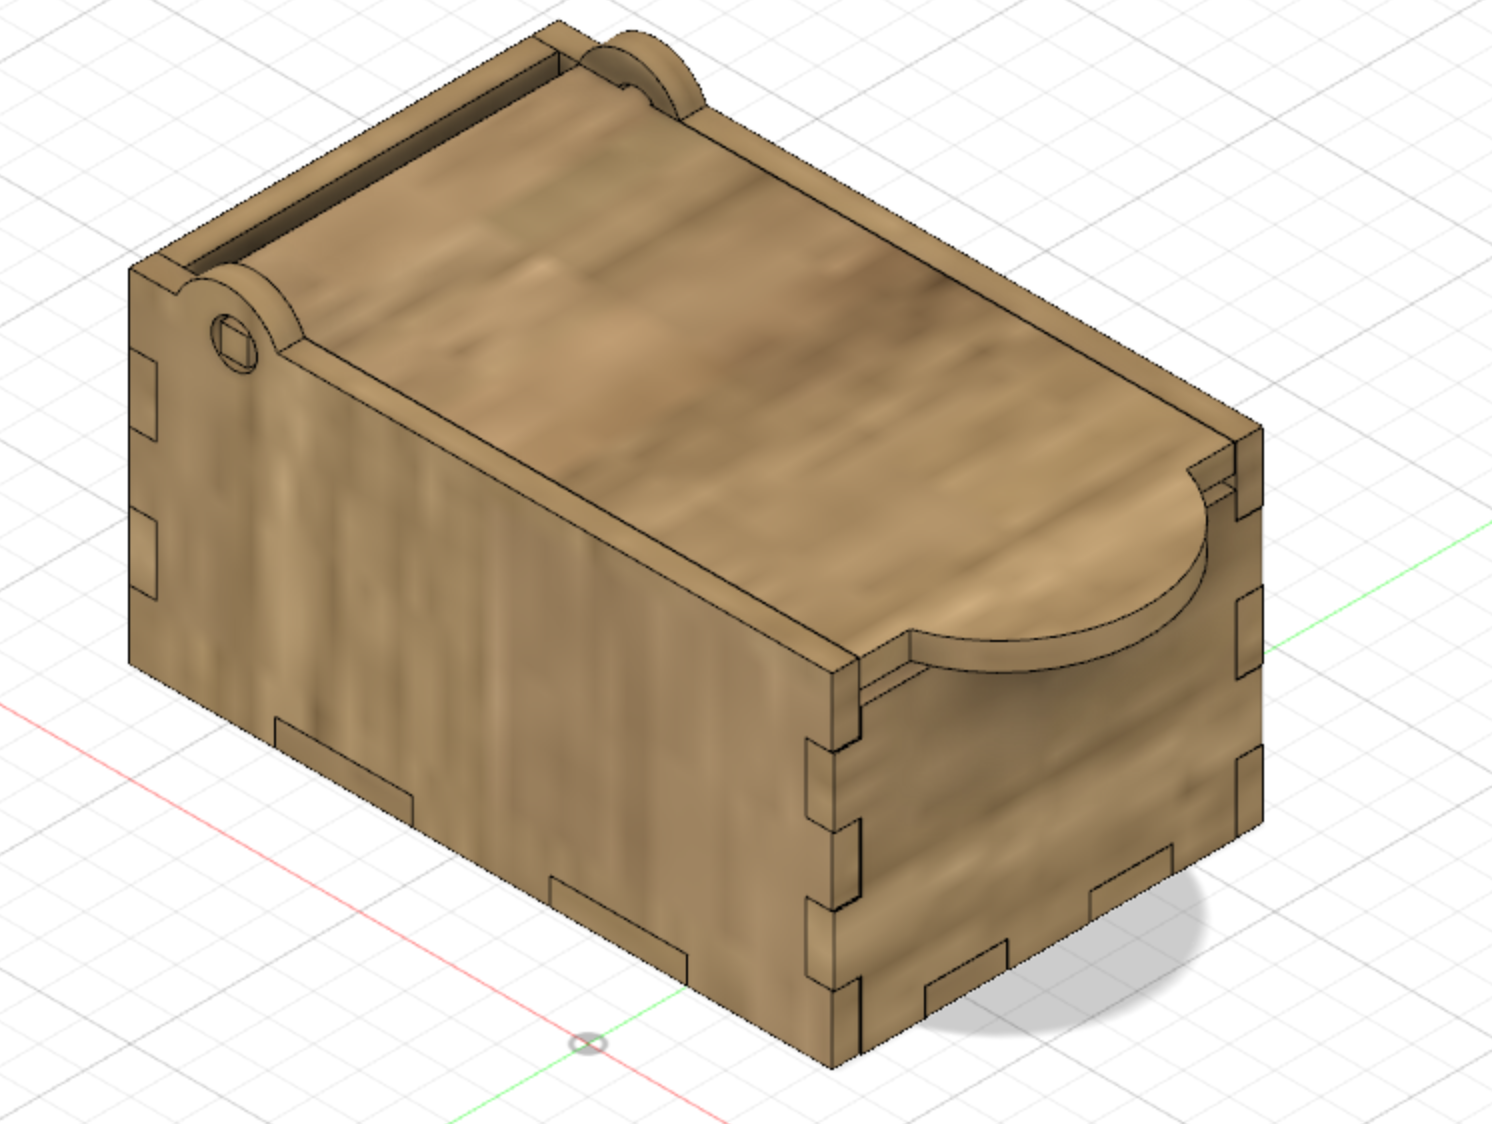
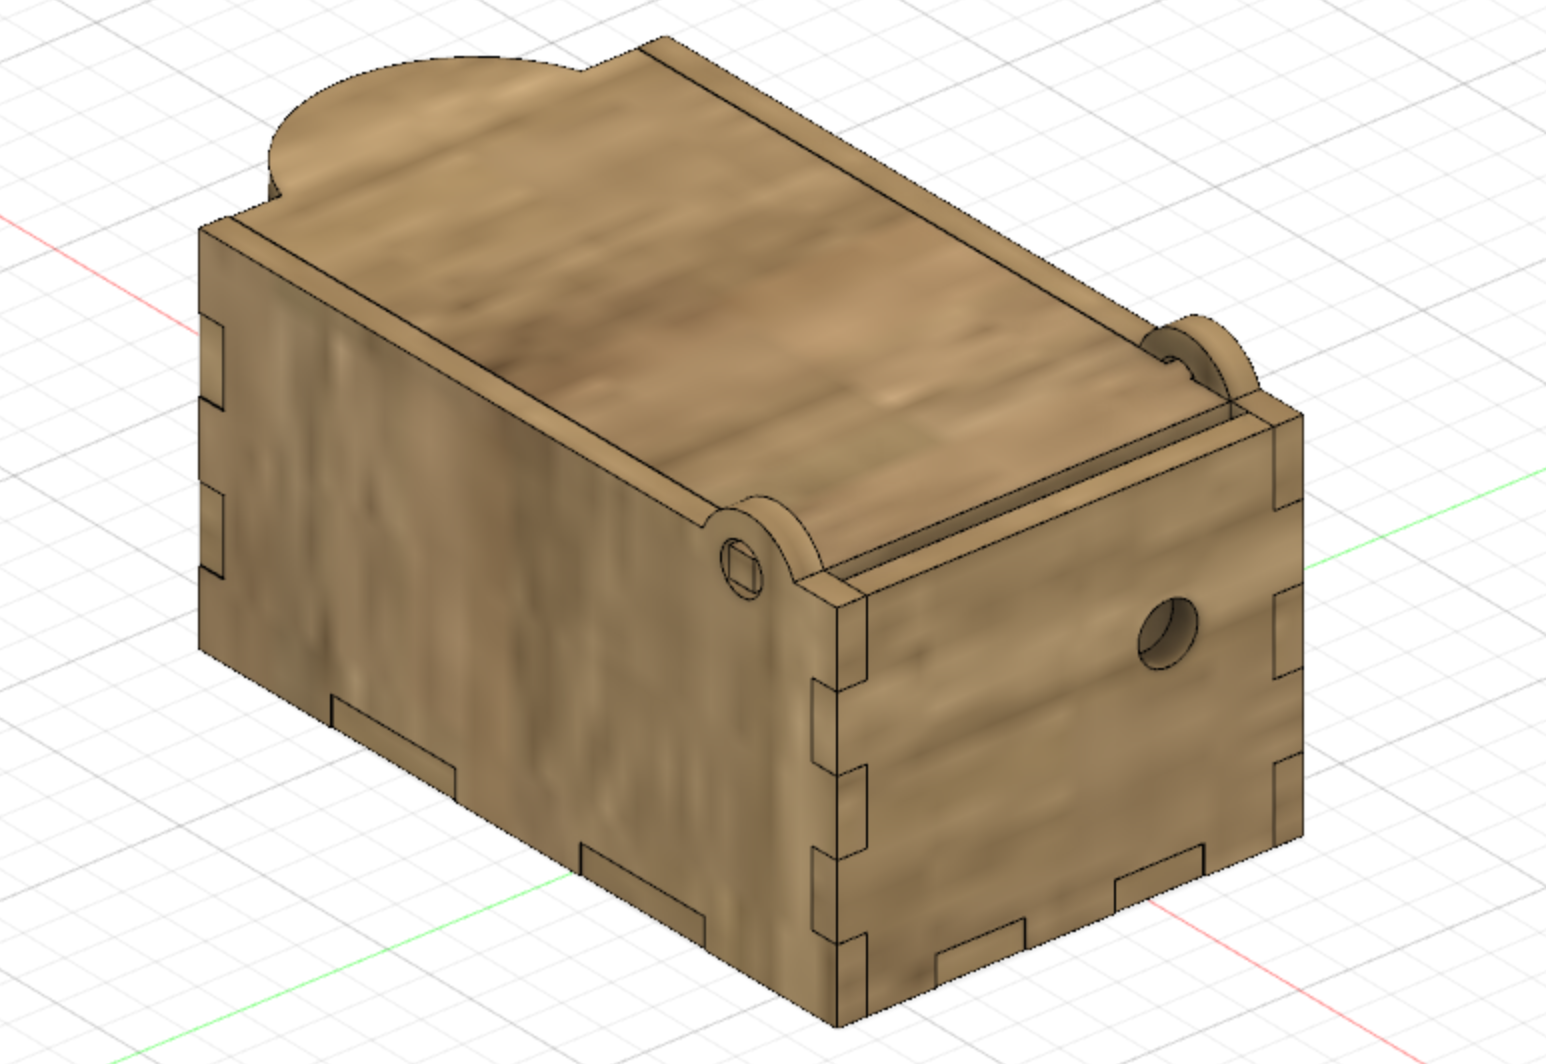
After a few revisions and alterations to the size, thickness and fitting, I rendered a wooden texture on the box to make it look more realistic. Next, I transferred the 3d model to sketches, then save them as DXF files, before inserting them into Illustrator.
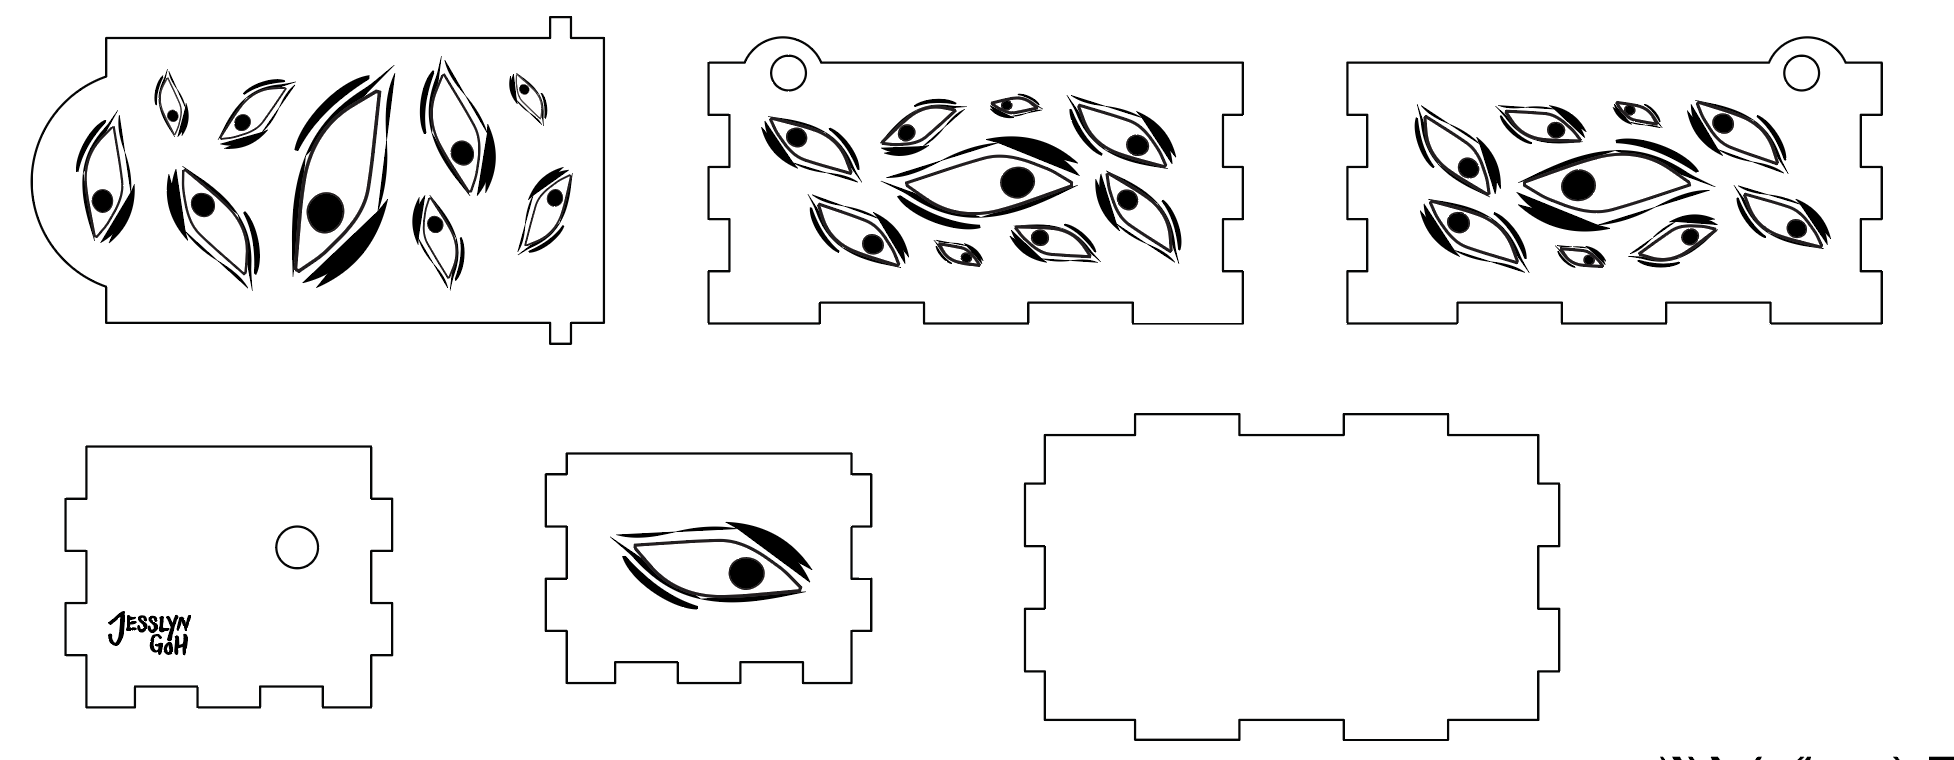
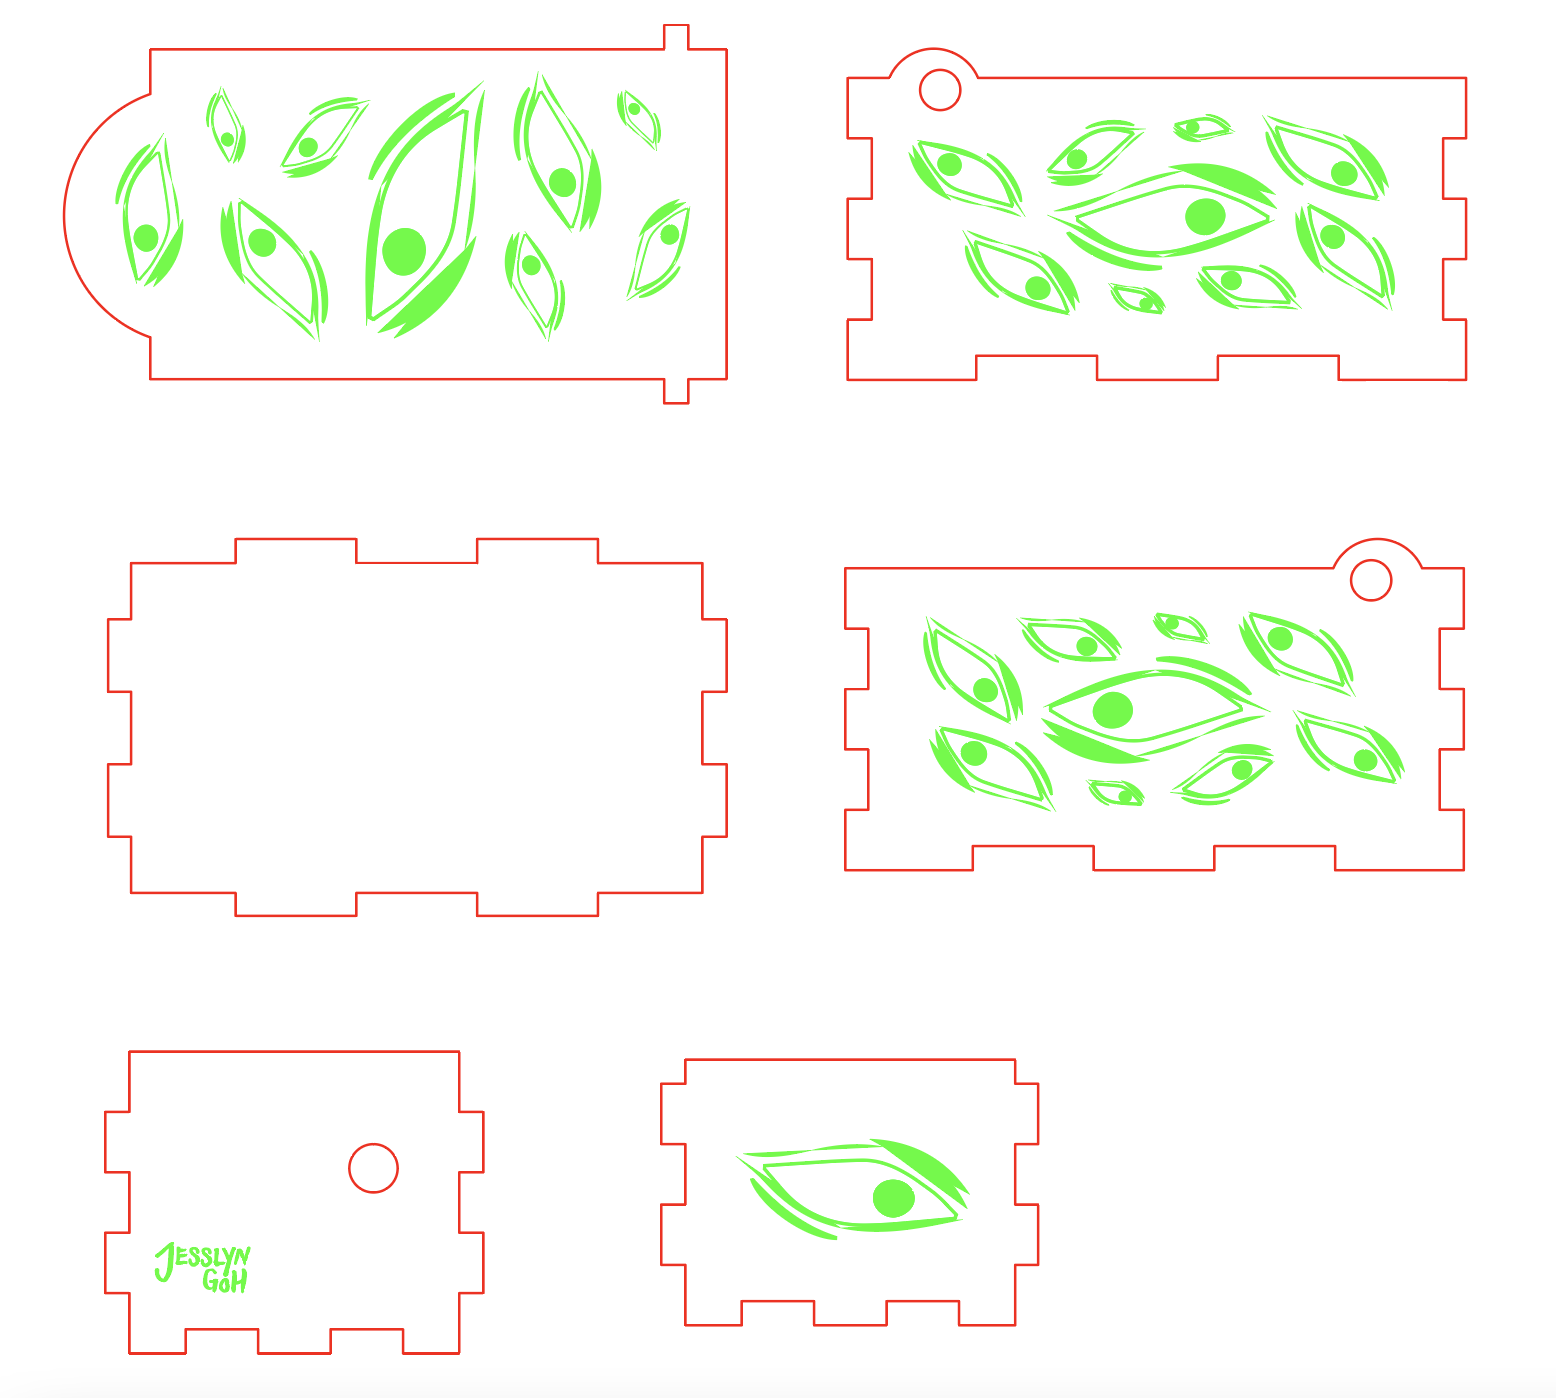
On illustrator, I then drew out my designs. I referenced my eye ring, and drew eyes all over the box. I also played with size and orientation by scaling and rotating them. Lastly, I added my logo at the back. I then set my graphics in RGB red and RGB green for cutting and engraving respectively to prepare them for cutting.
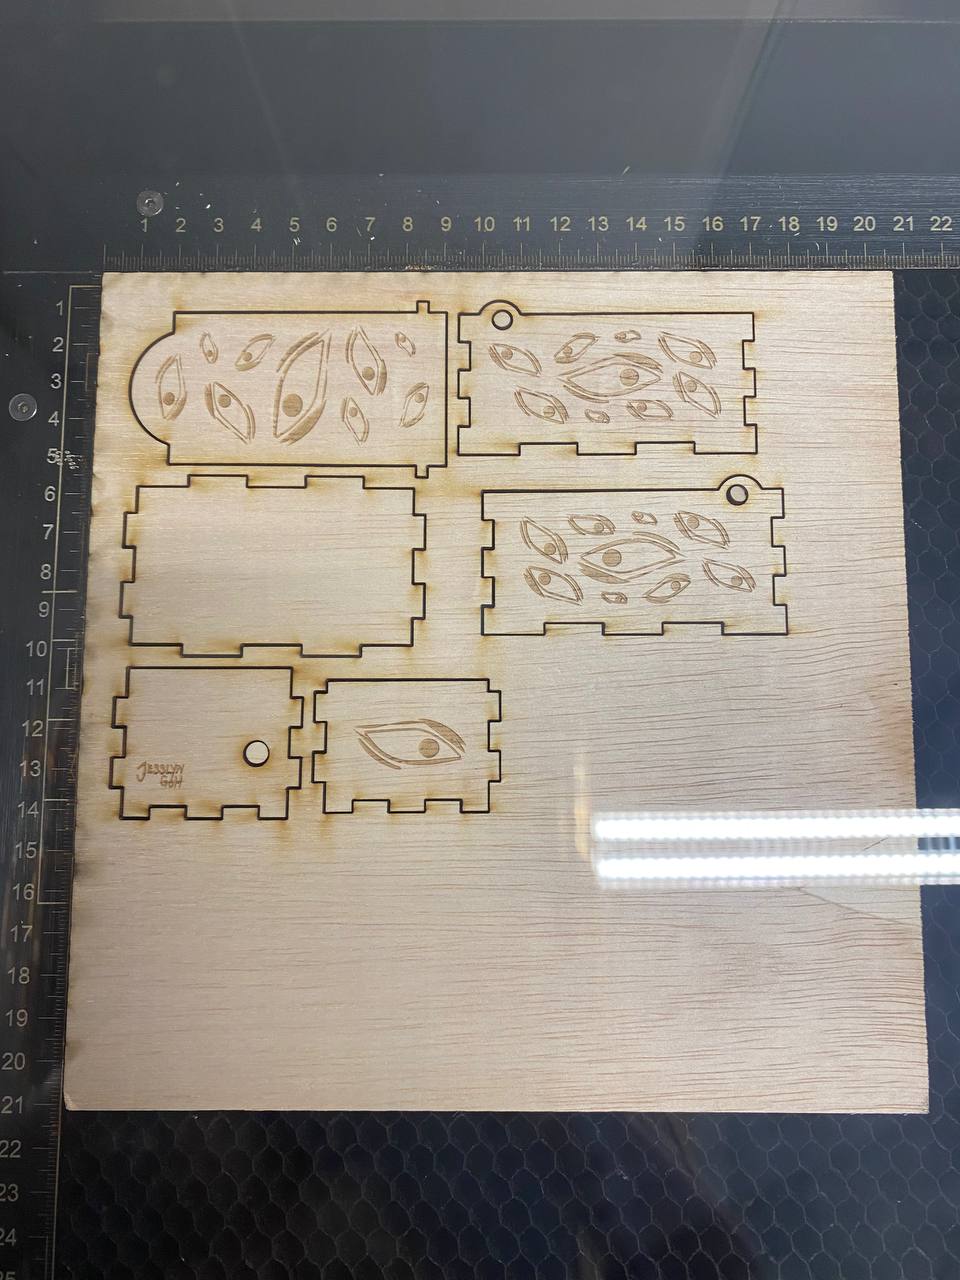
I used the laser cutter, then adjusted the settings for 3mm plywood, and proceeded to cut and engrave my design out.
Lastly, I assembled the music box and attatched the mechanism on it, and it works!
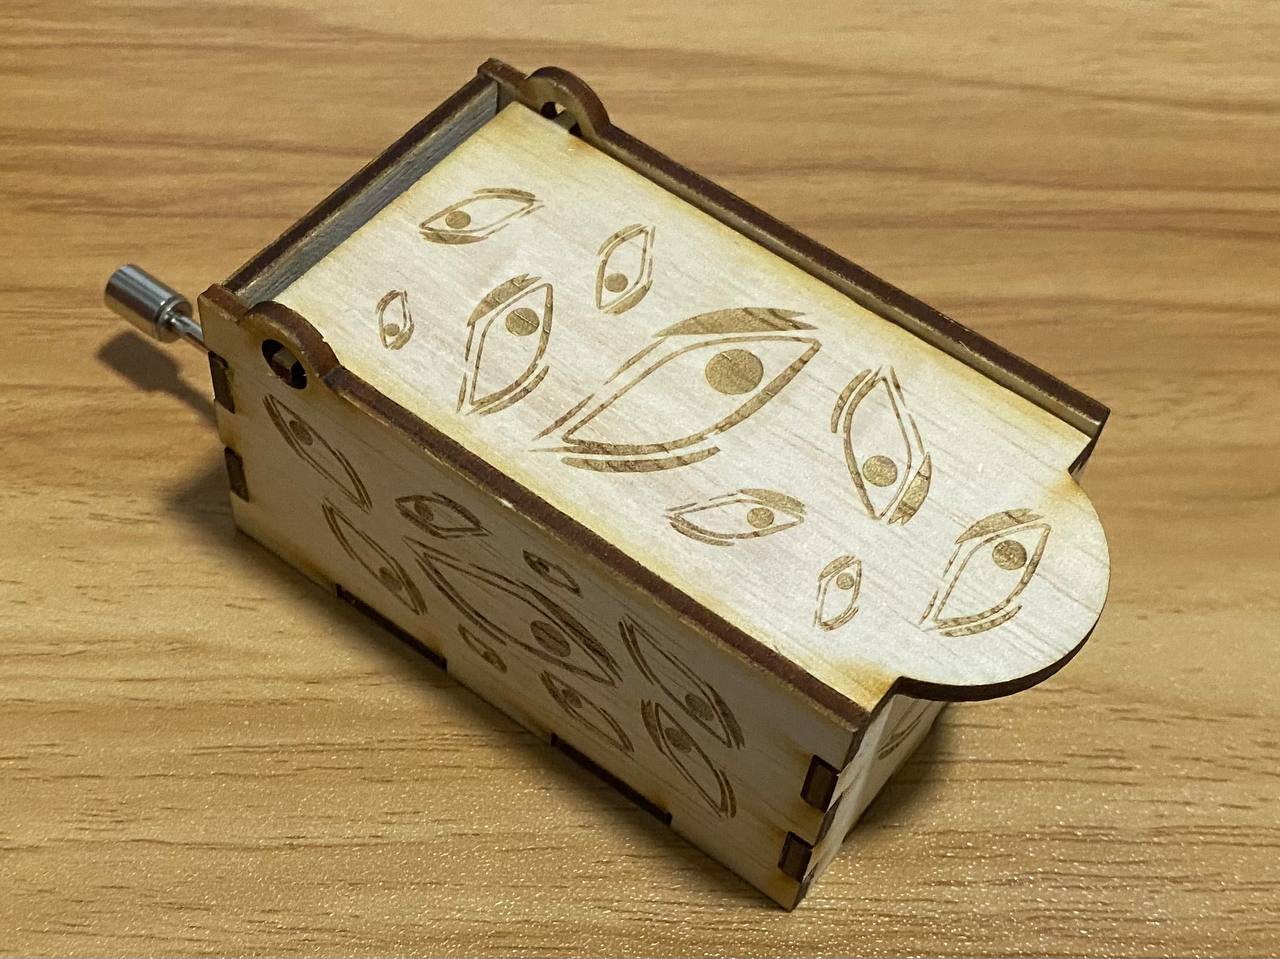
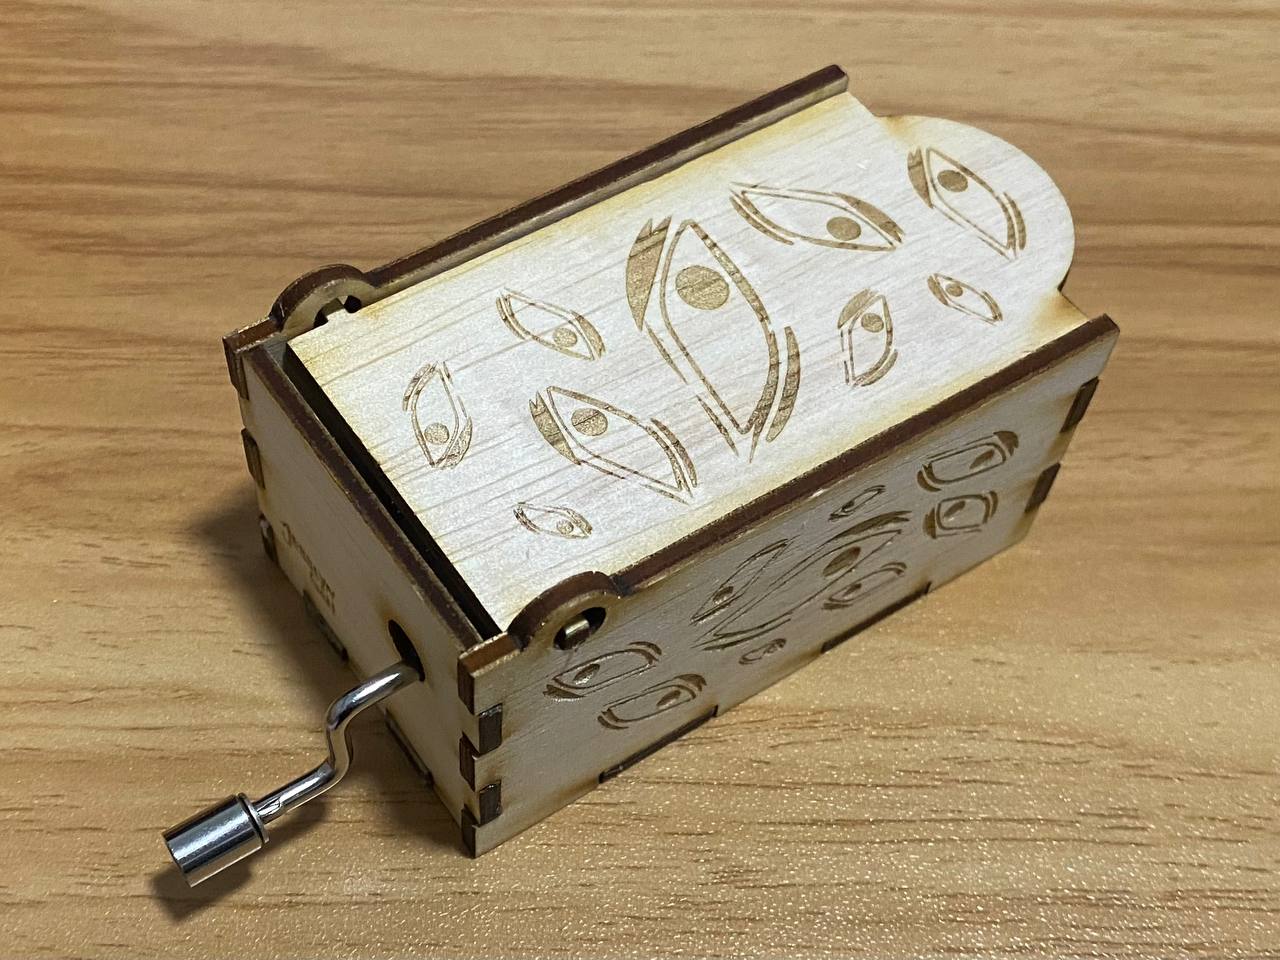
I am personally very satisfied and happy with the final product, as it is really something that I never thought I'd be able to make.